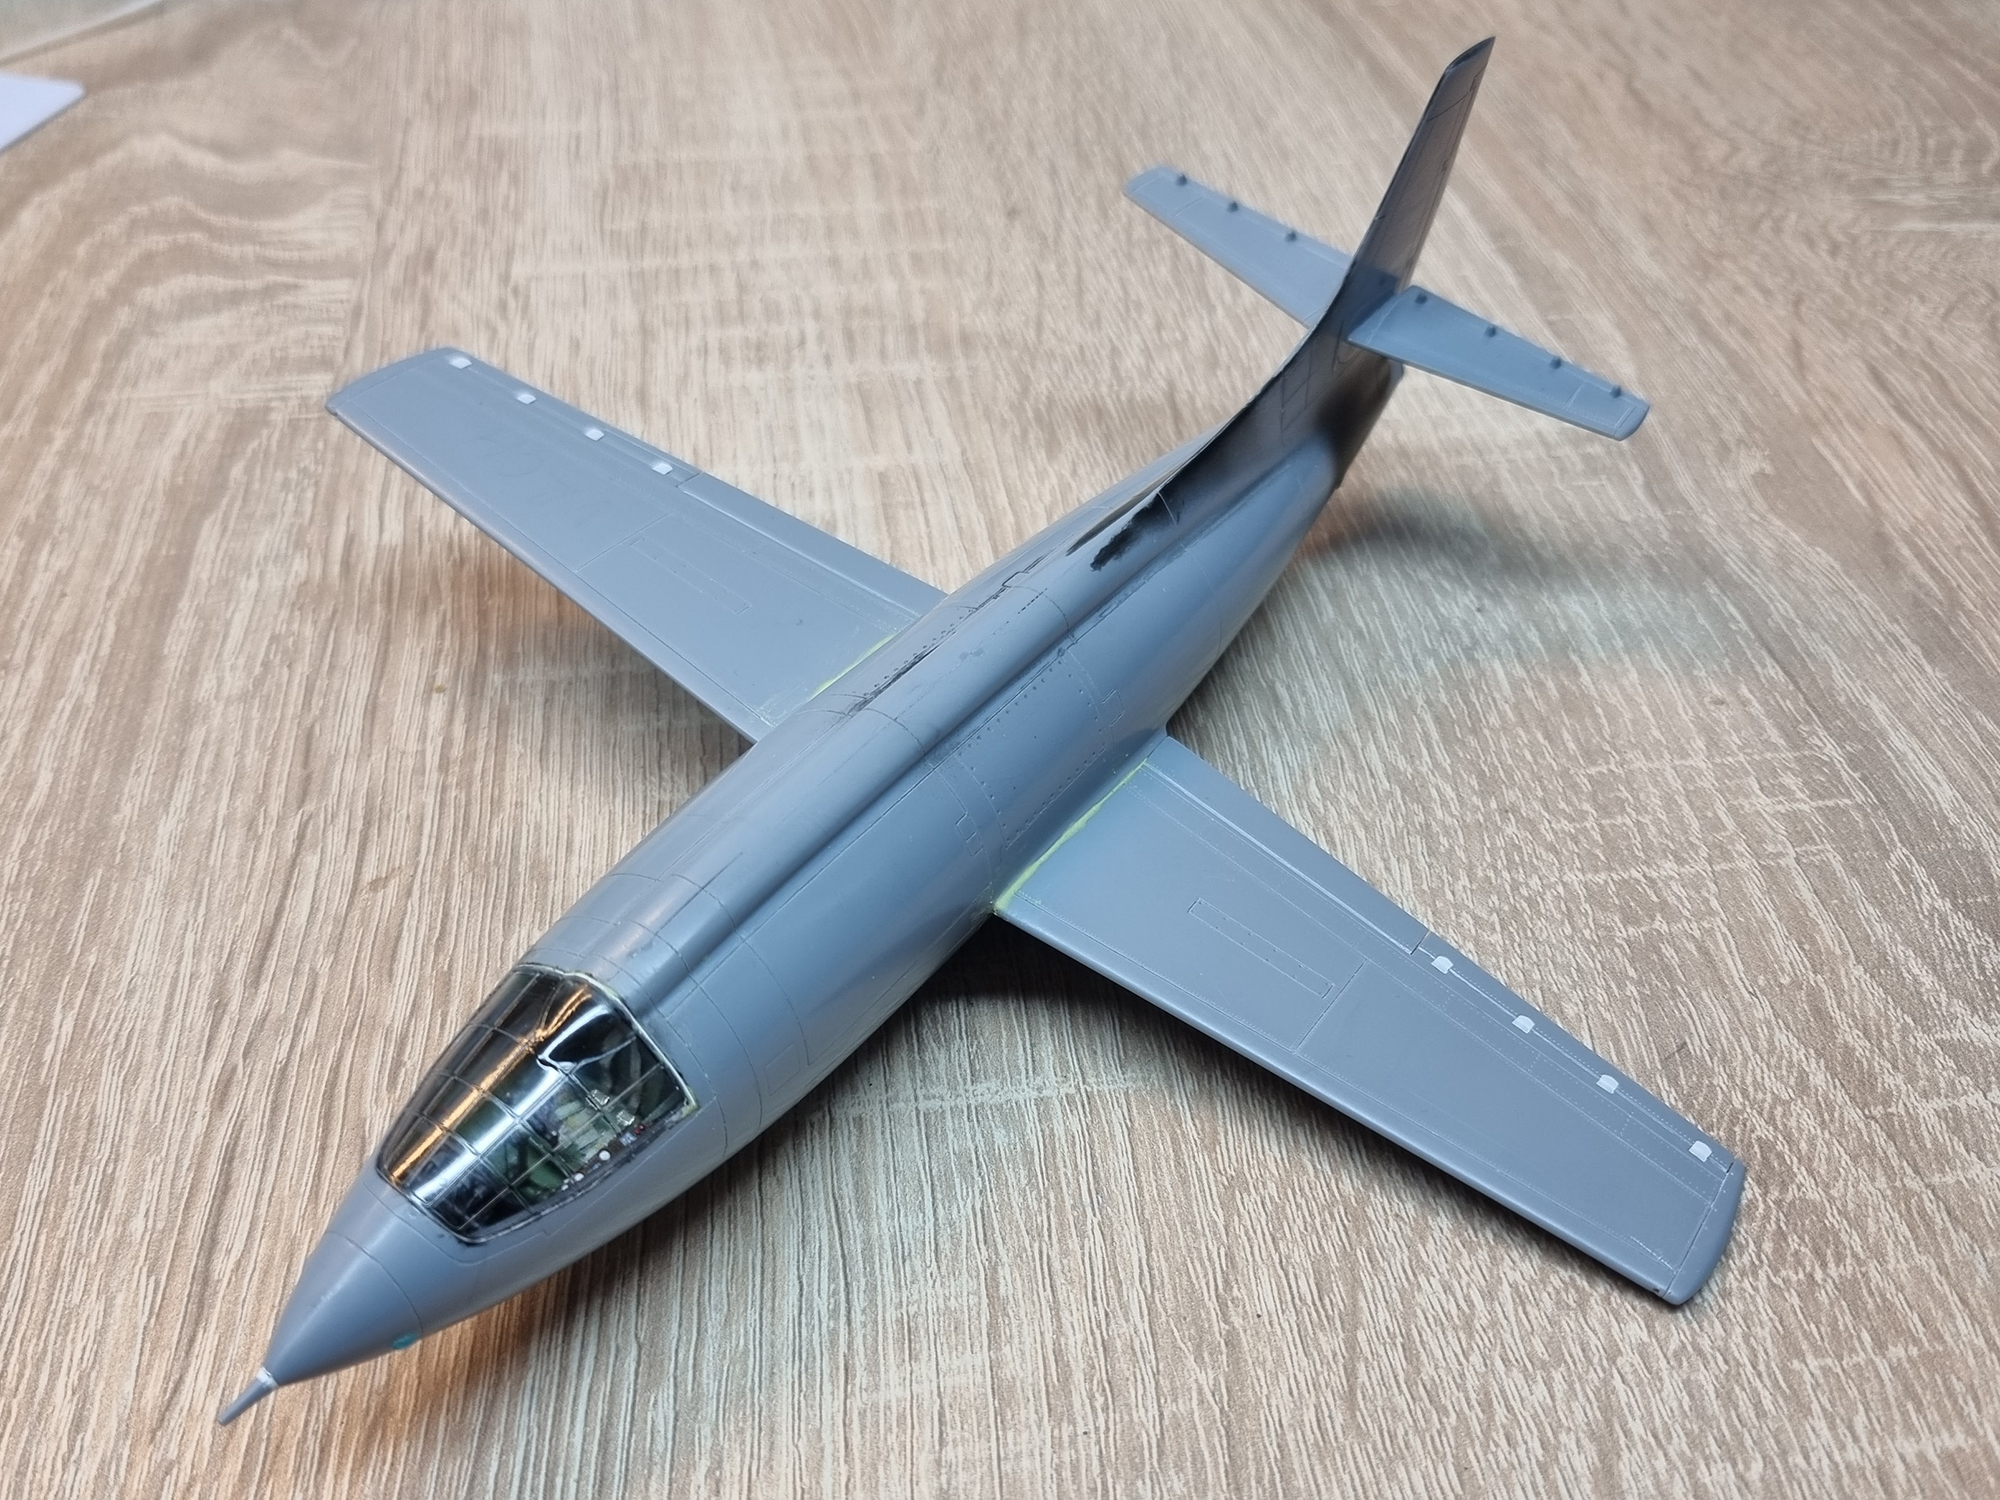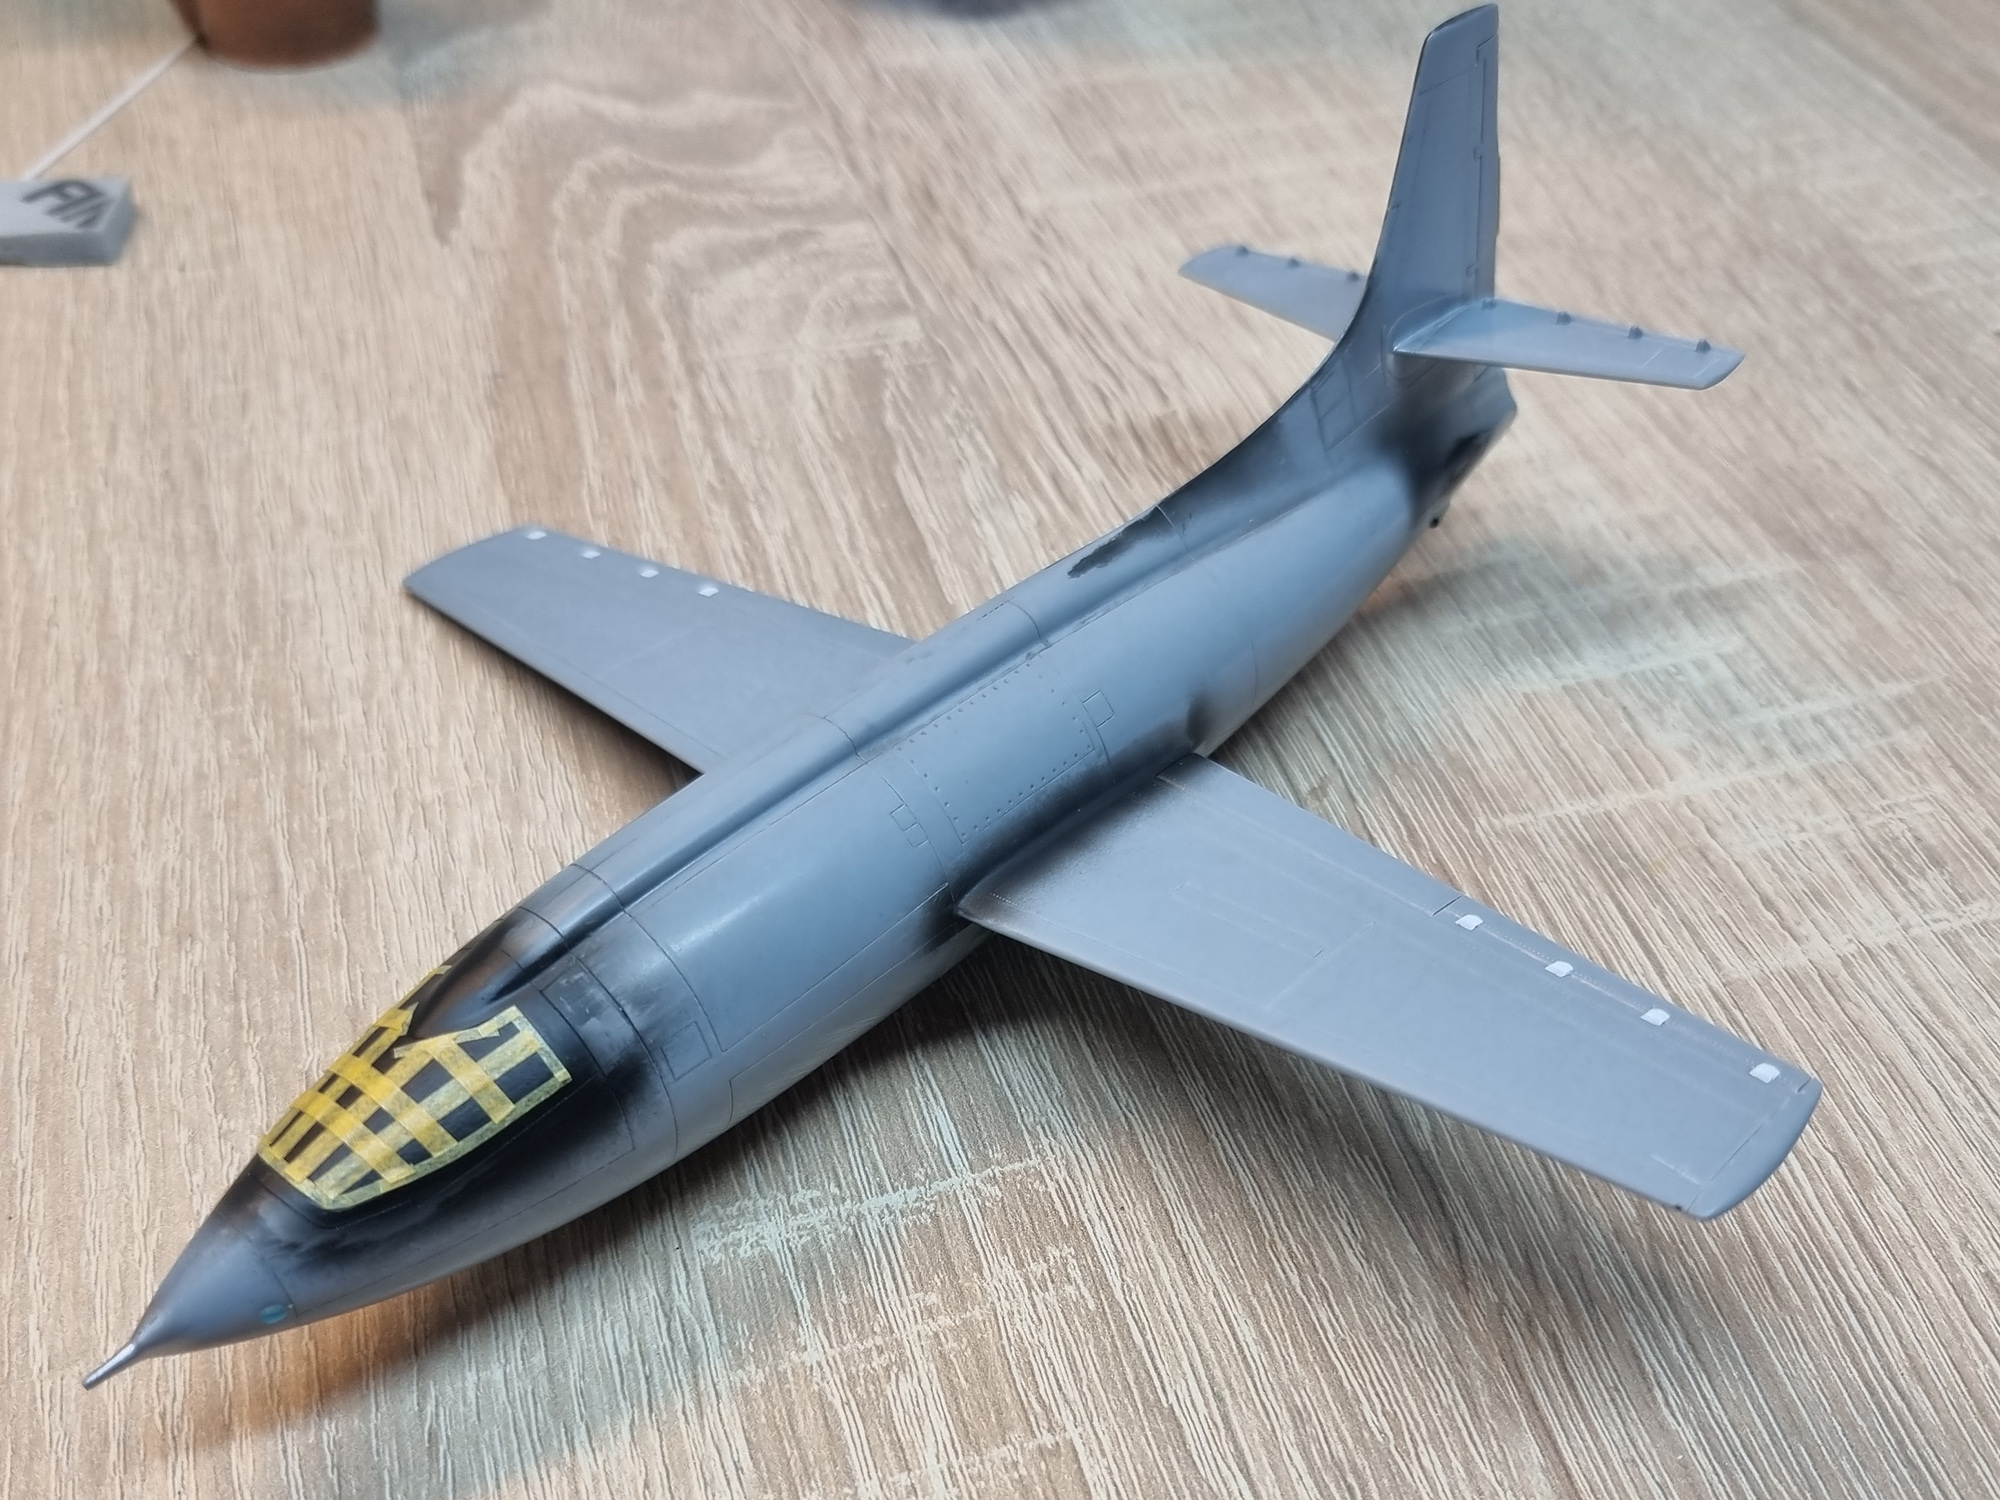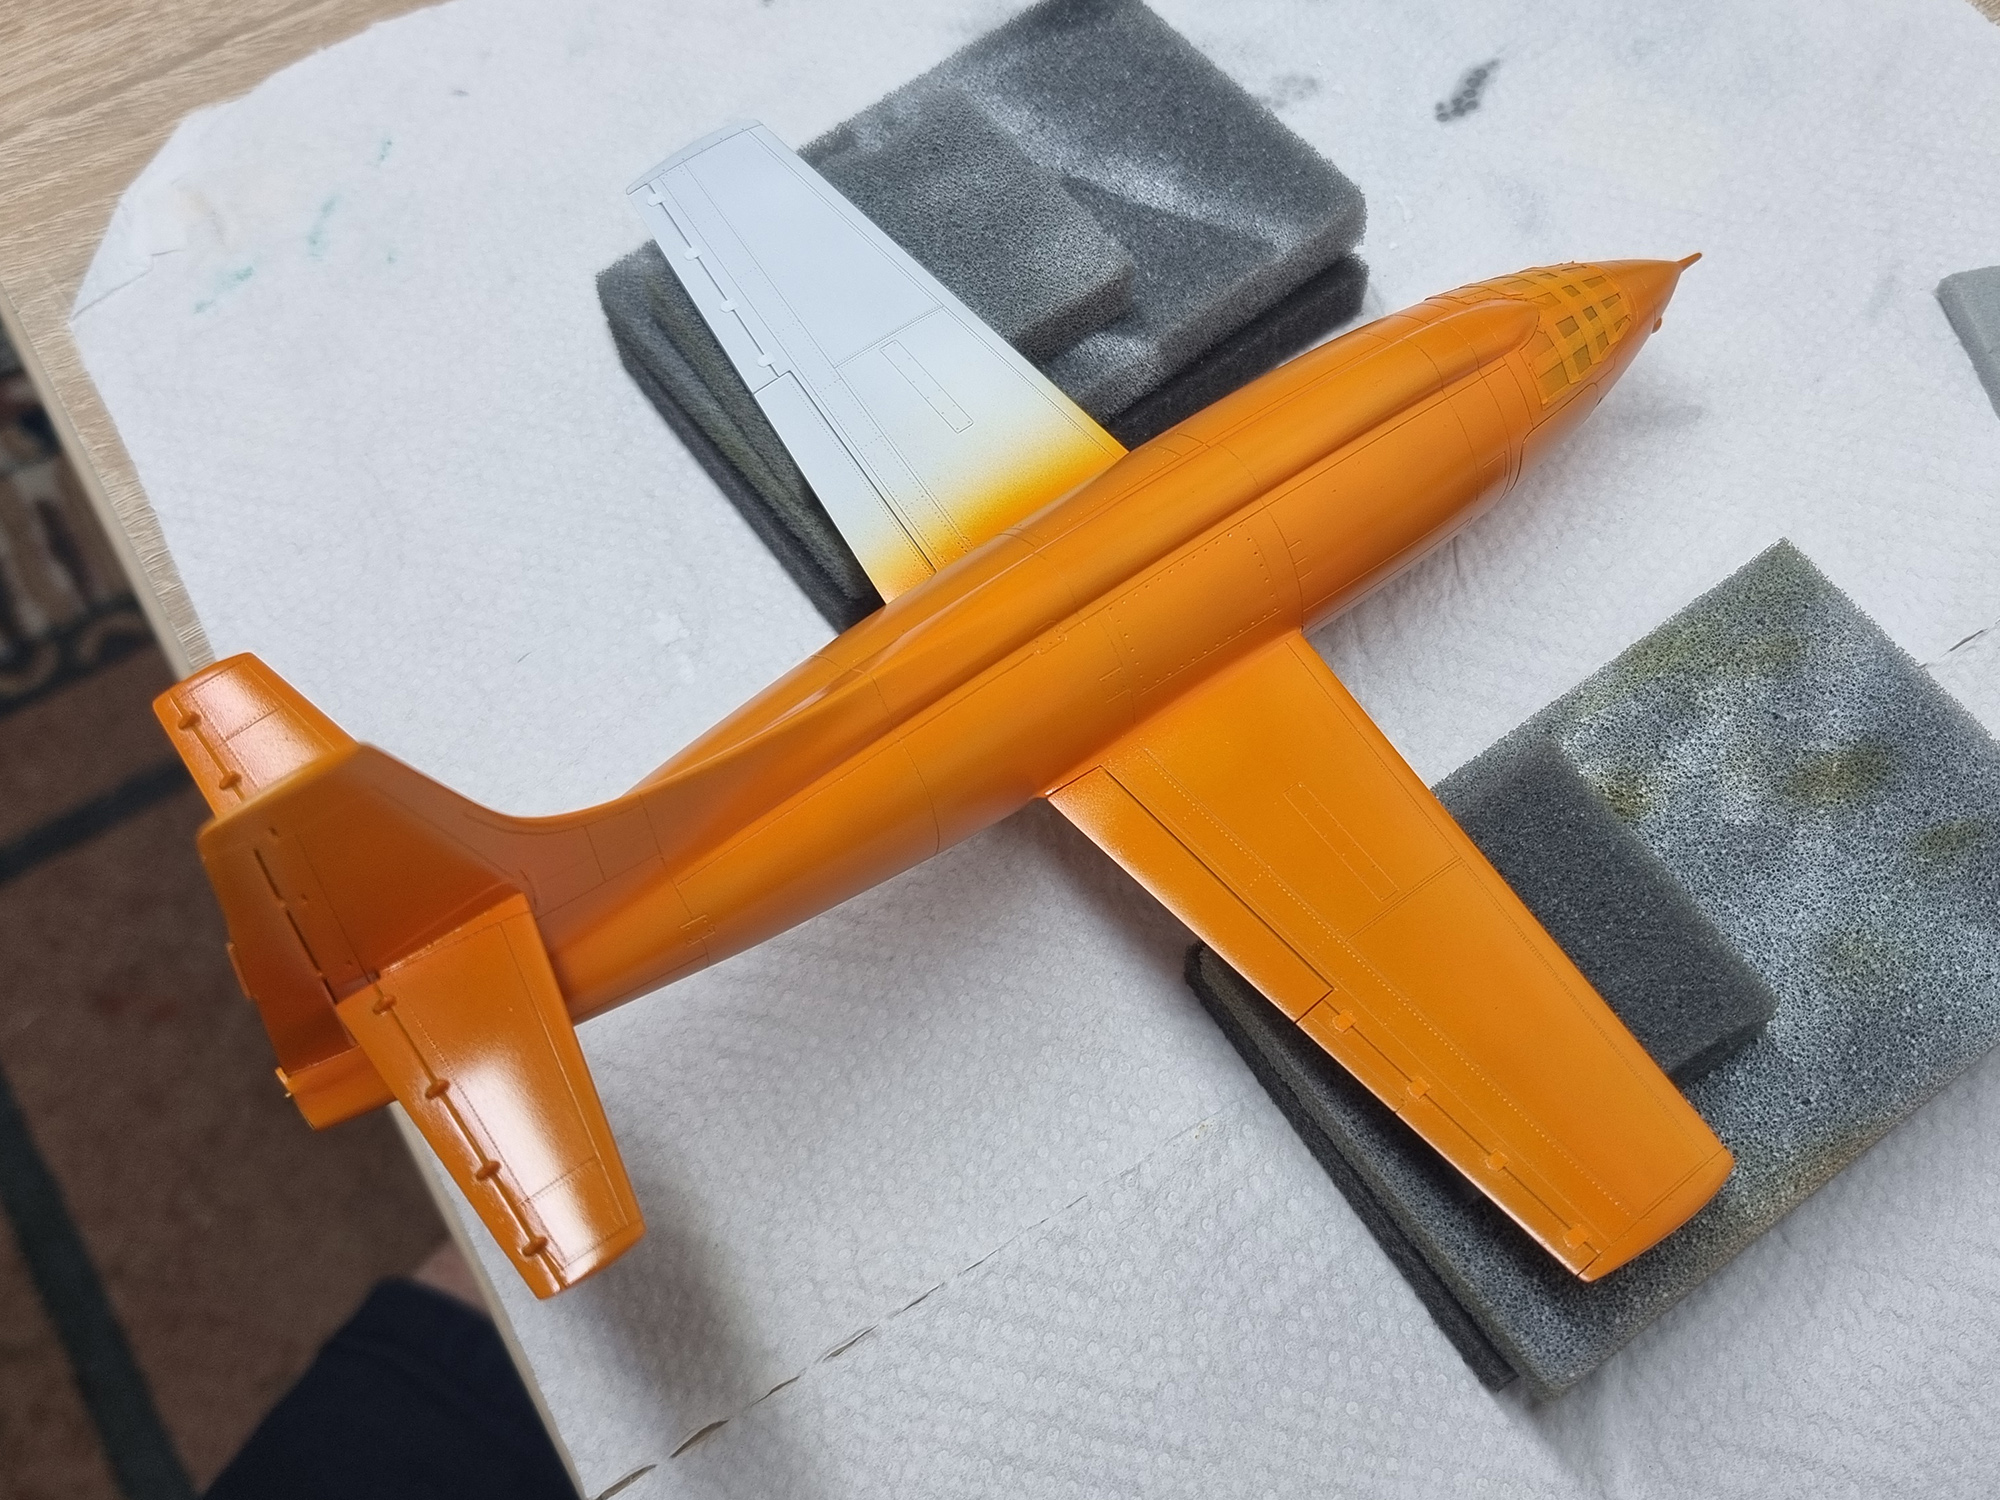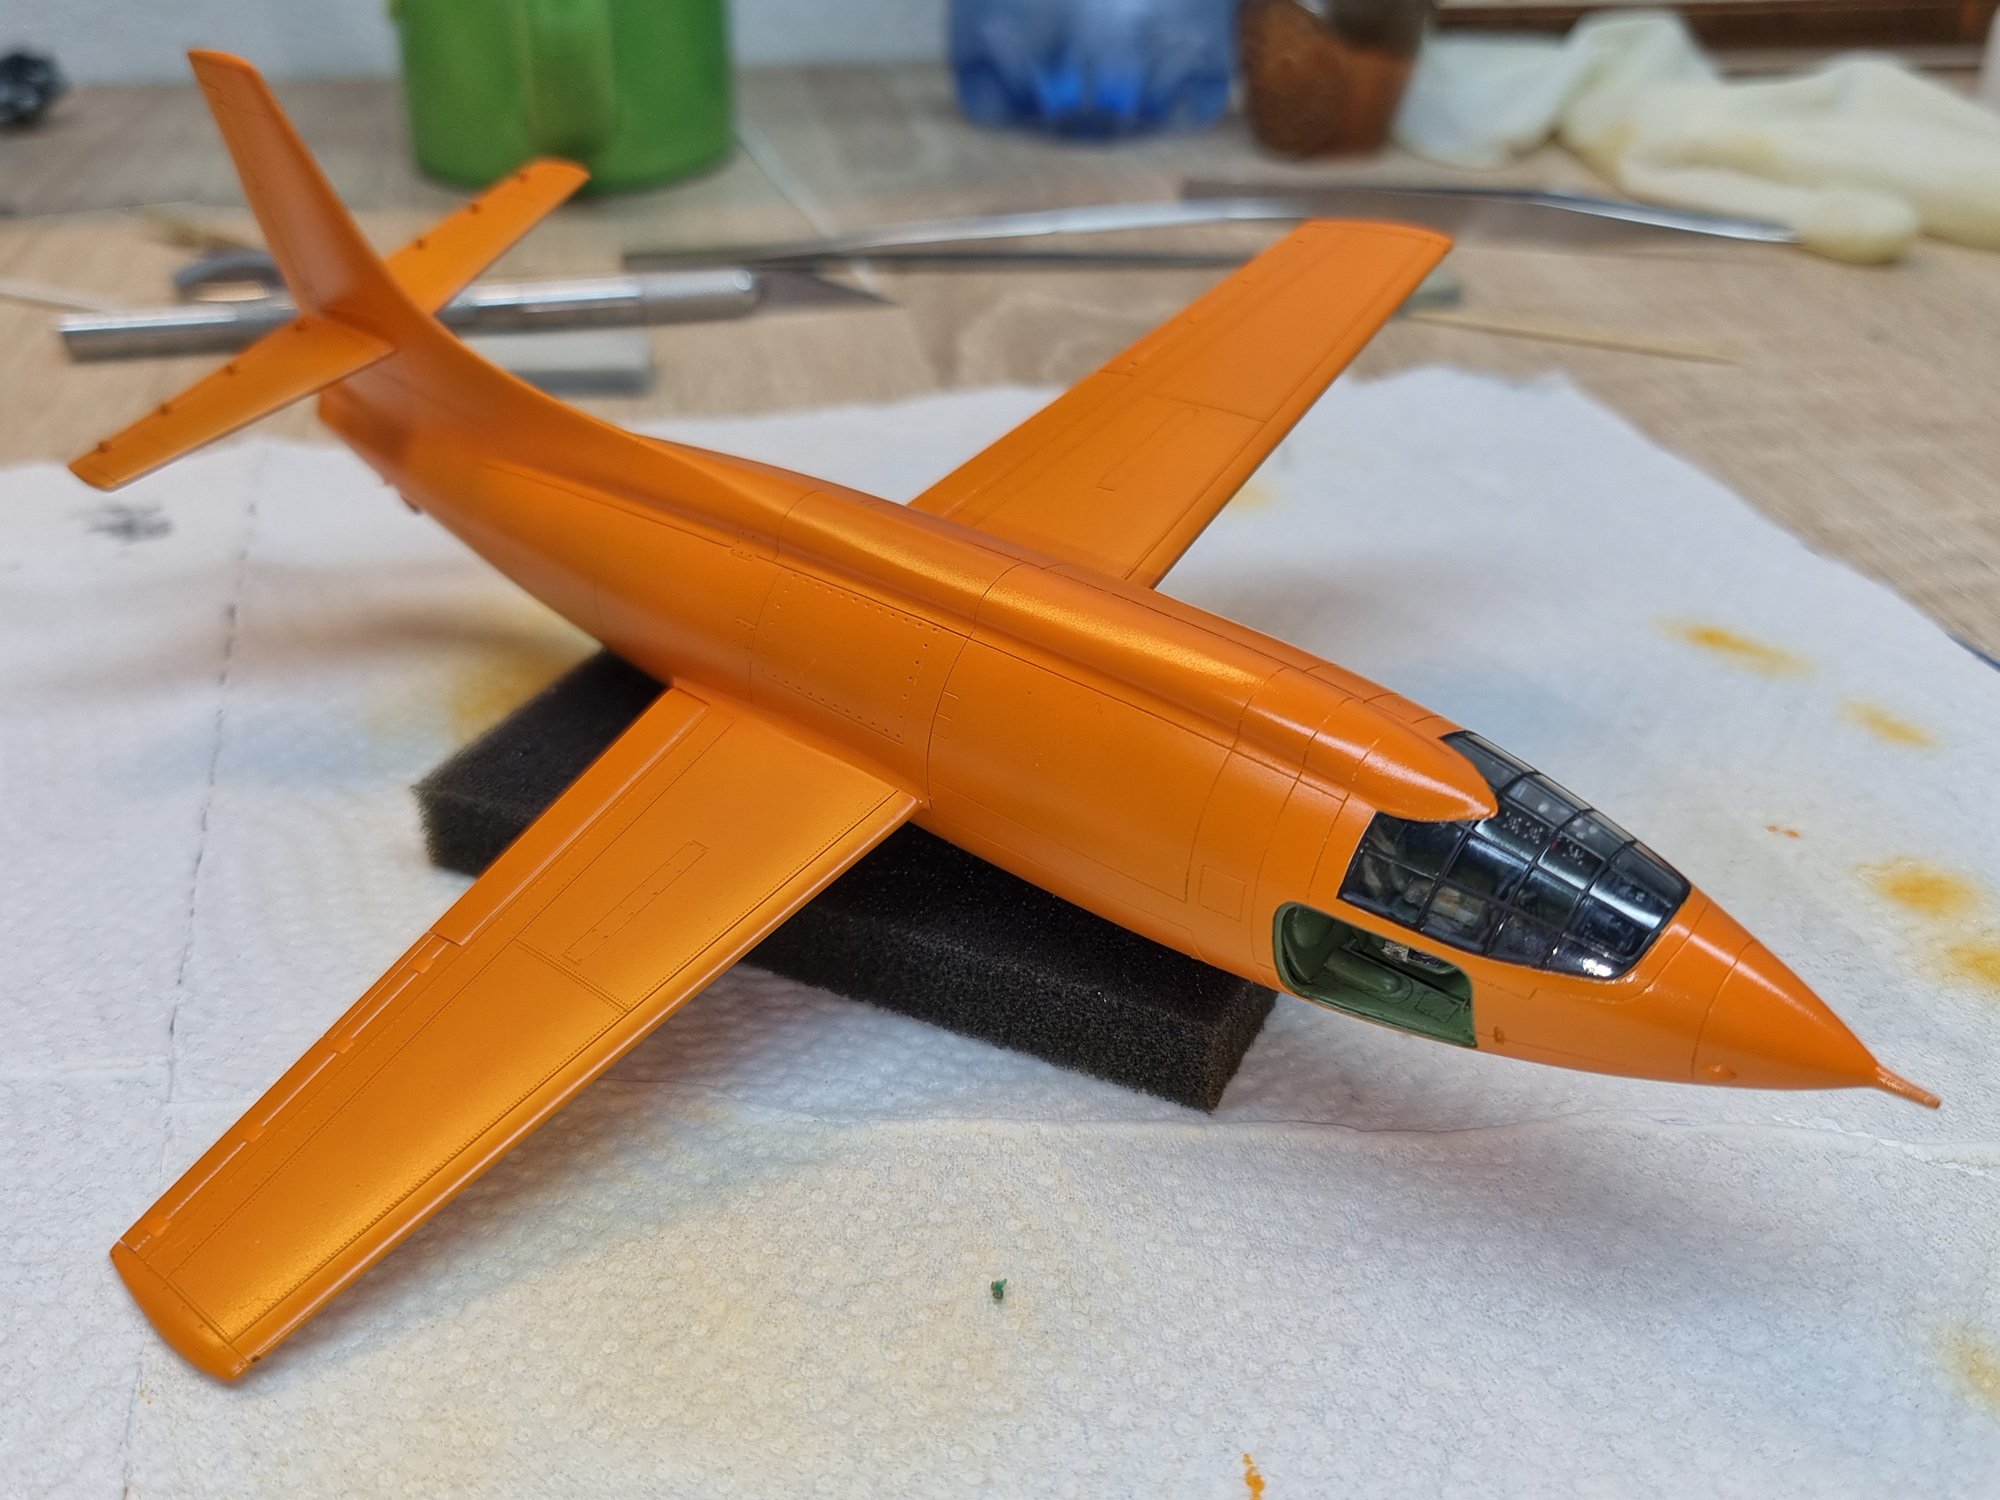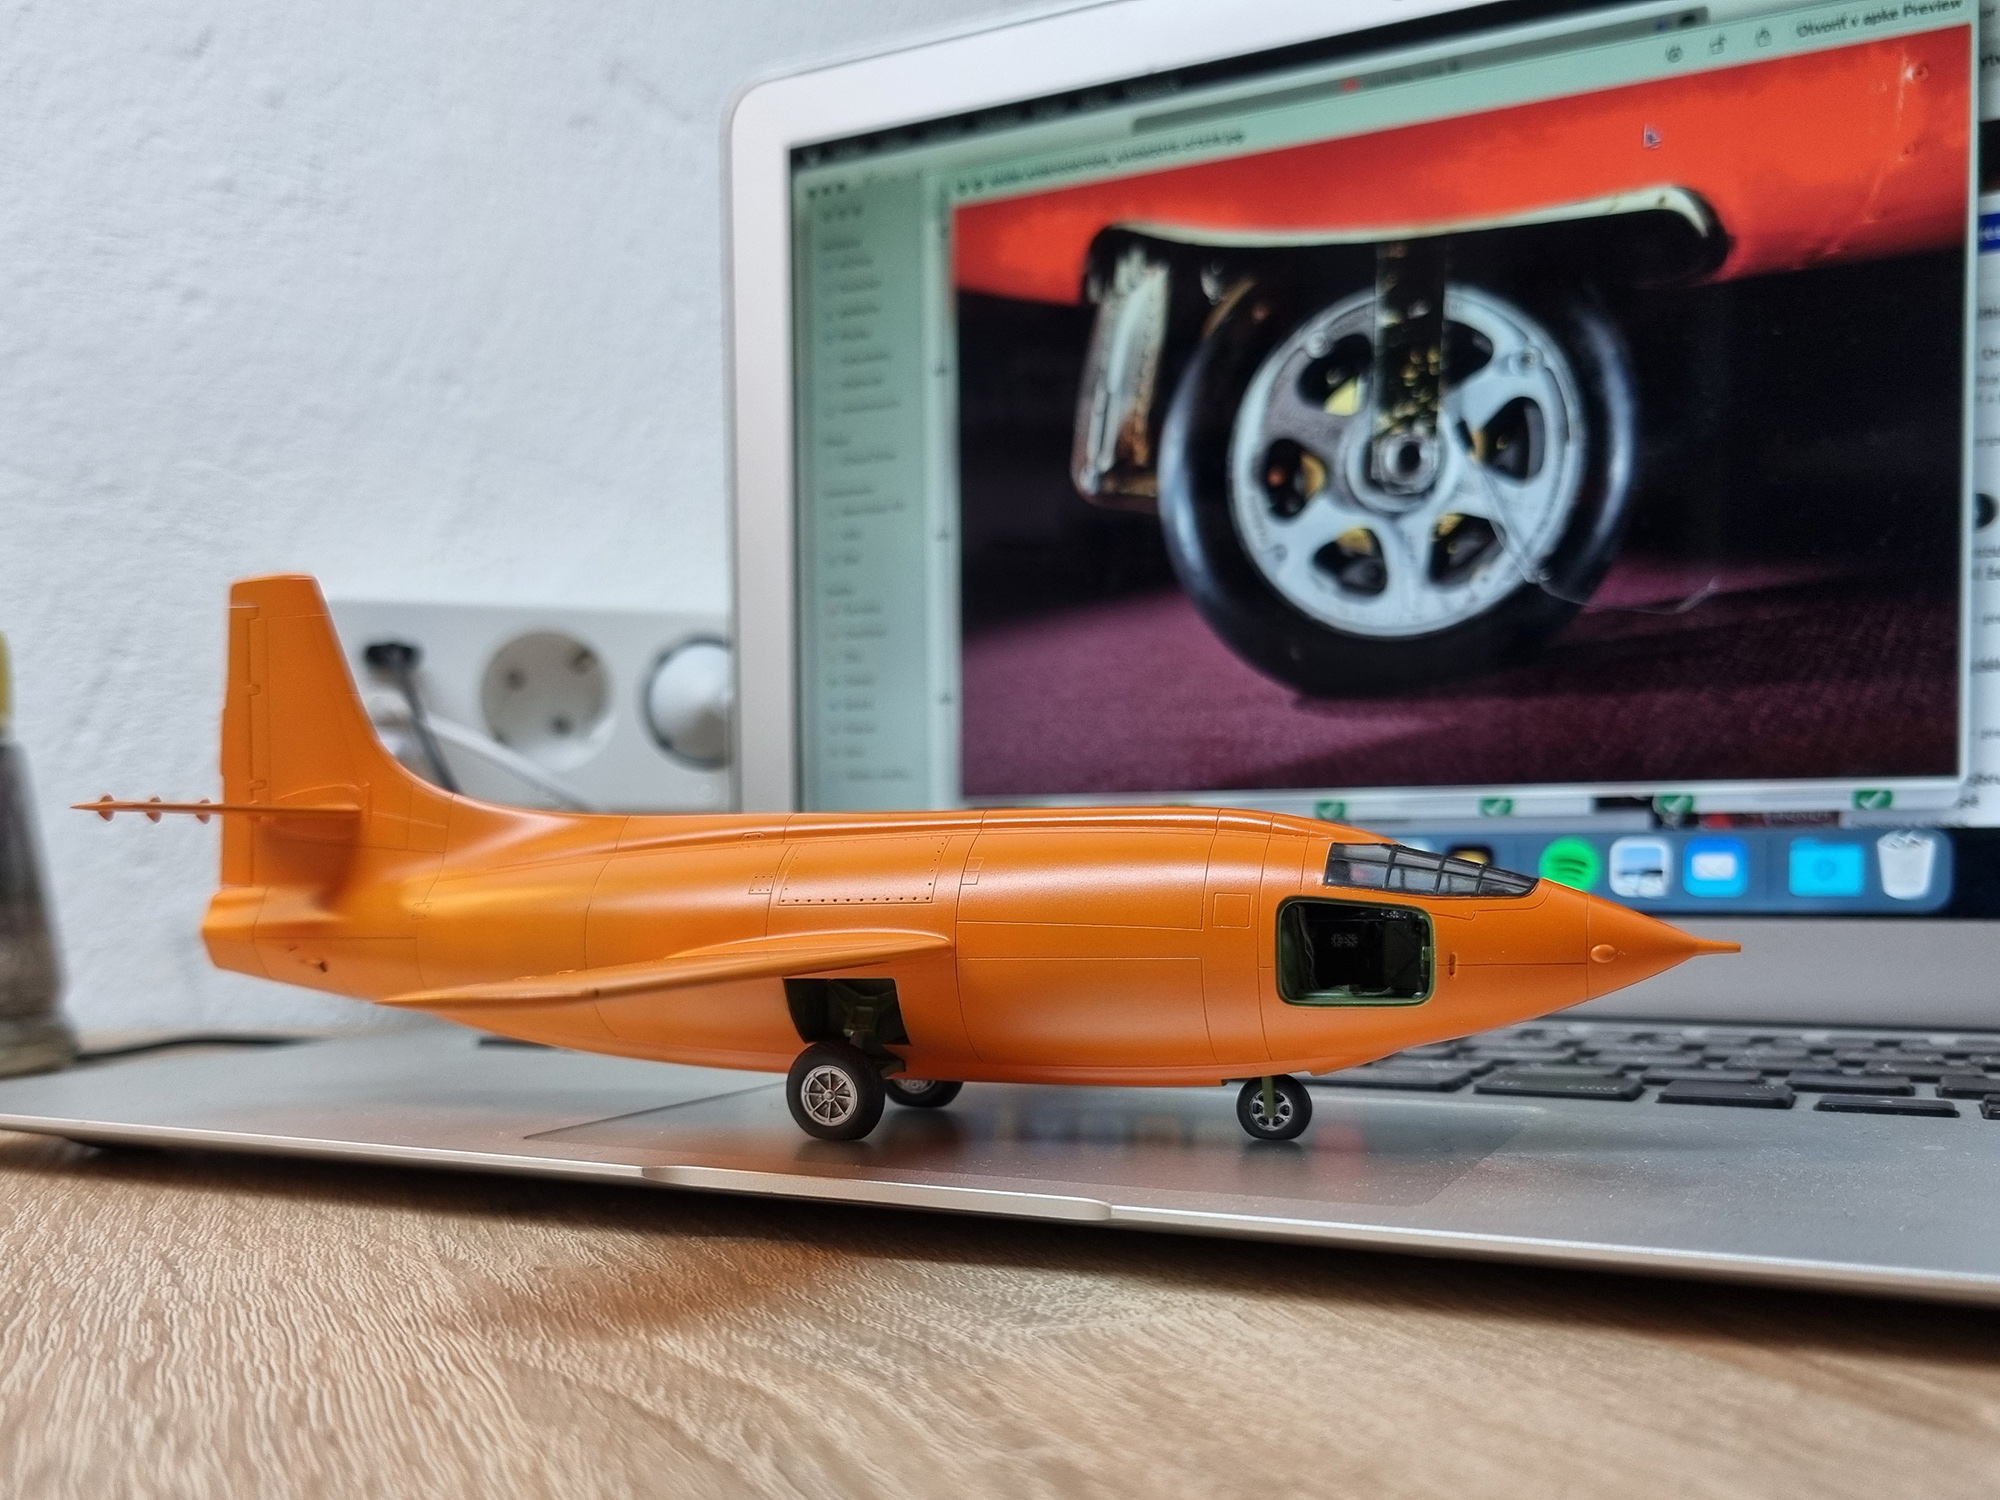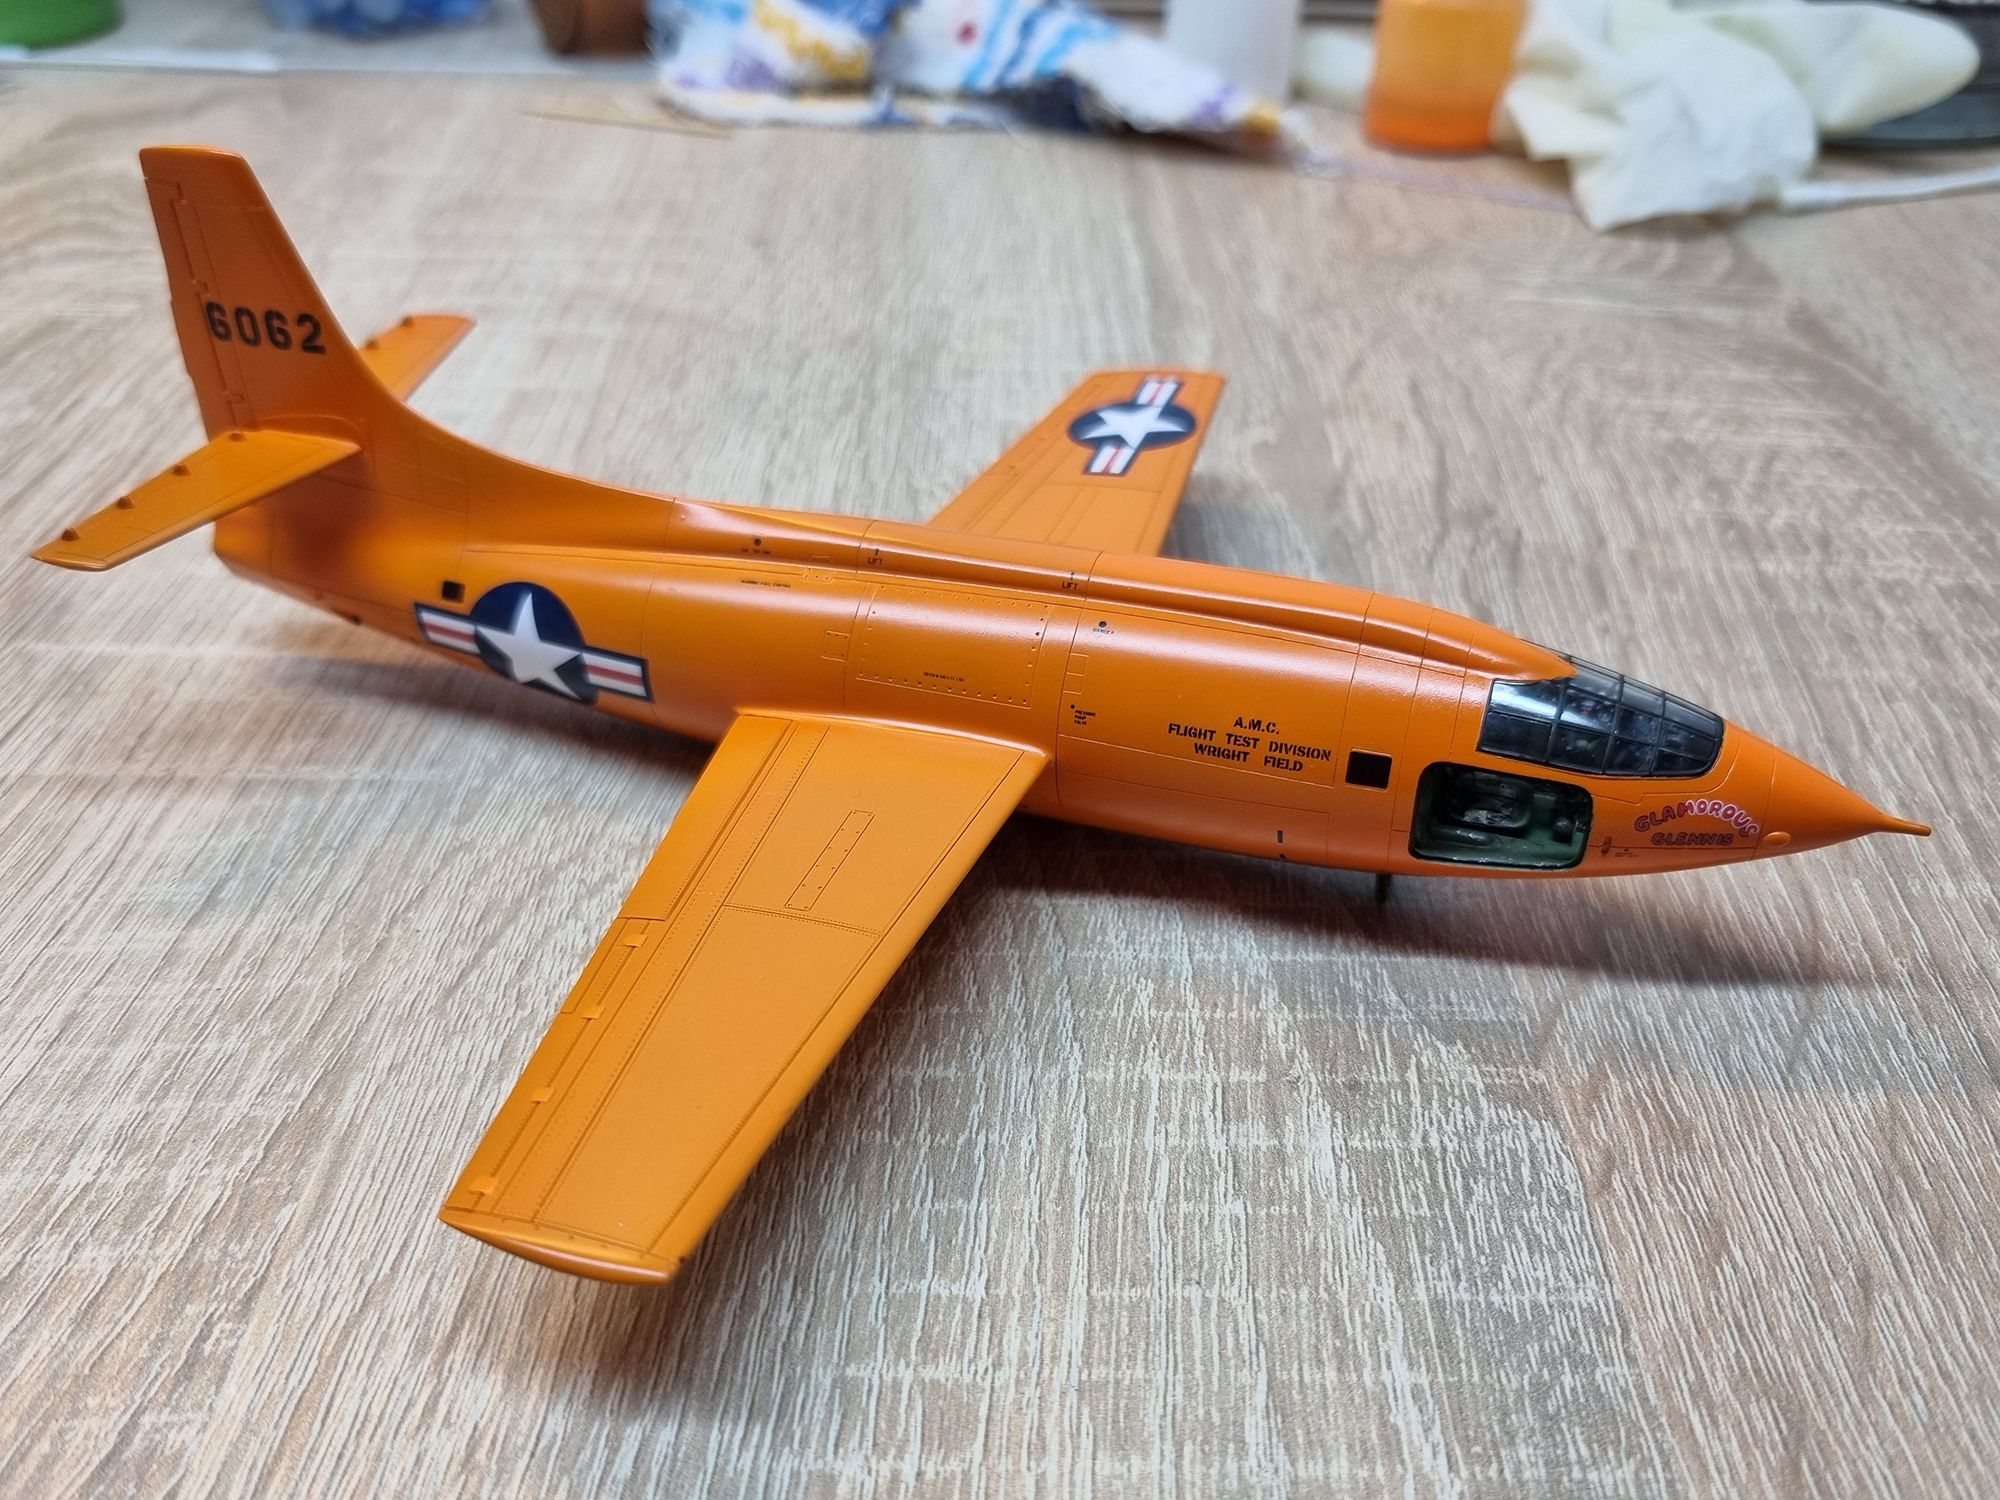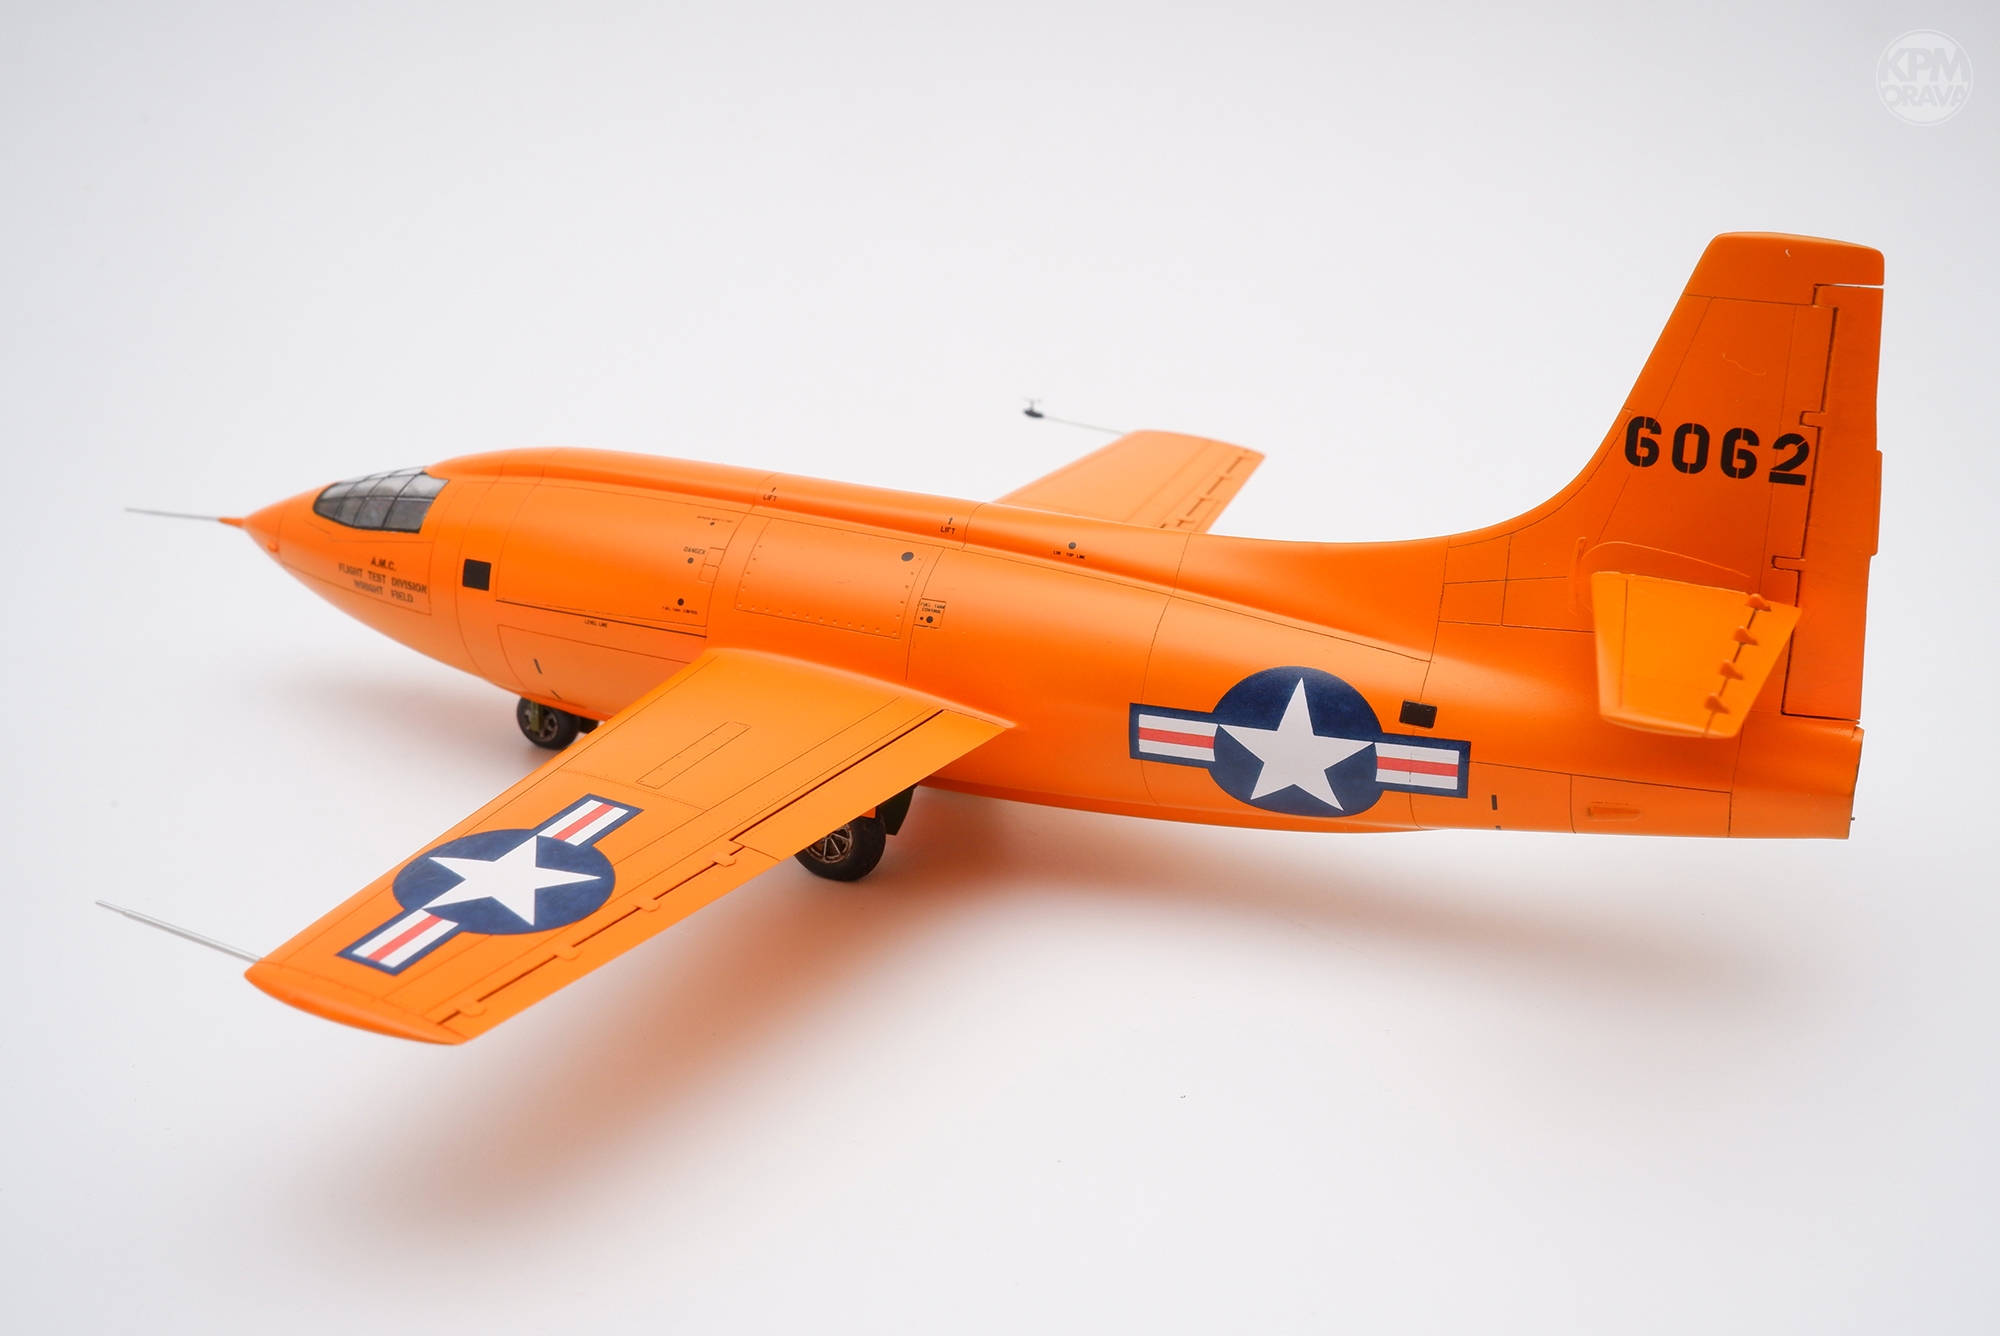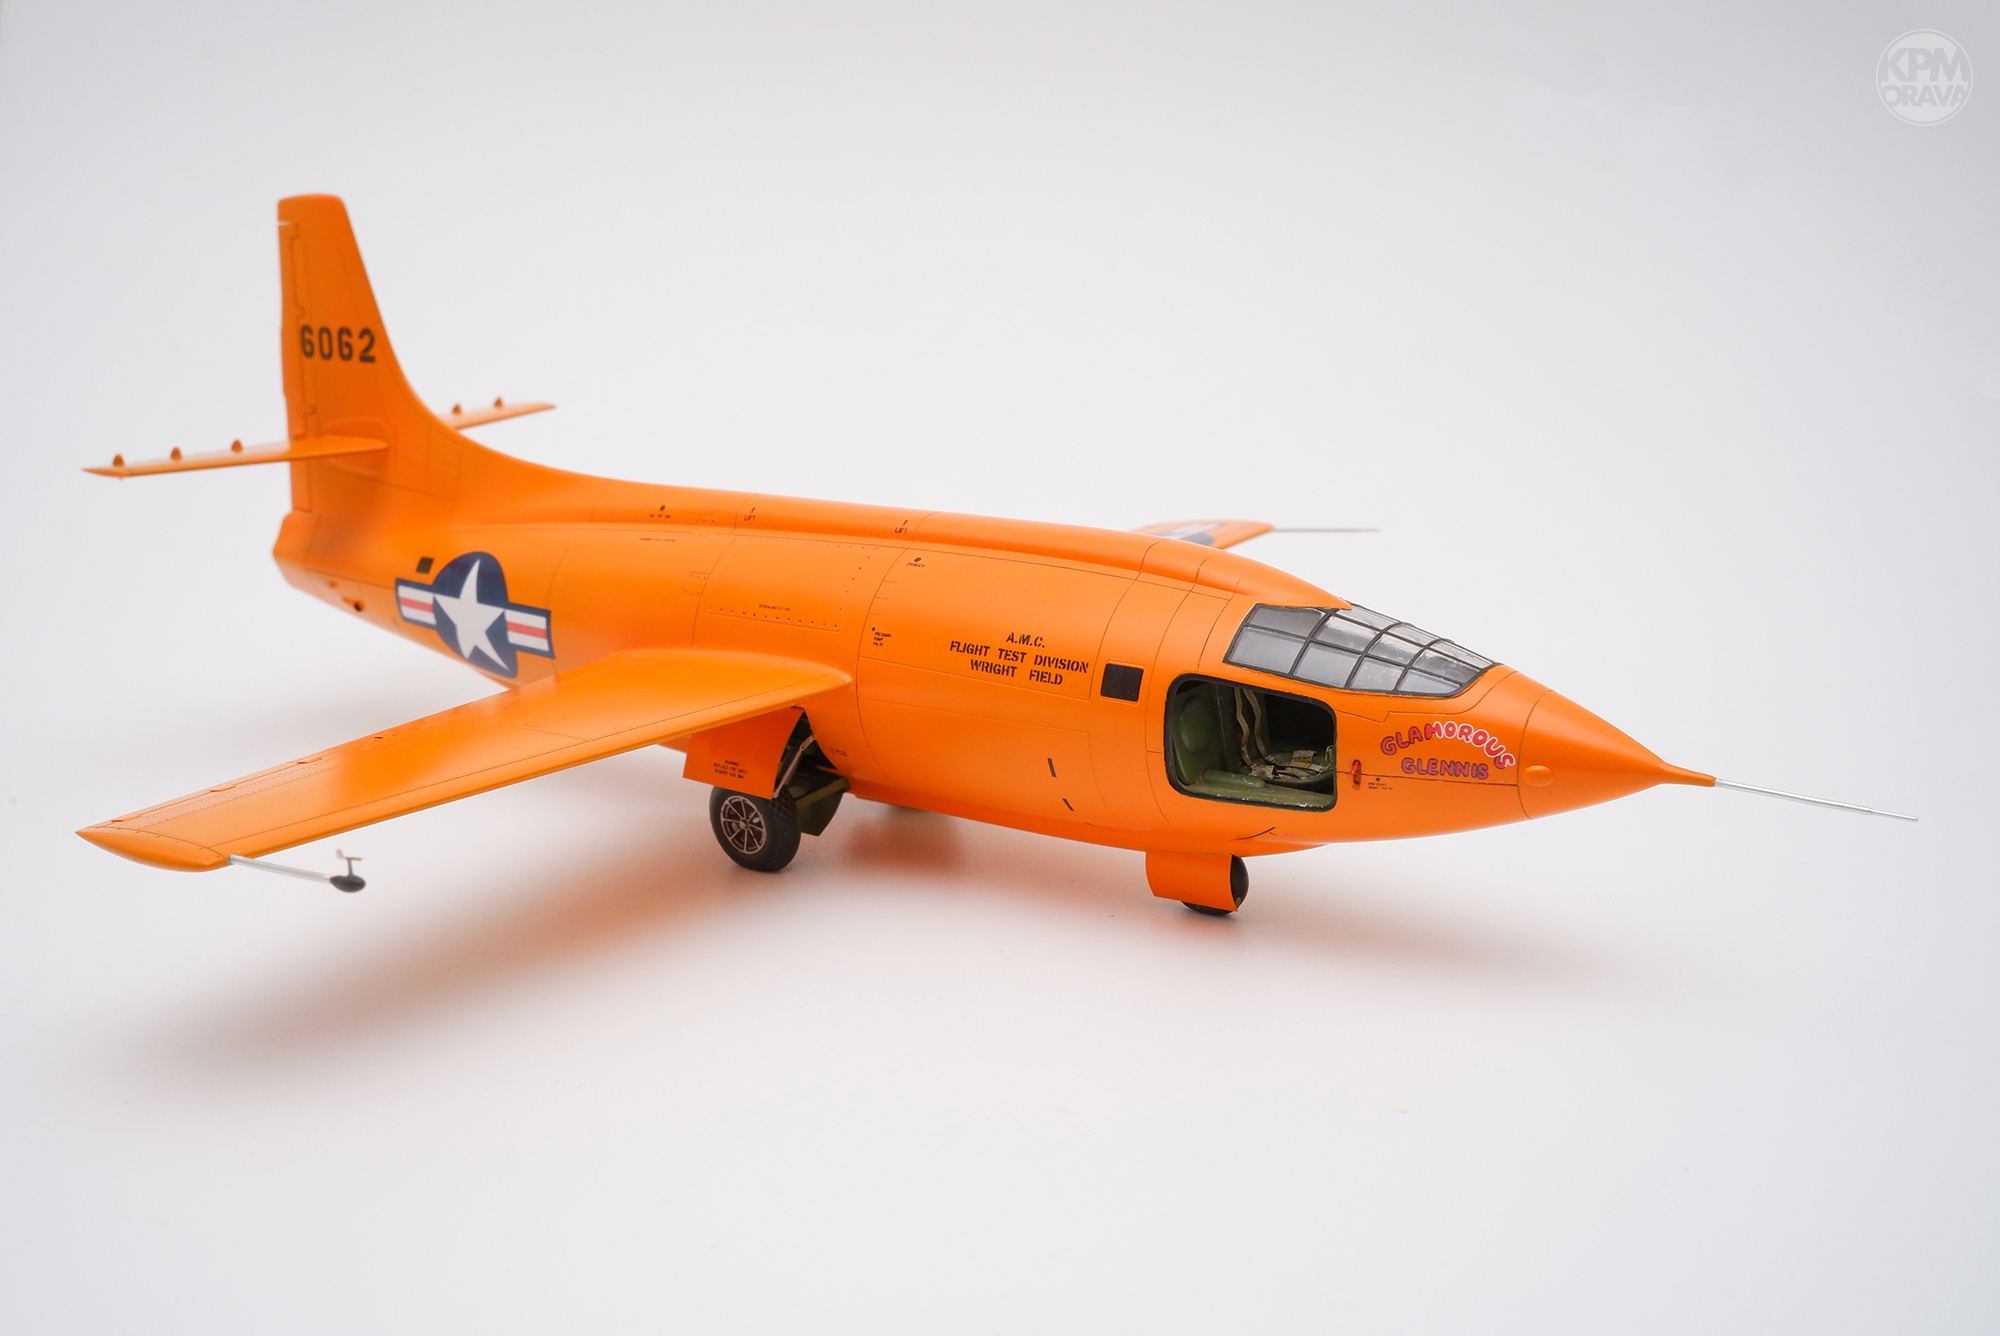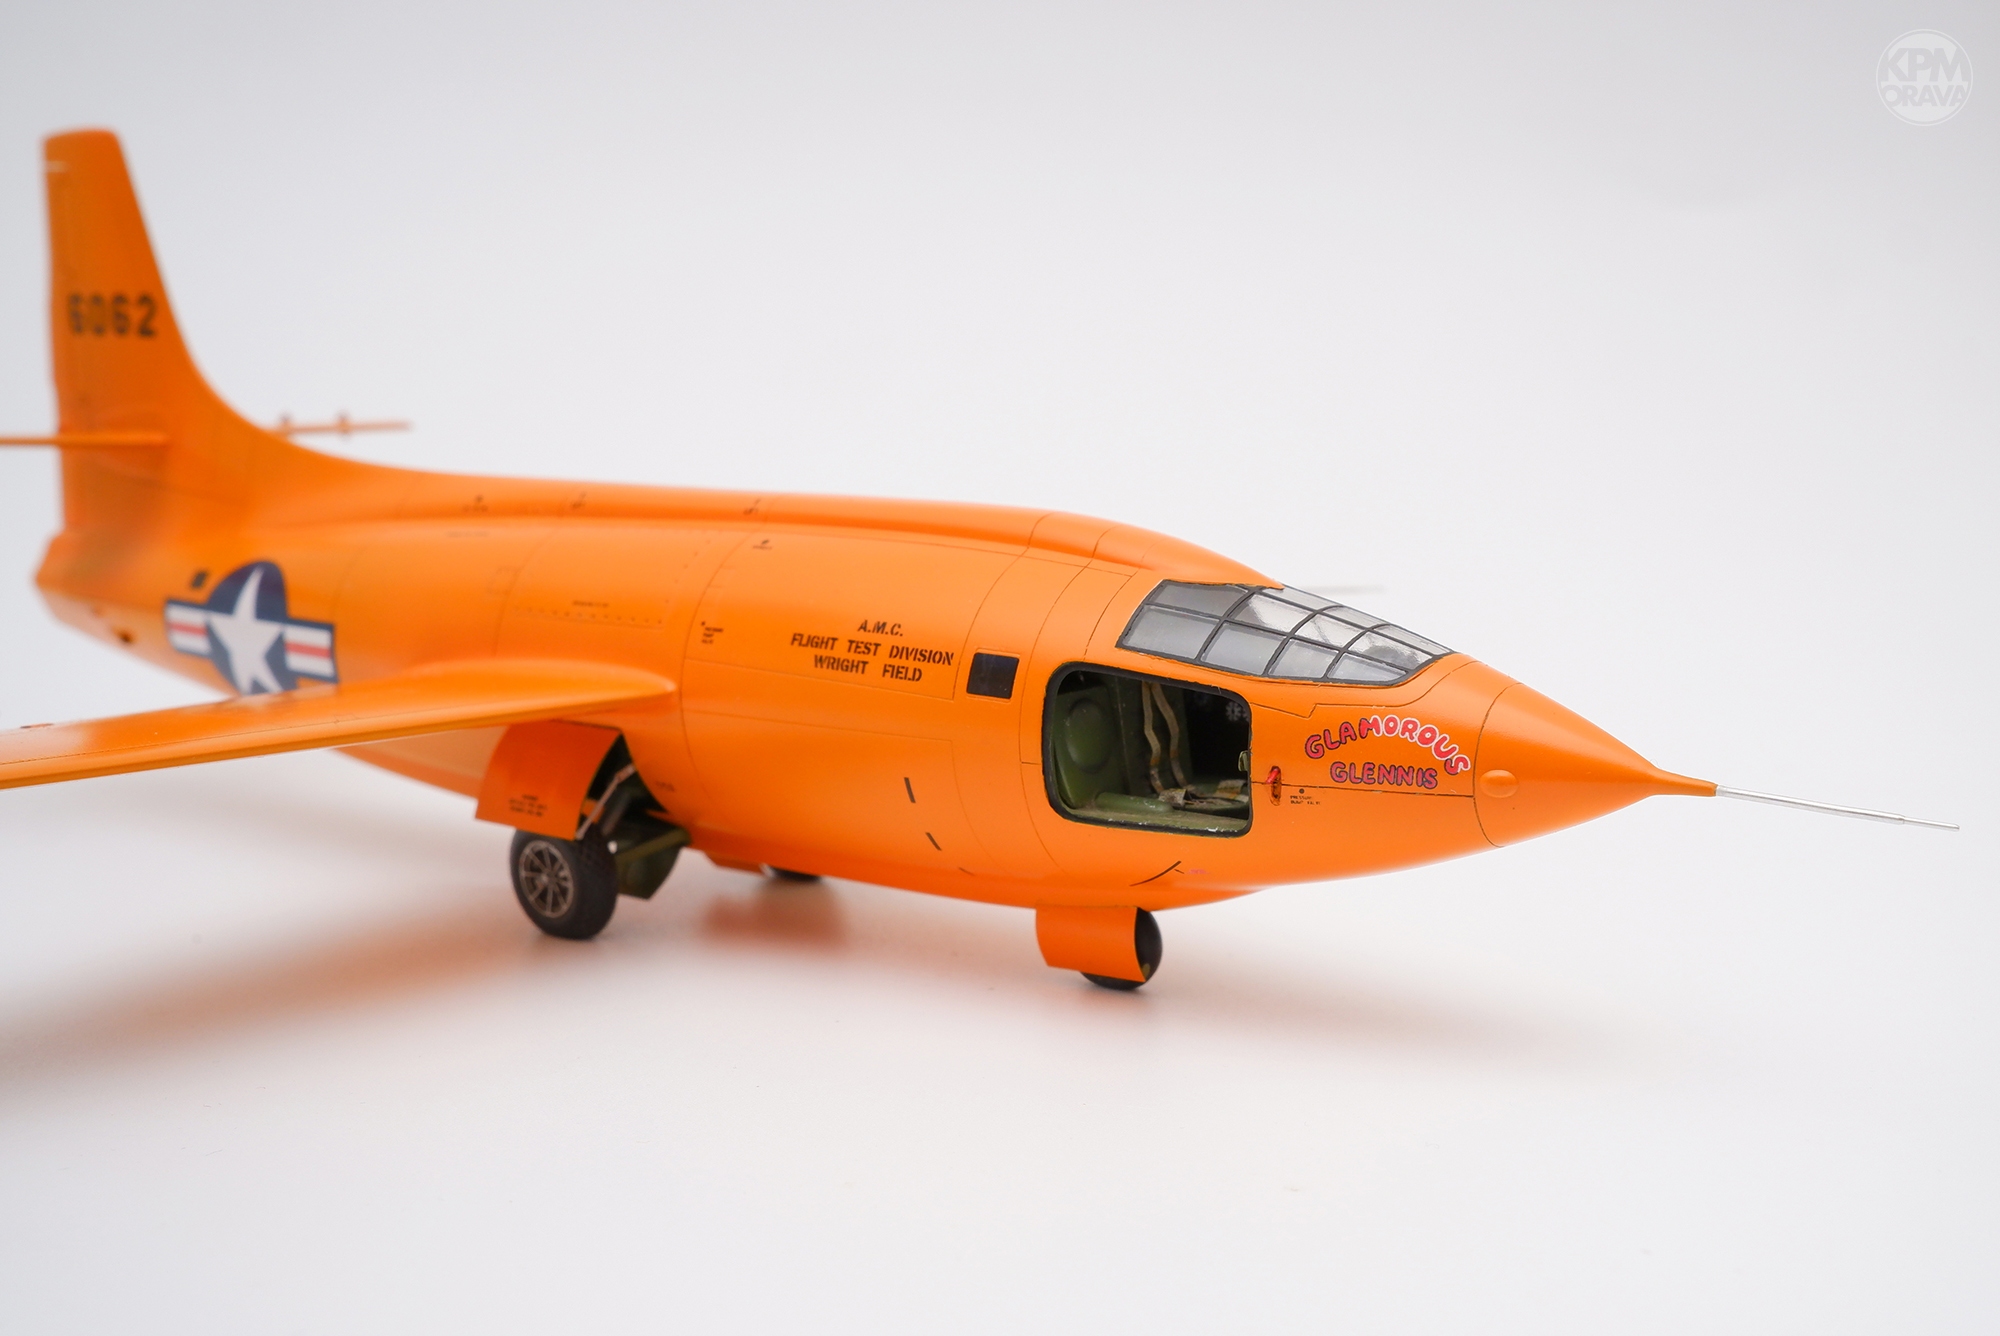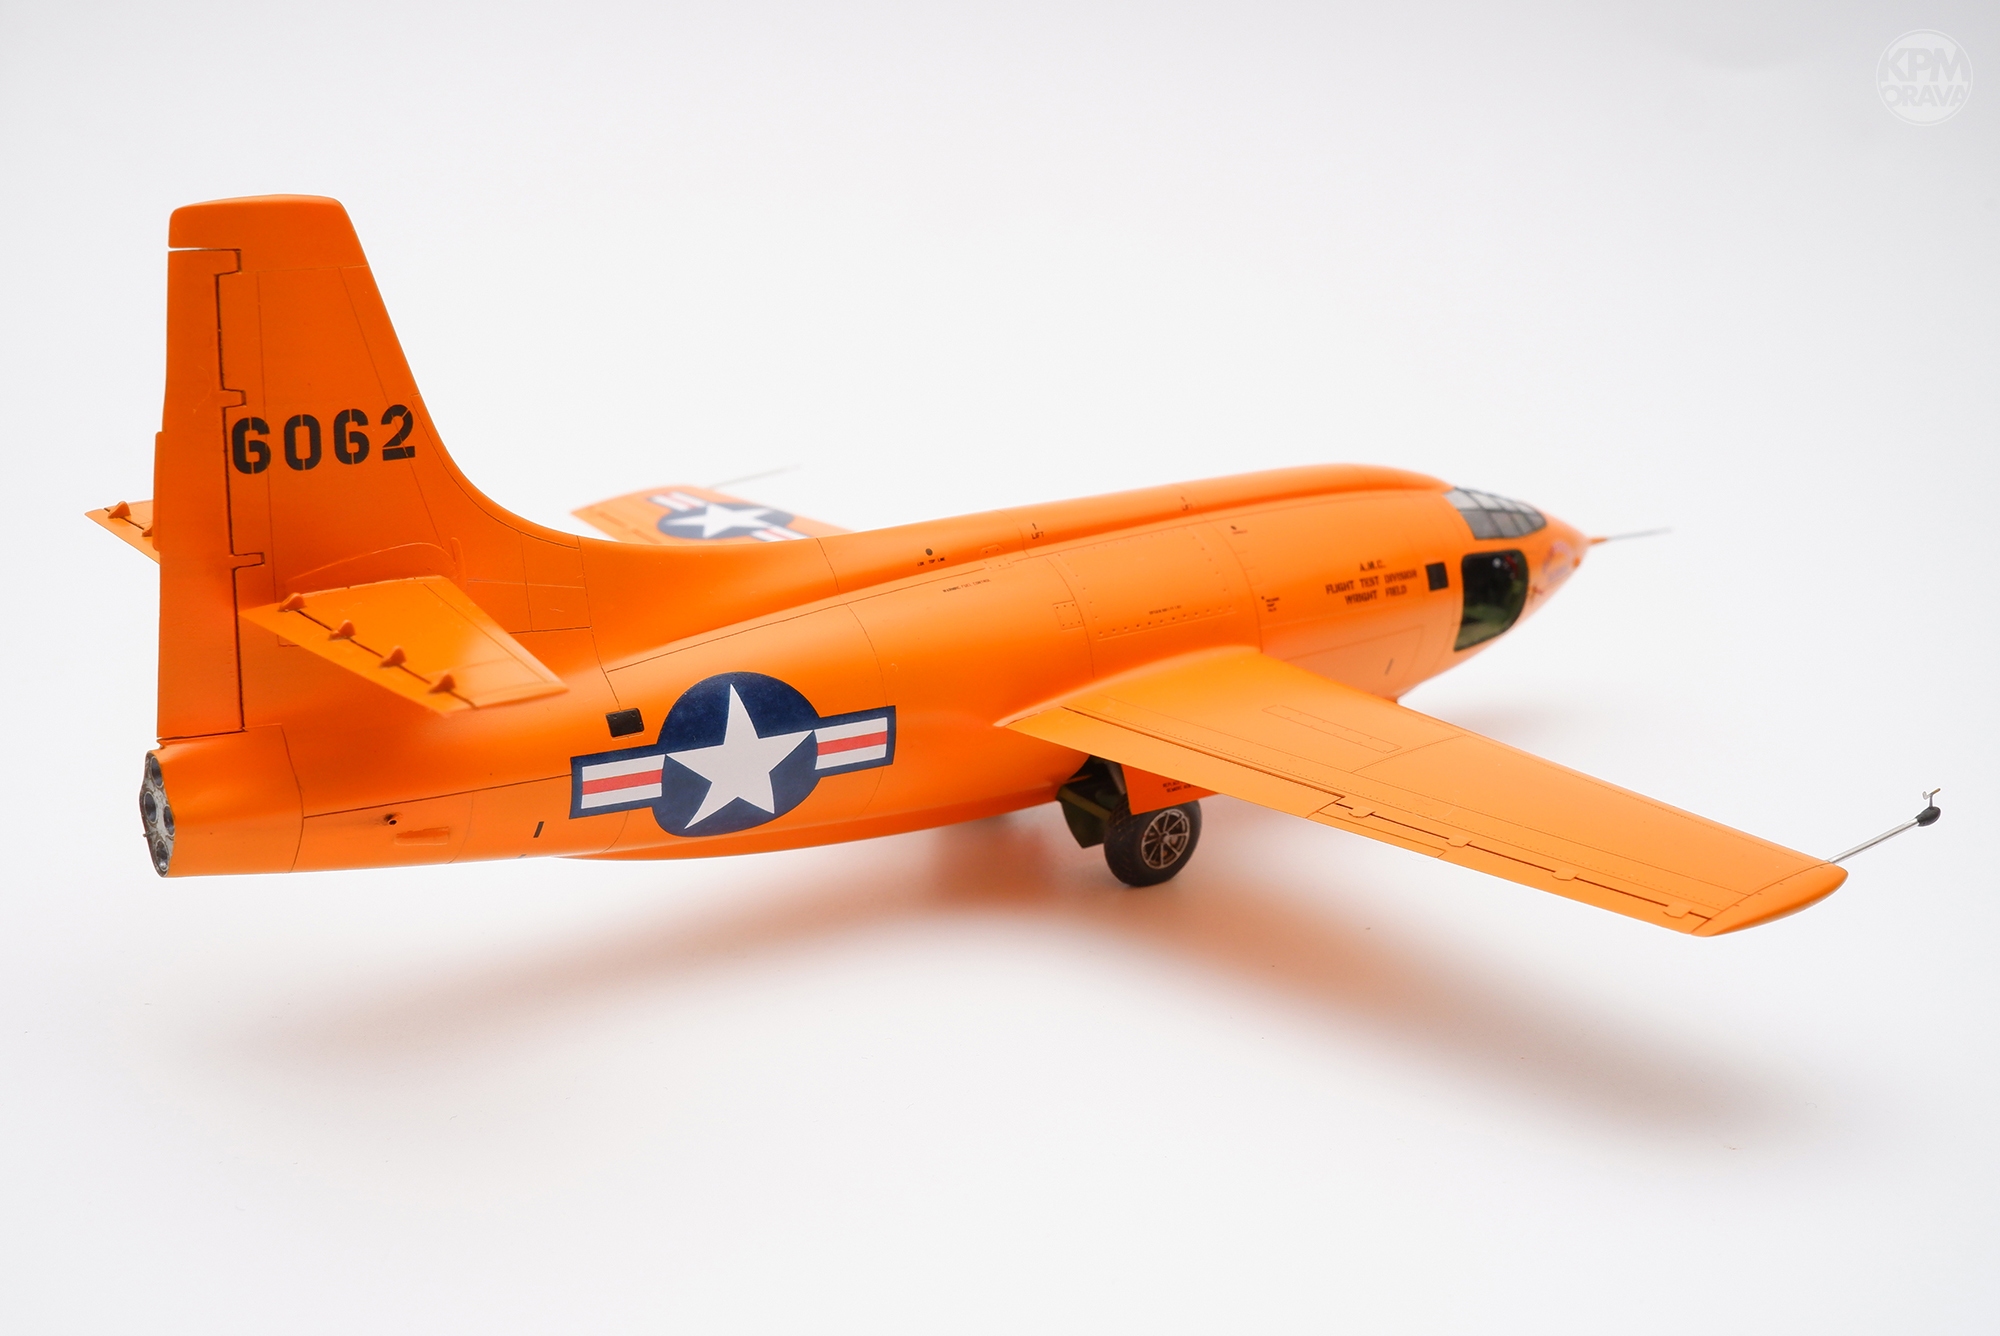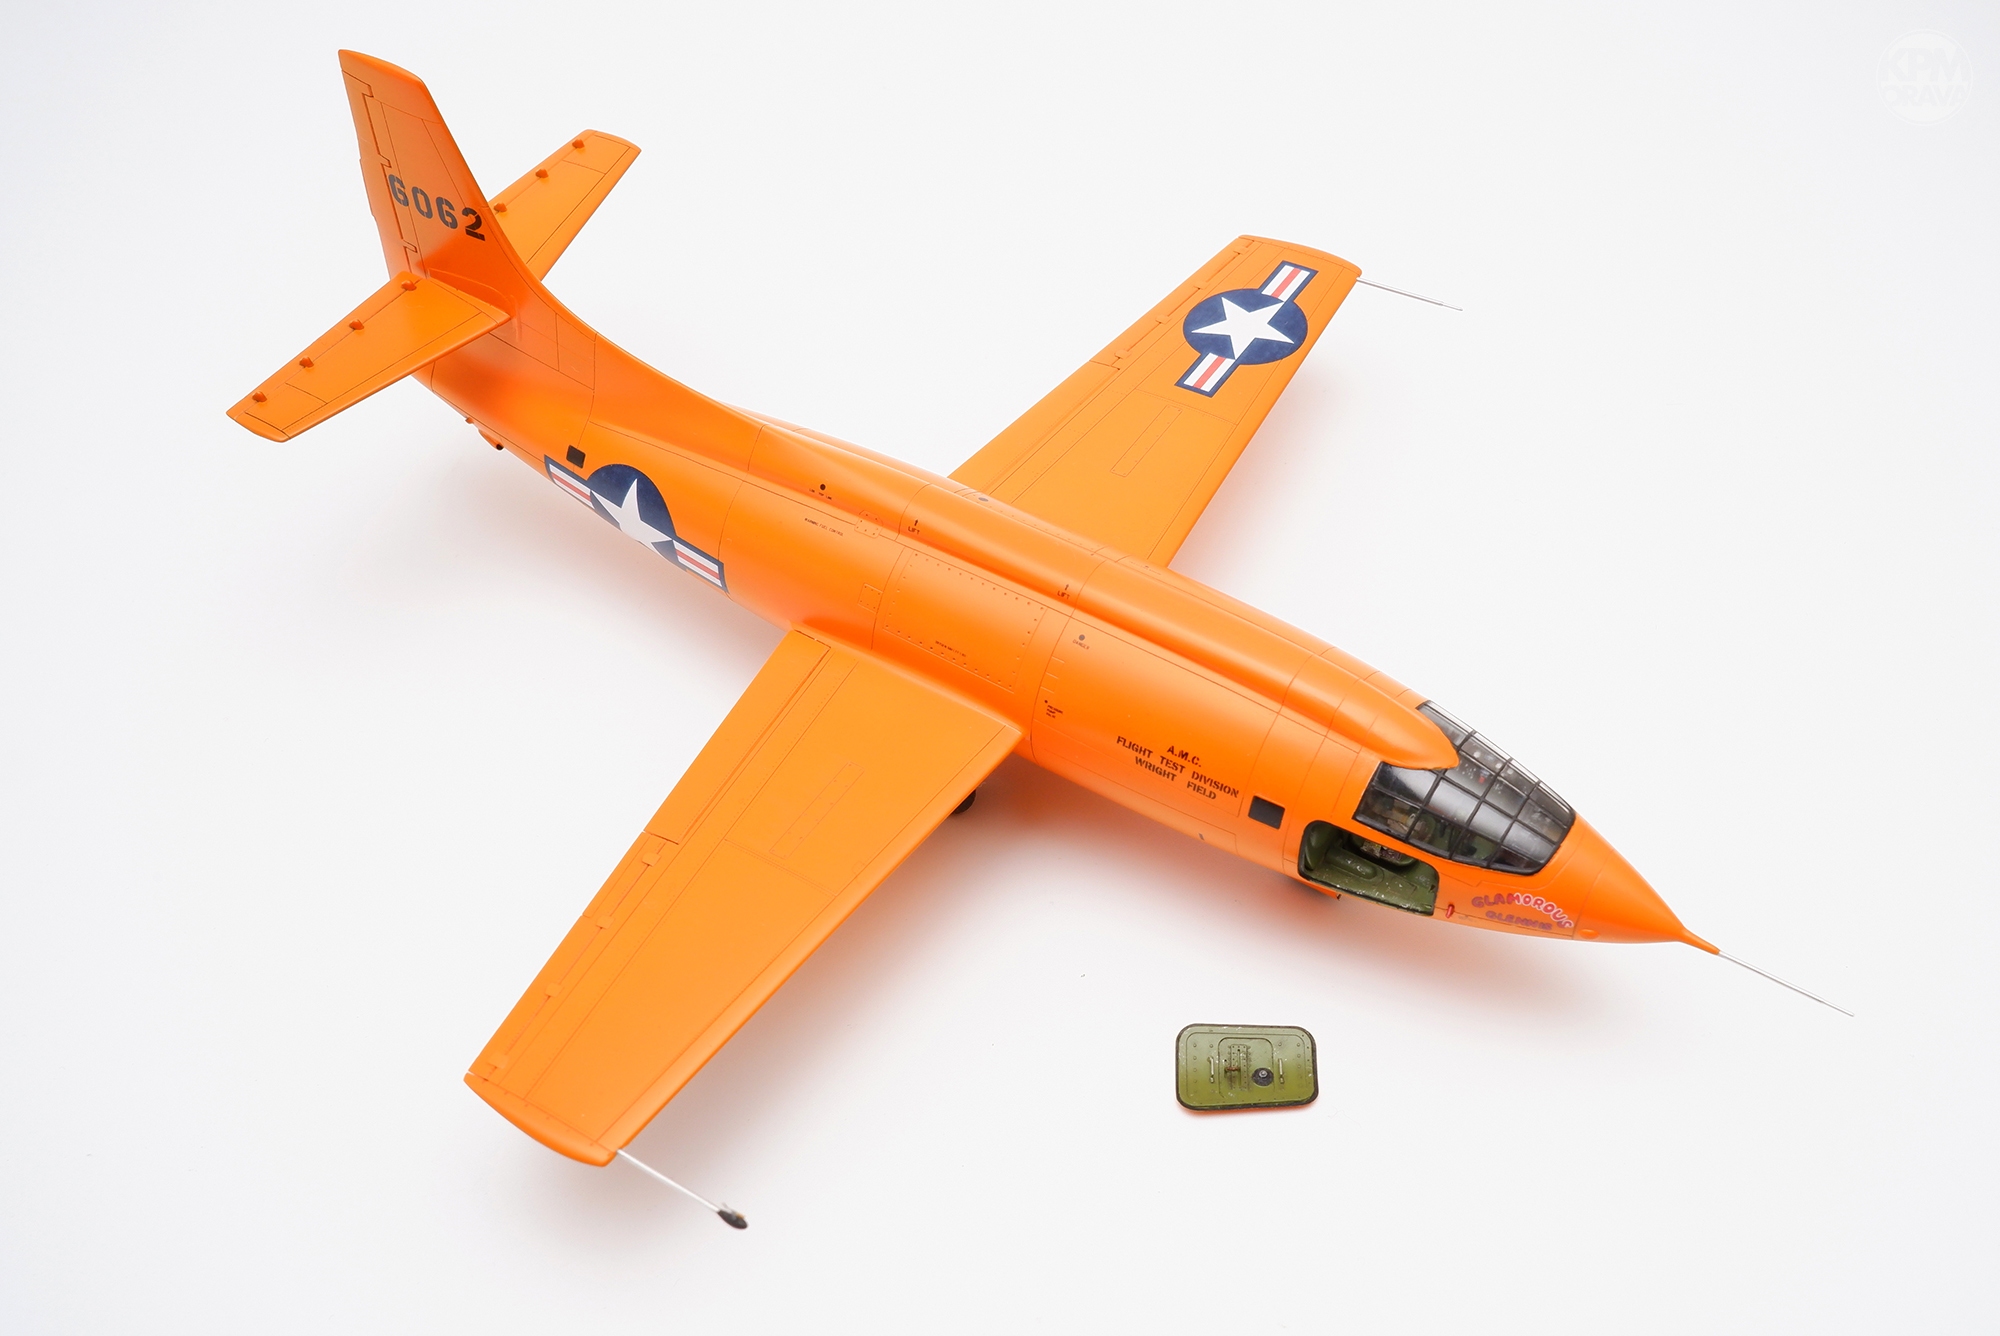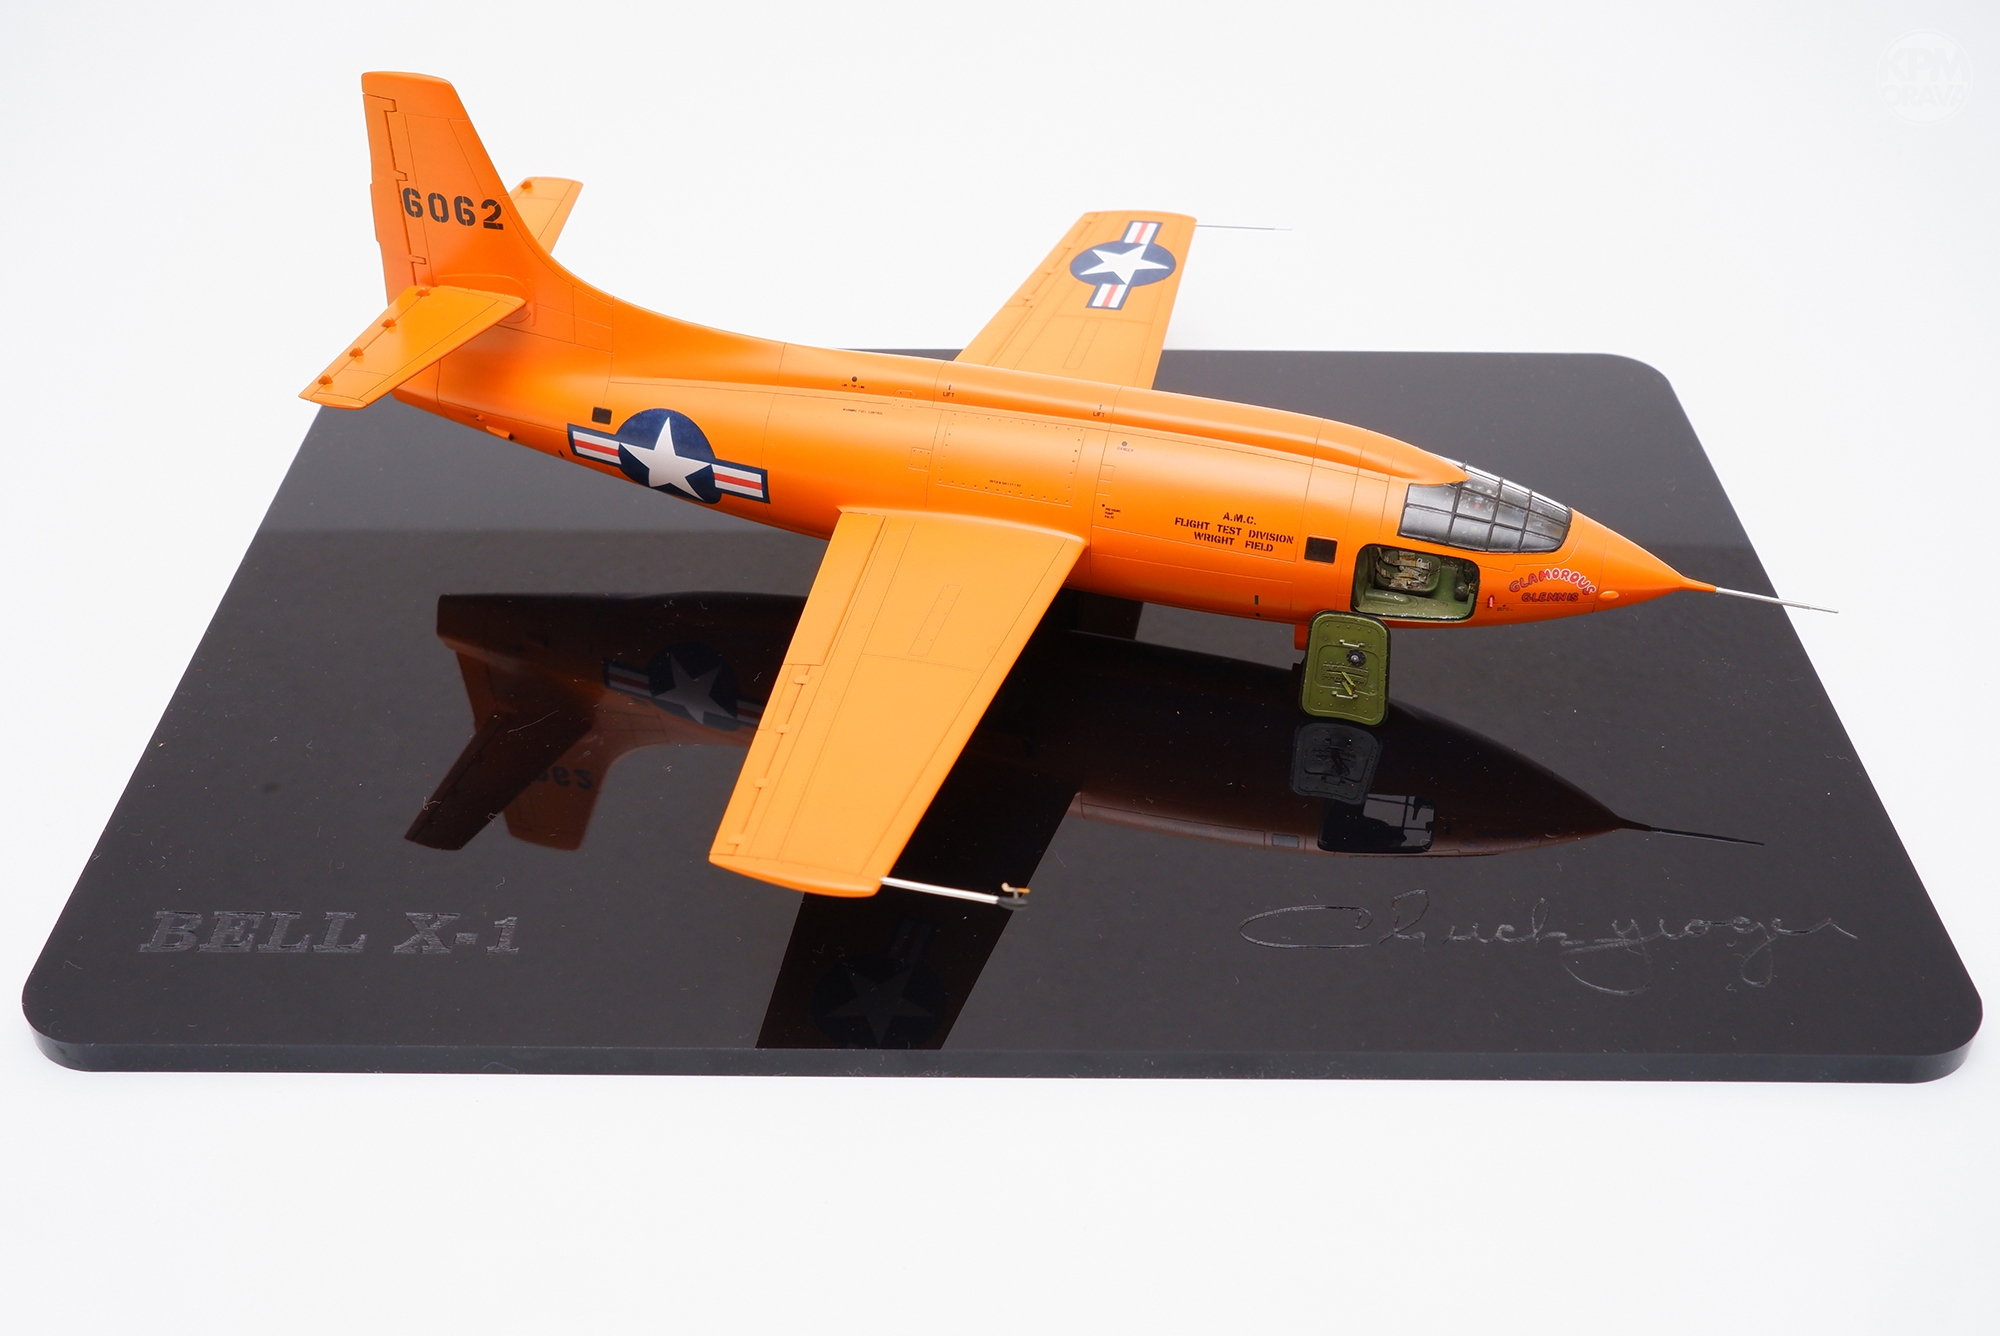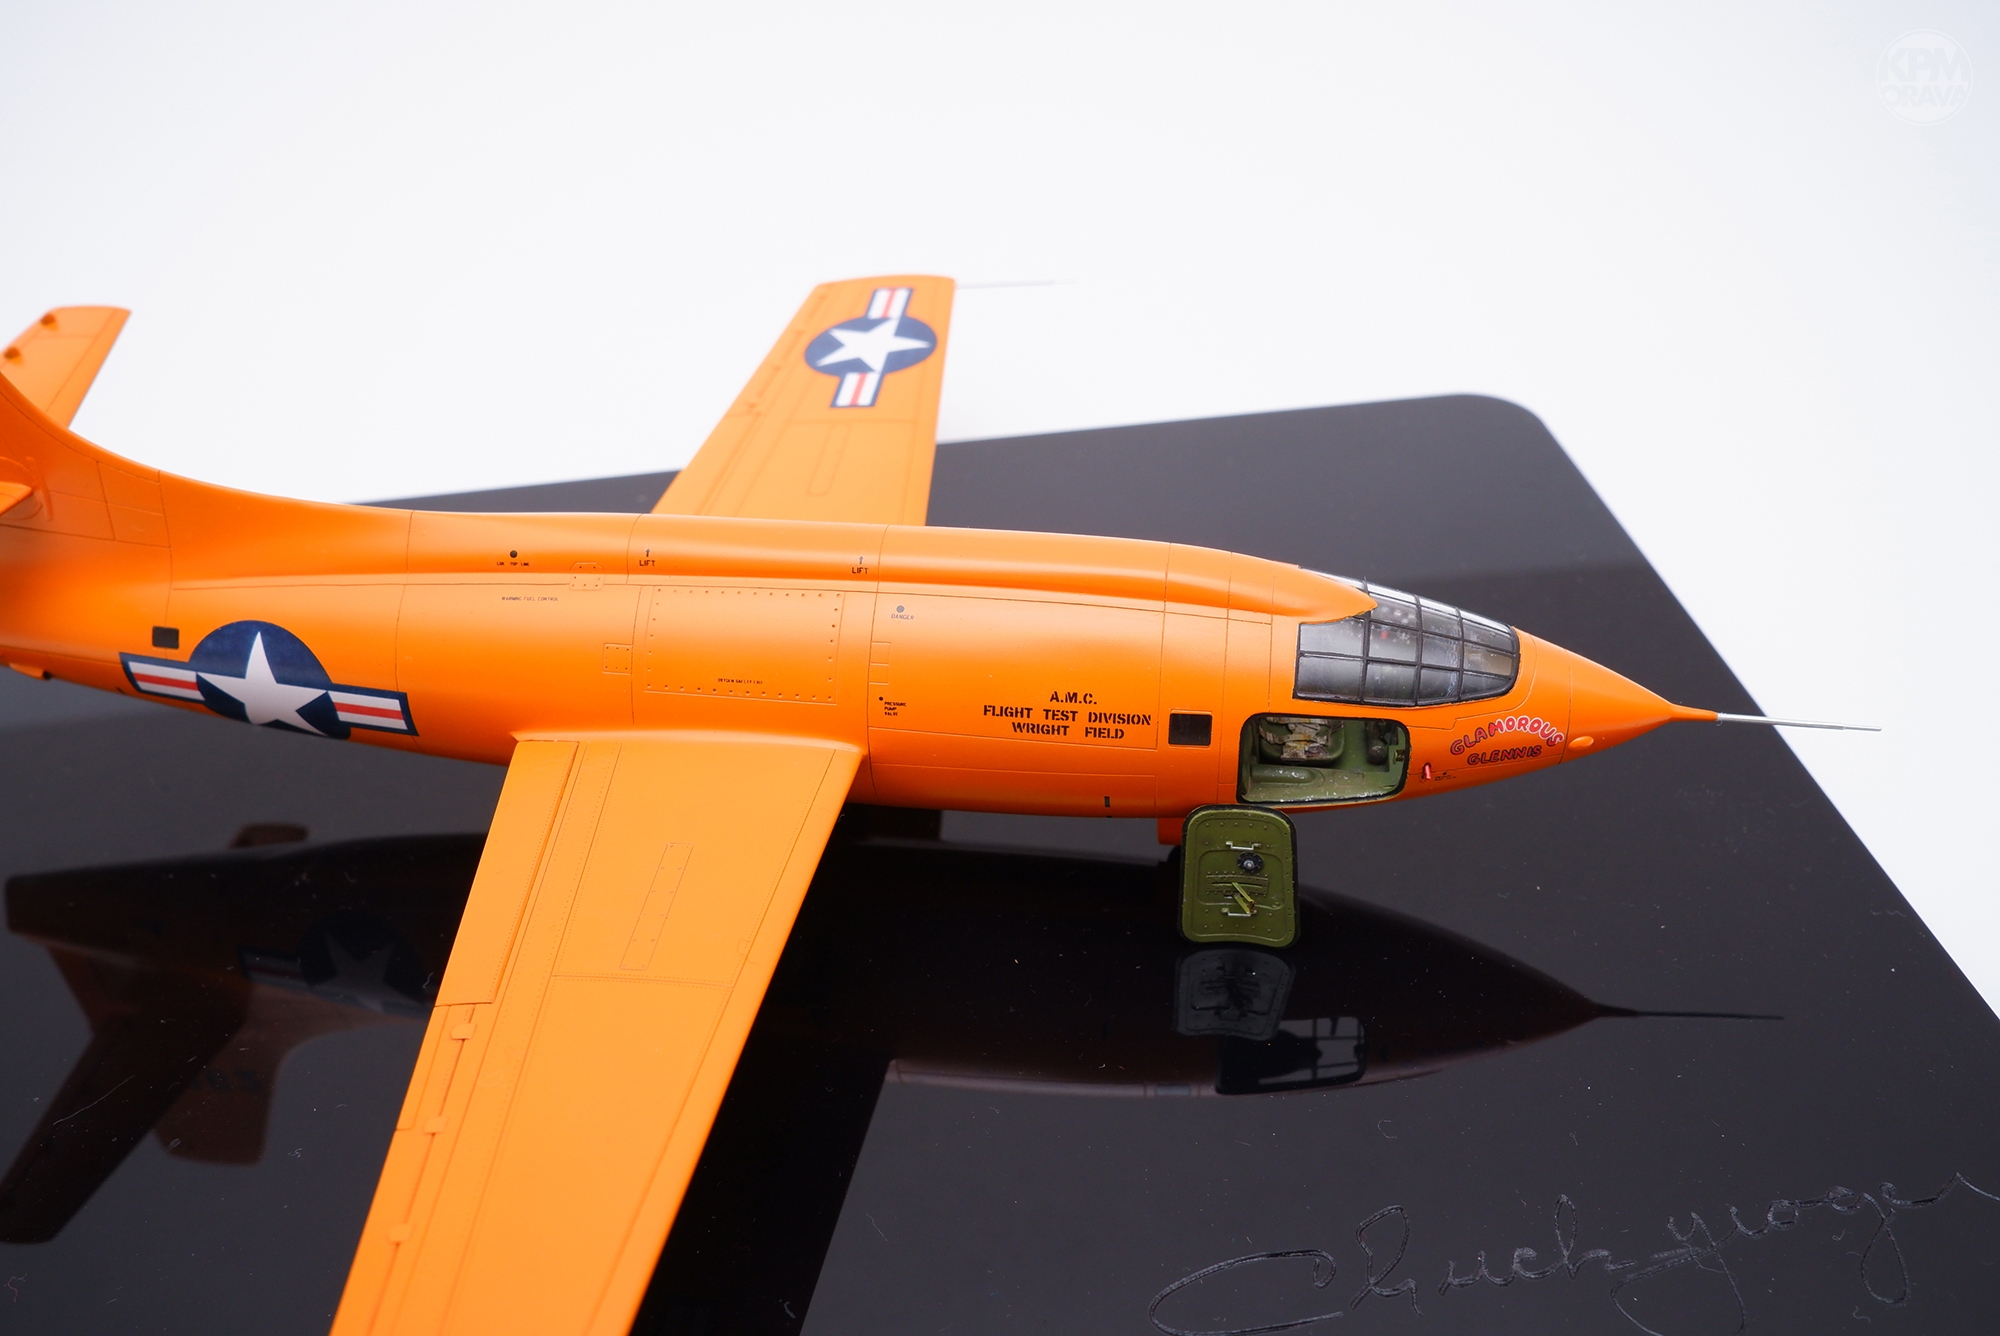
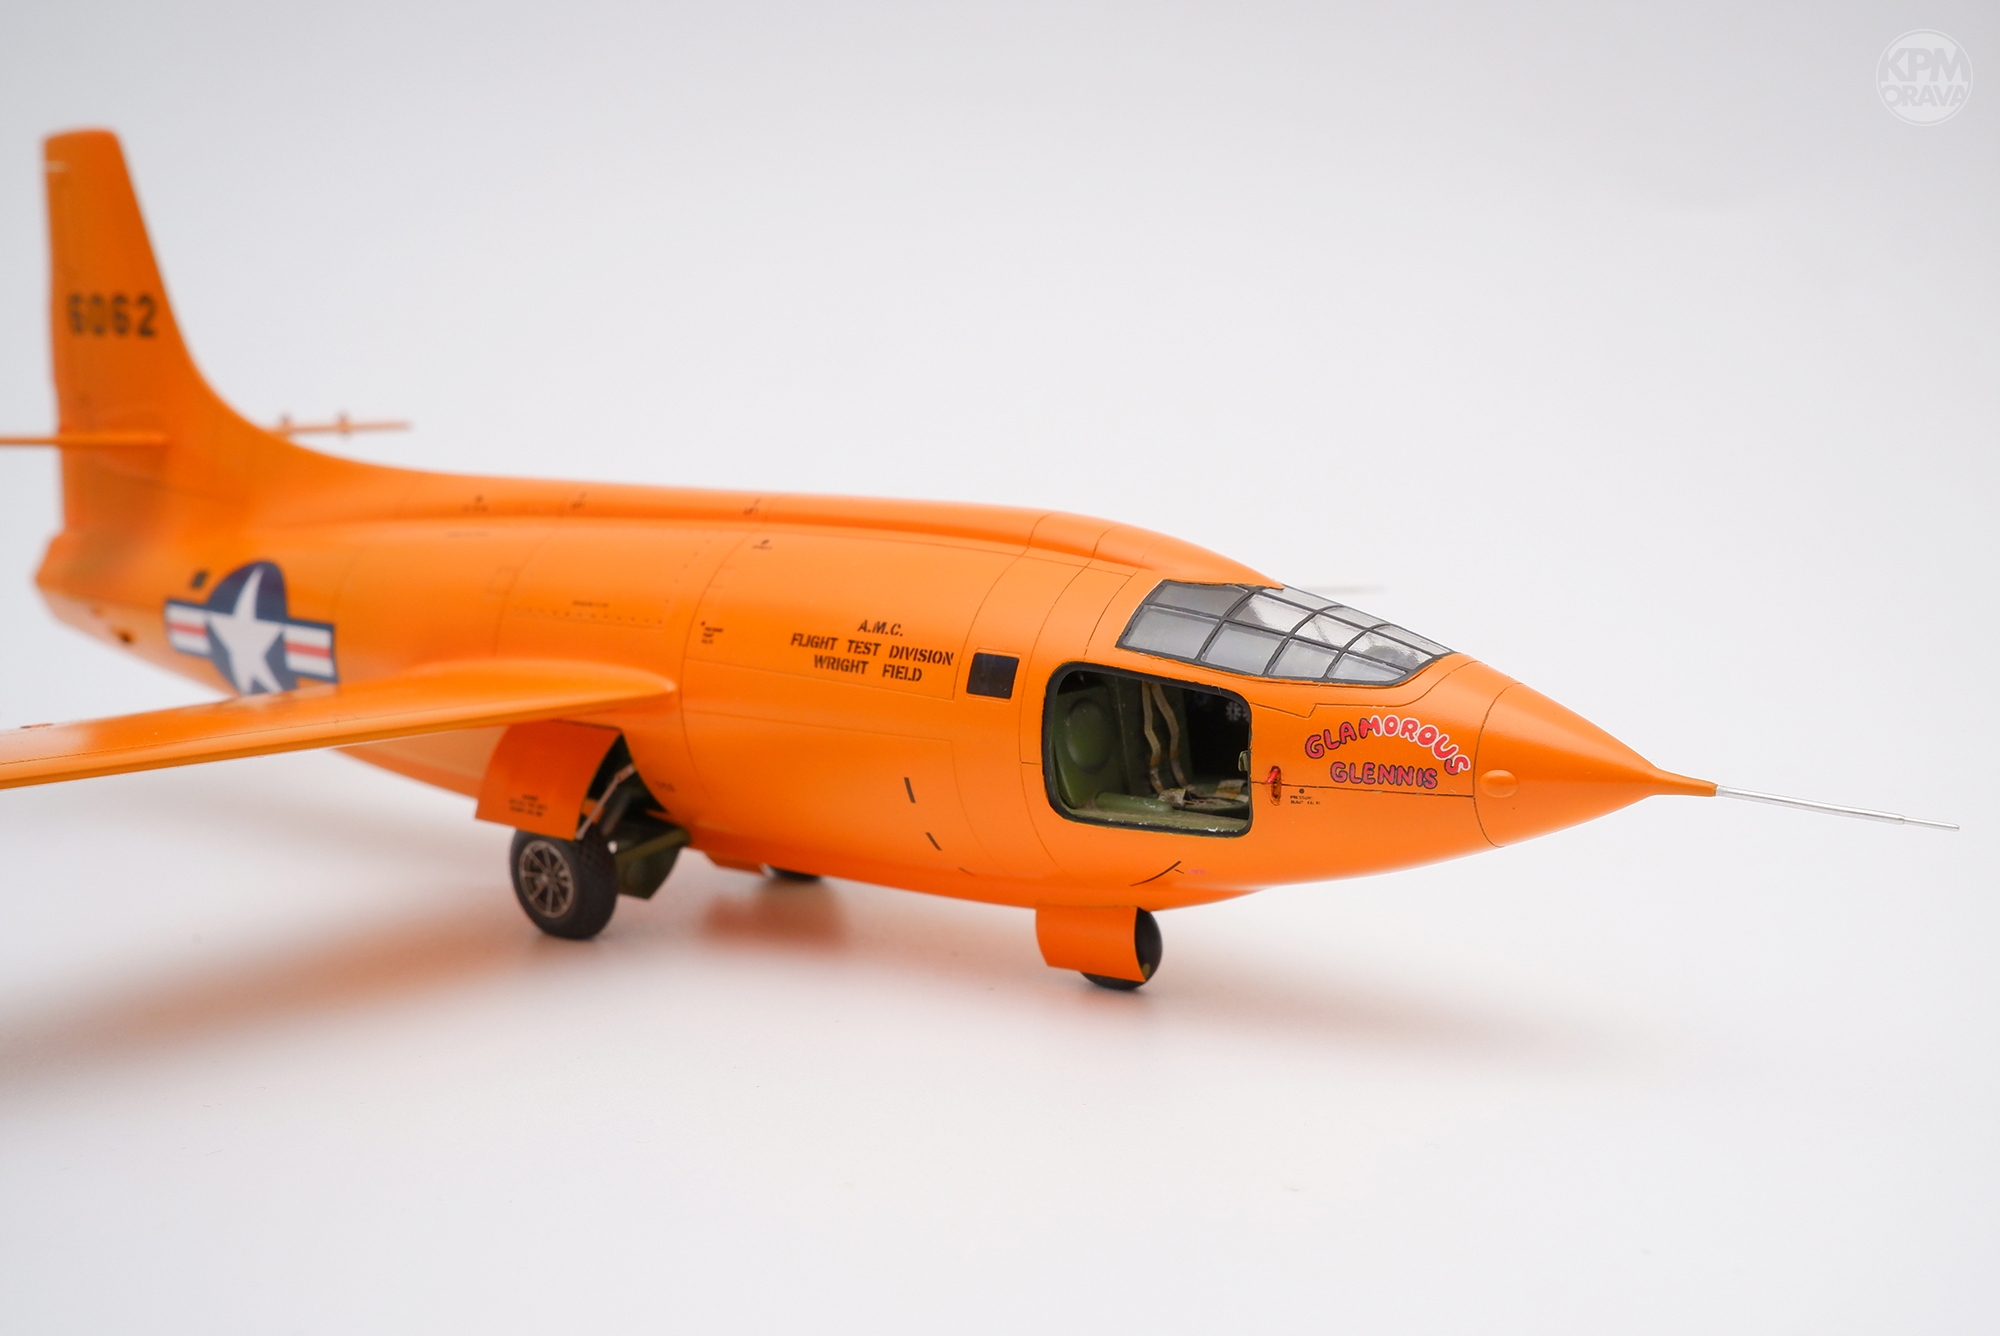
Experimentálne lietadlo Bell X-1 hádam netreba predstavovať žiadnemu fanúšikovi letectva. Stavebnica v mierke 1:48 od firmy Eduard je na trhu už tiež pár desiatok rokov a mne sa do rúk dostala práve posledná reedícia tohto modelu.
Stavba začala na našej modelárskej chatovačke, kde sme sa traja dohodli, že budeme stavať práve túto stavebnicu. Poviem vám, bola to celkom zábava, pretože každý vymyslel niečo nové – ako čo opraviť, doplniť alebo vylepšiť. Krásne sme sa dopĺňali v nápadoch aj v samotnej realizácii.
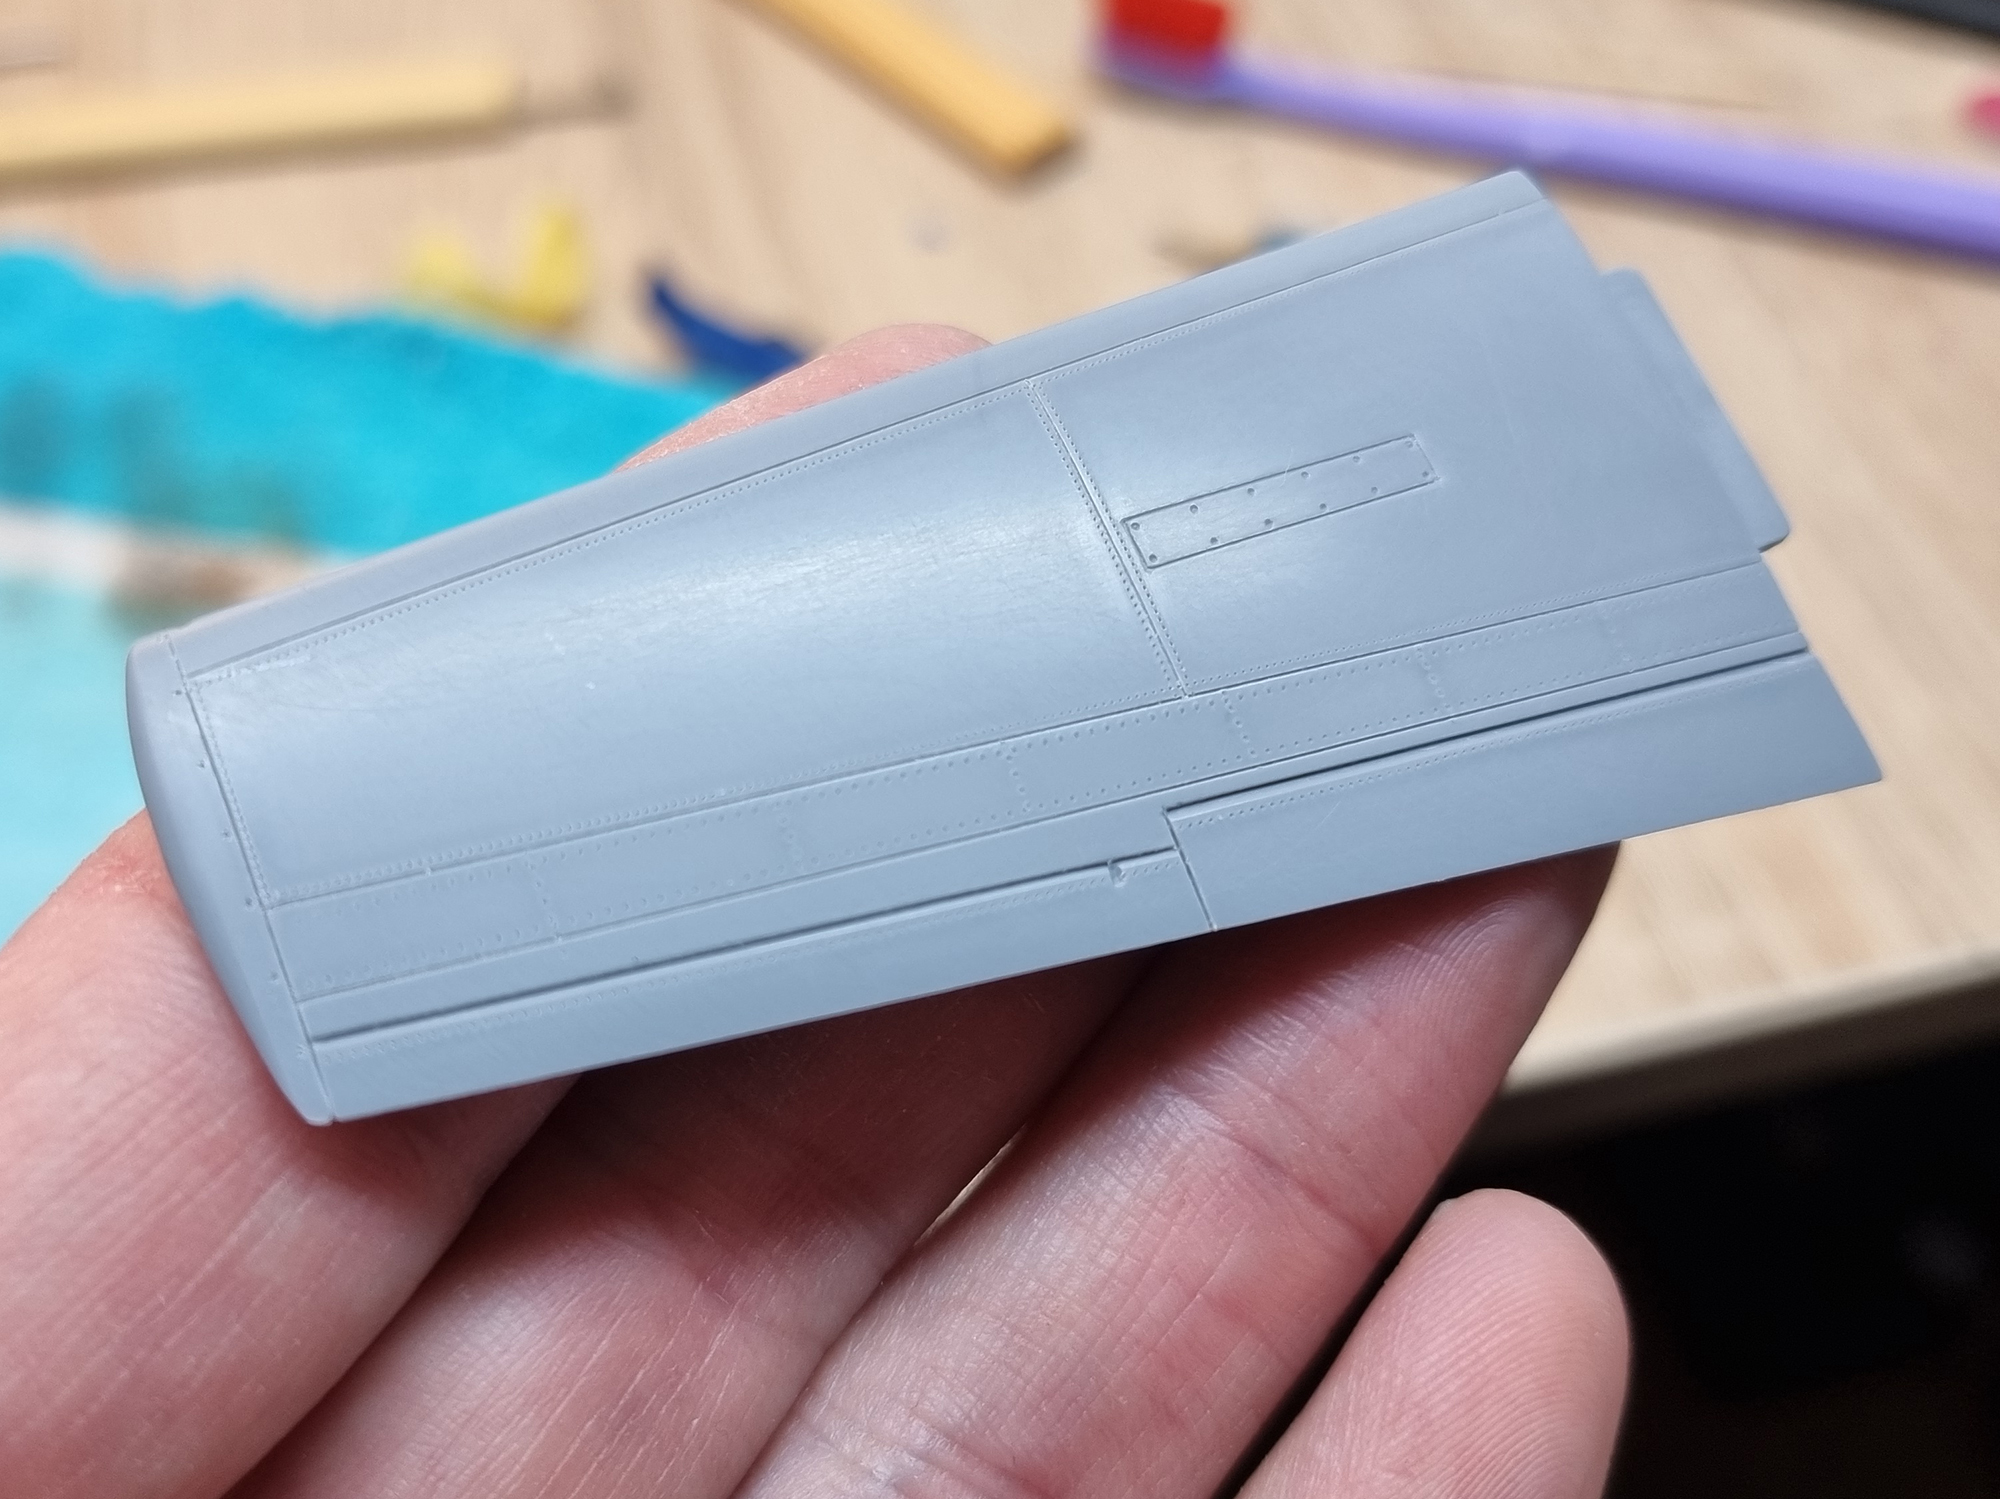
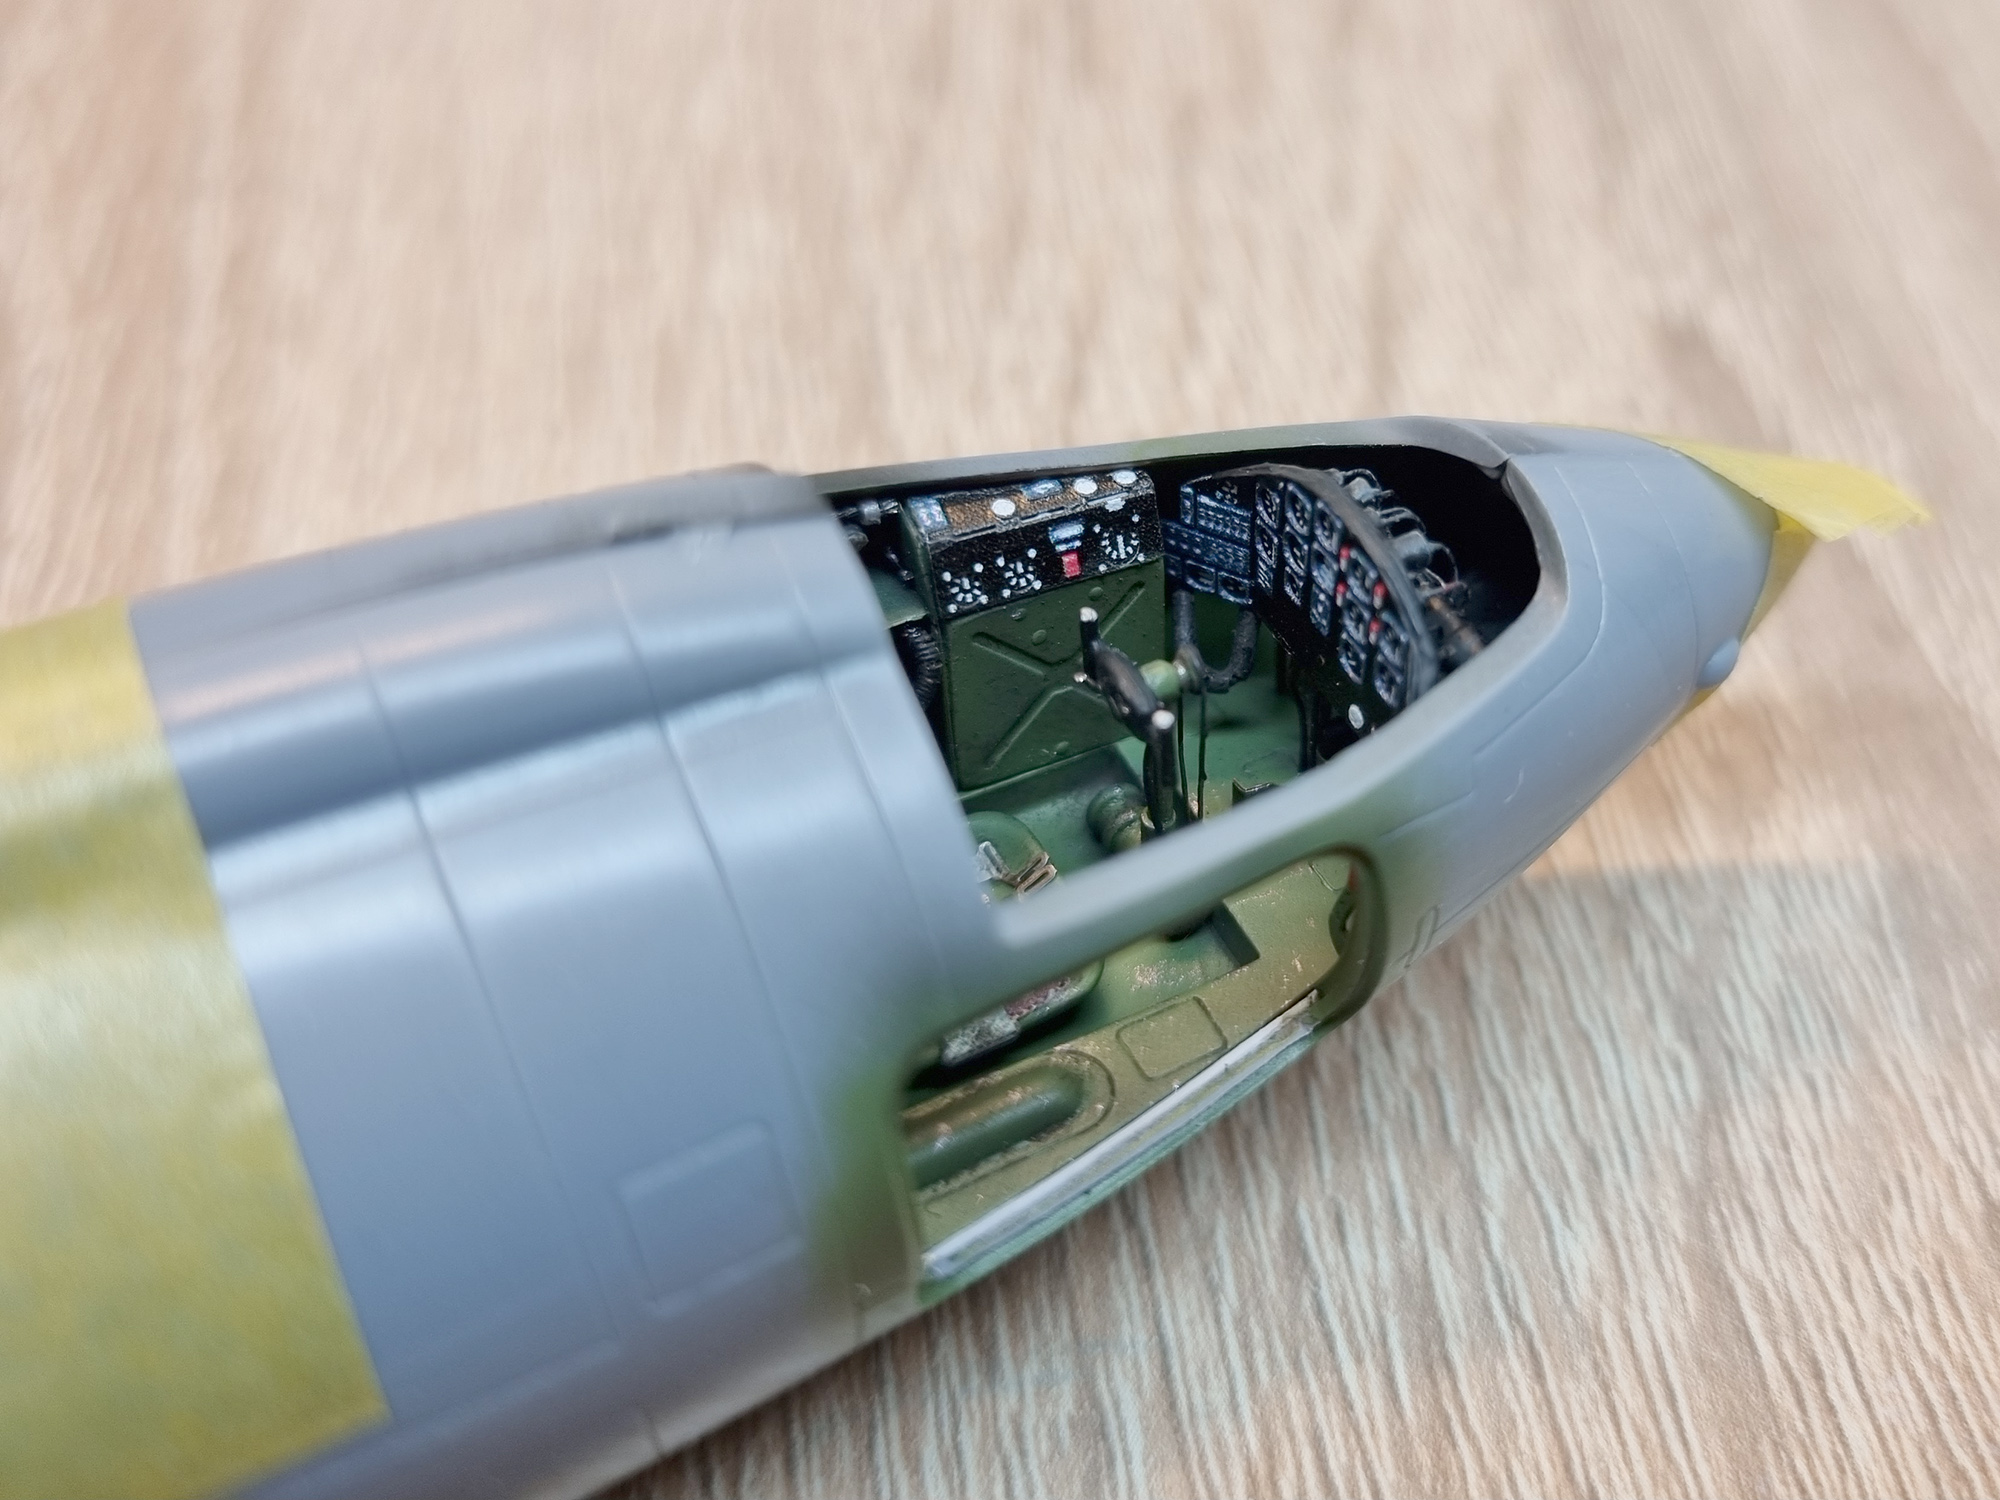
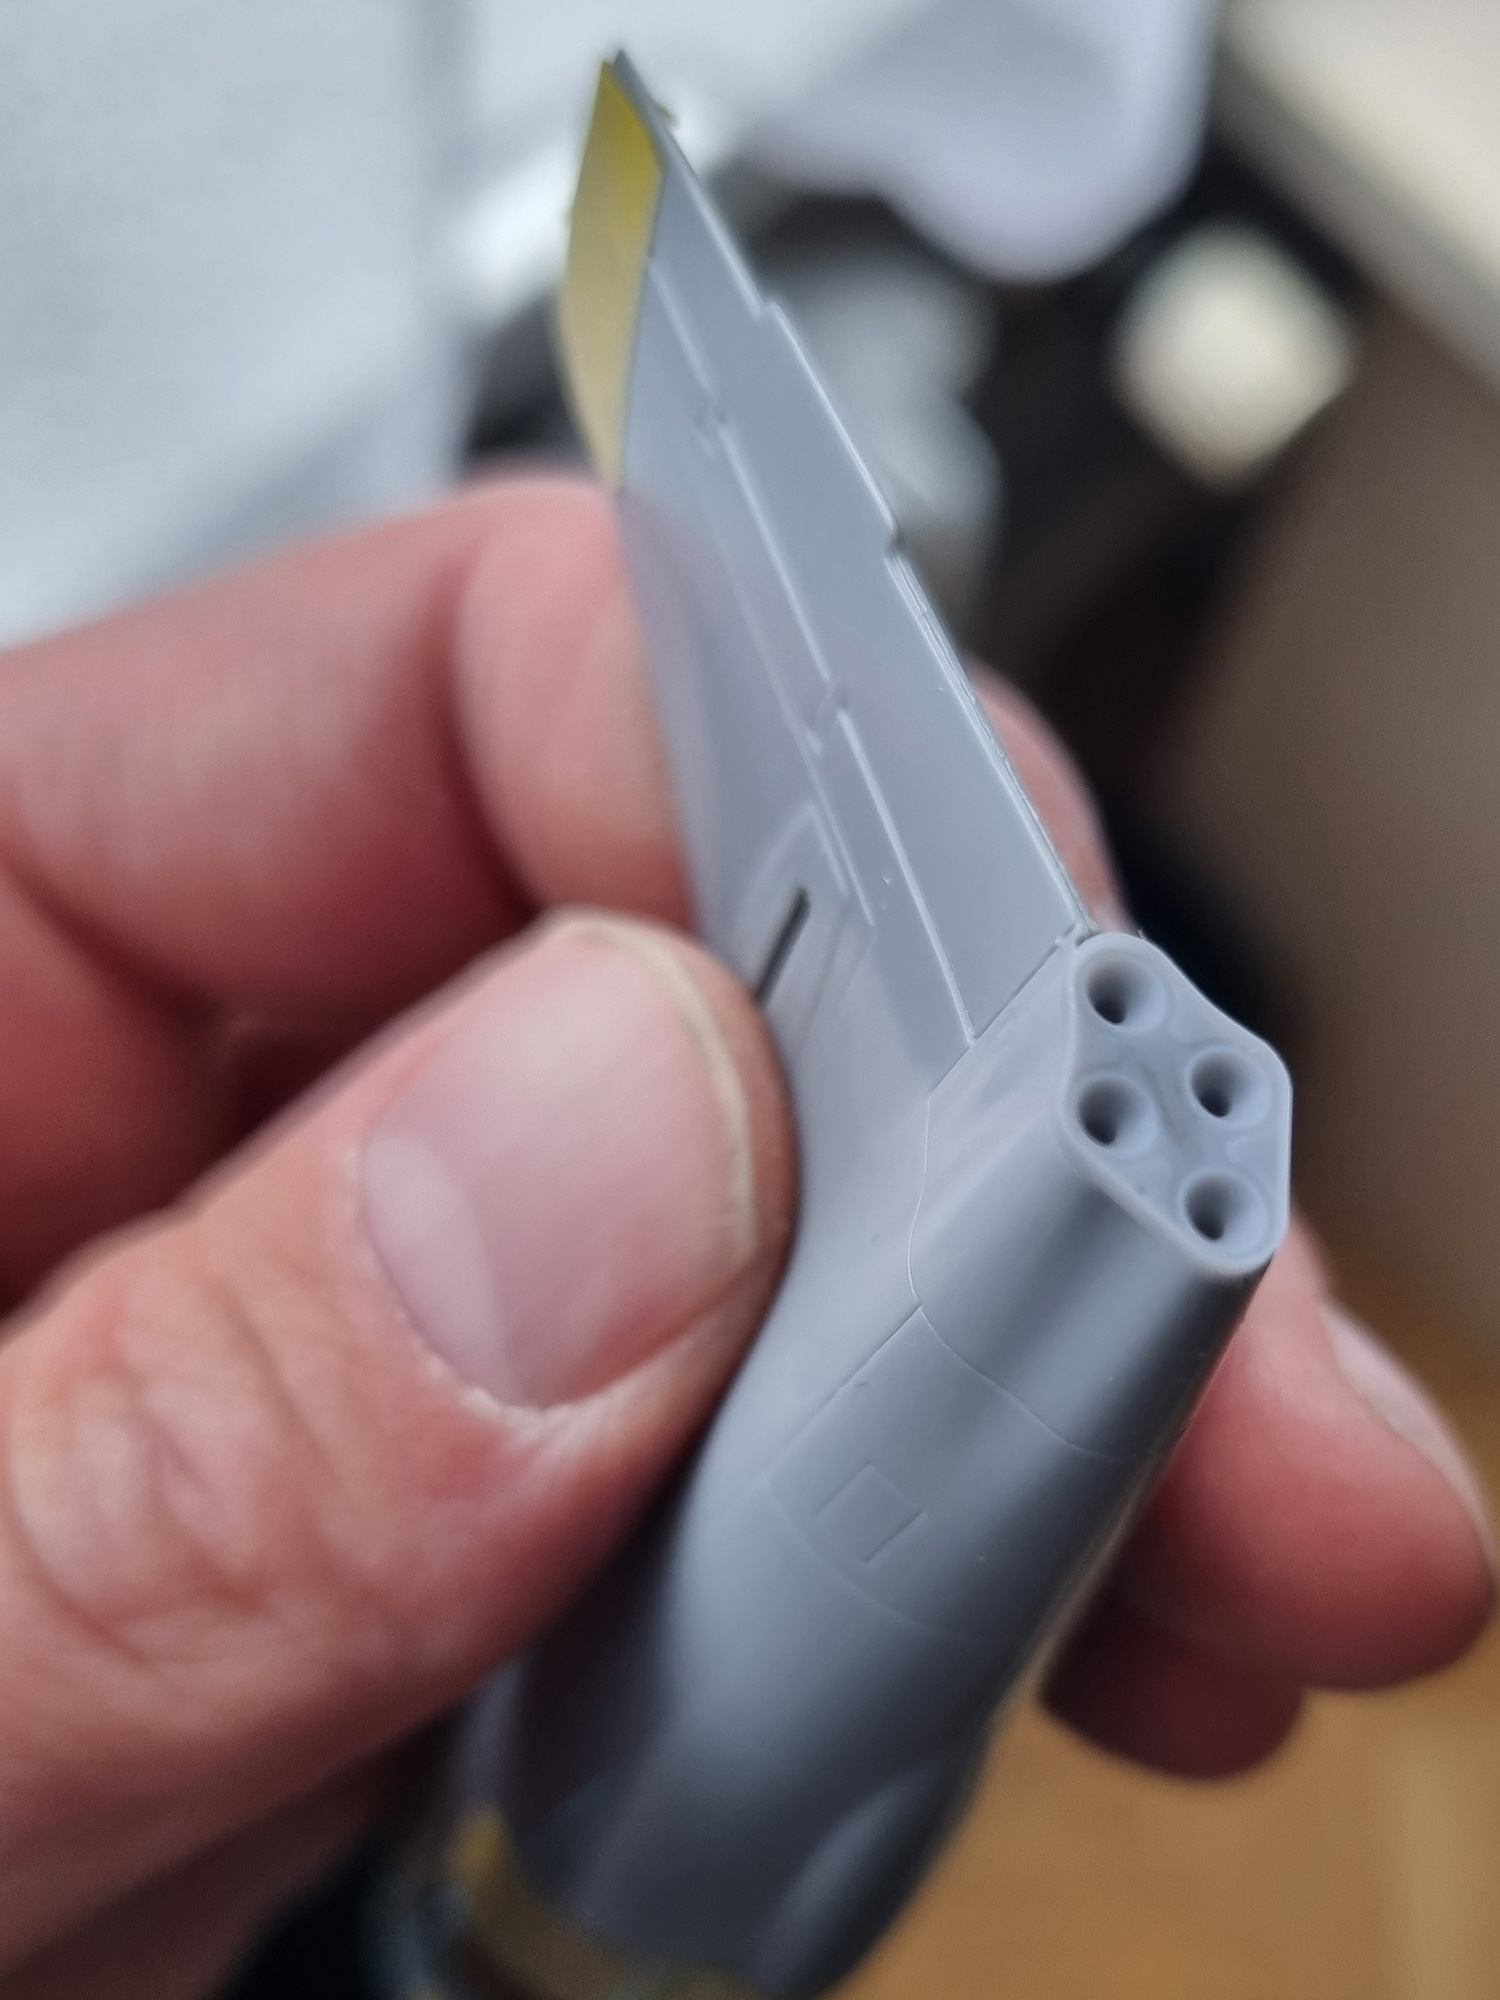
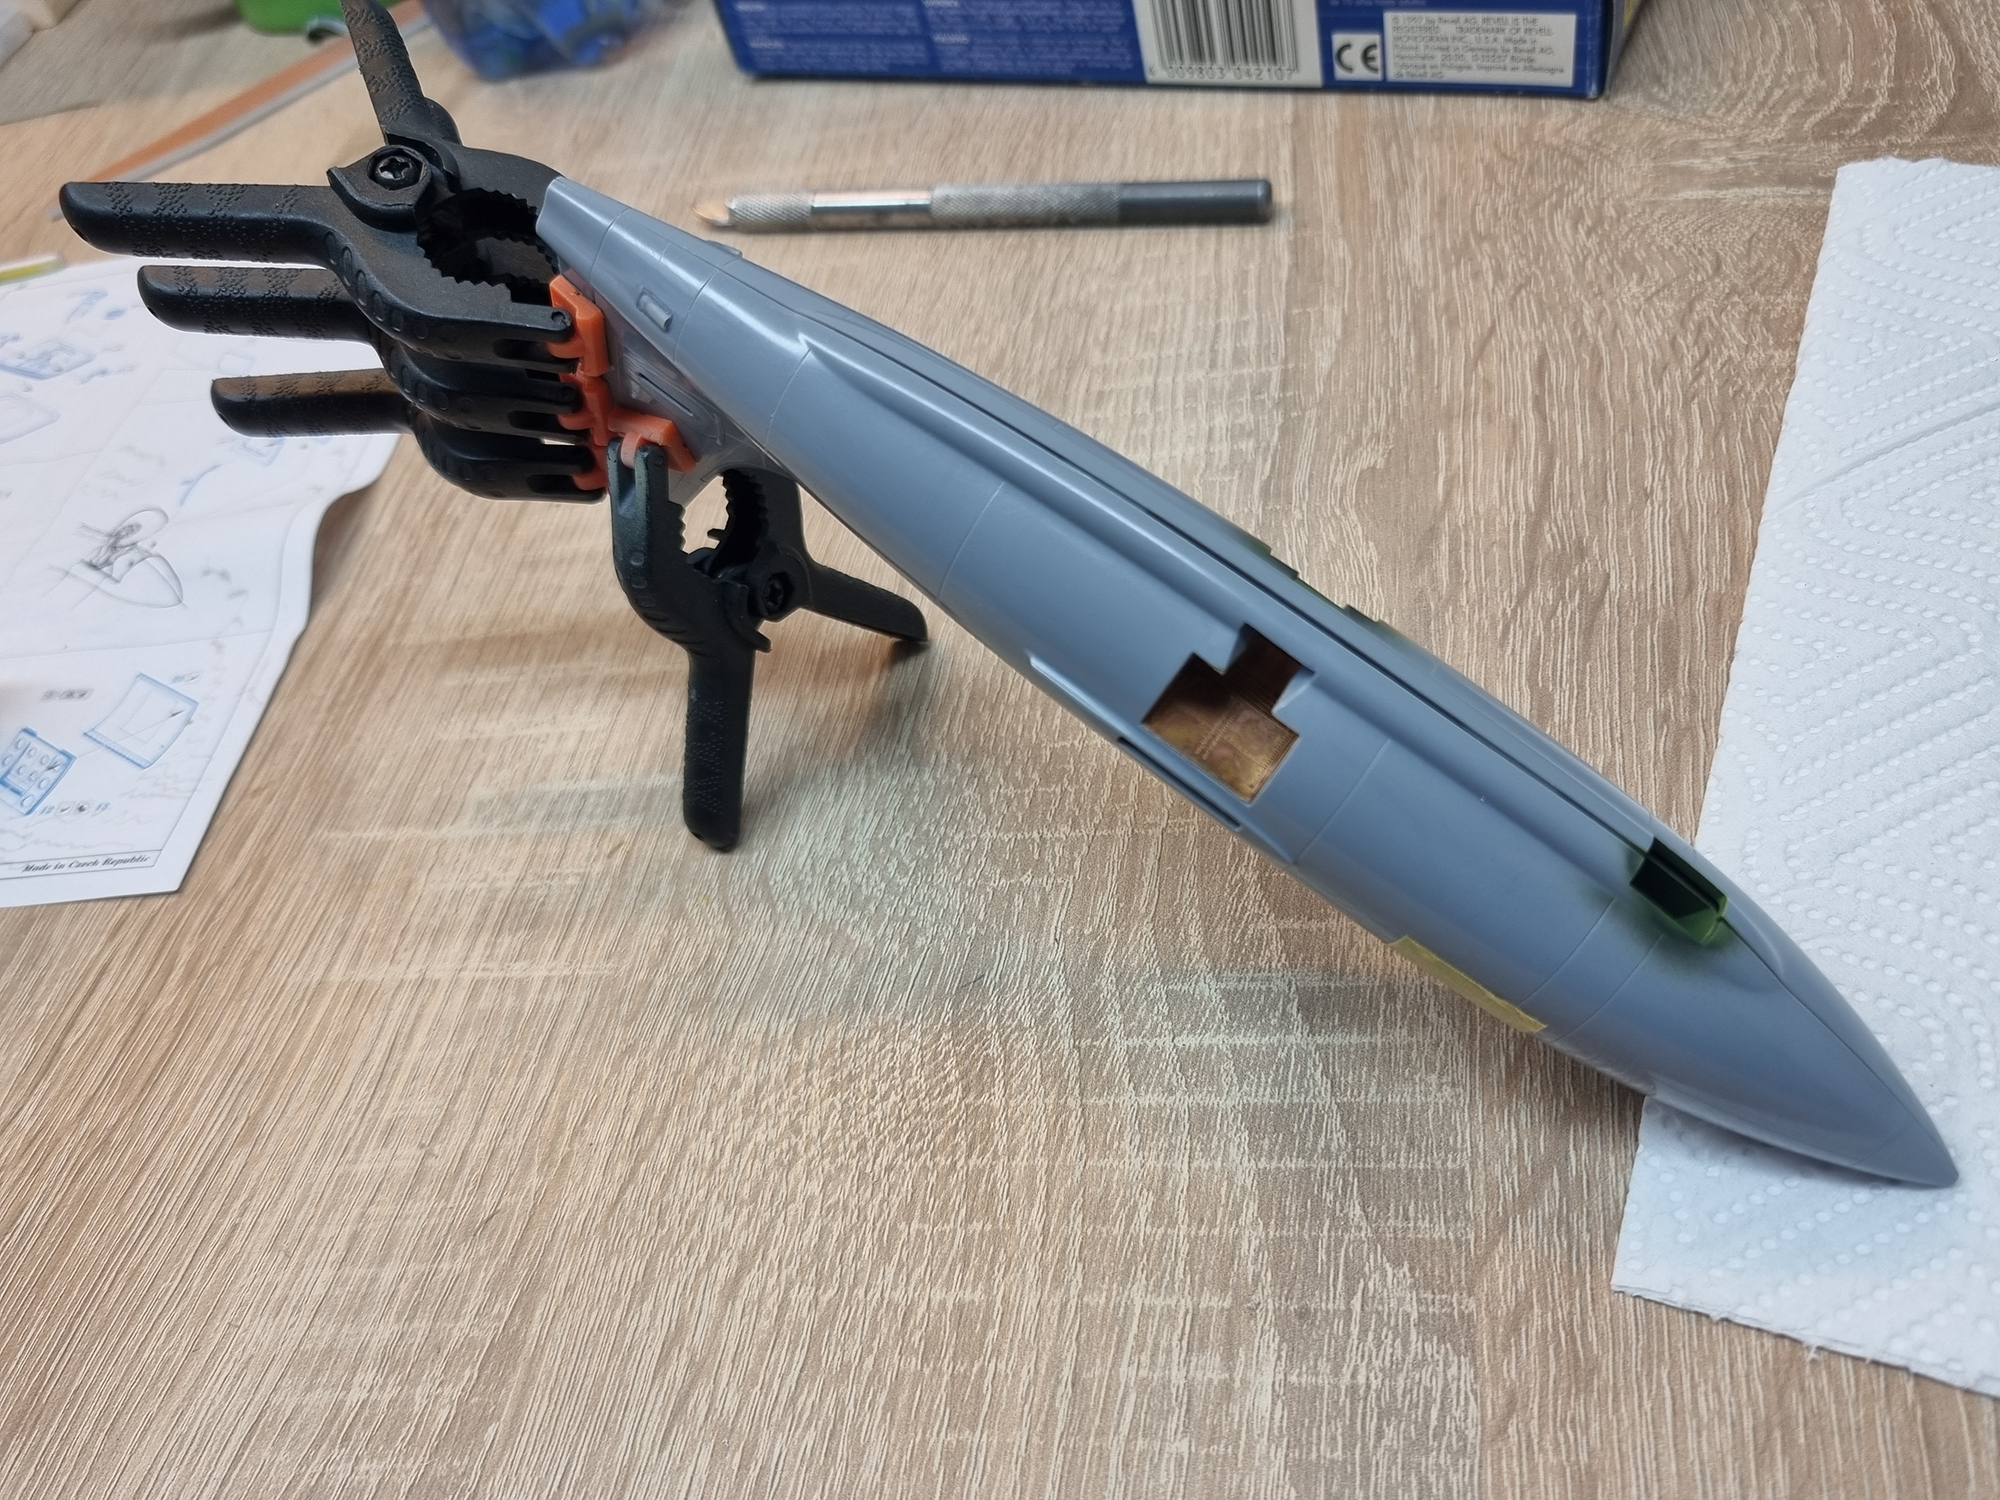
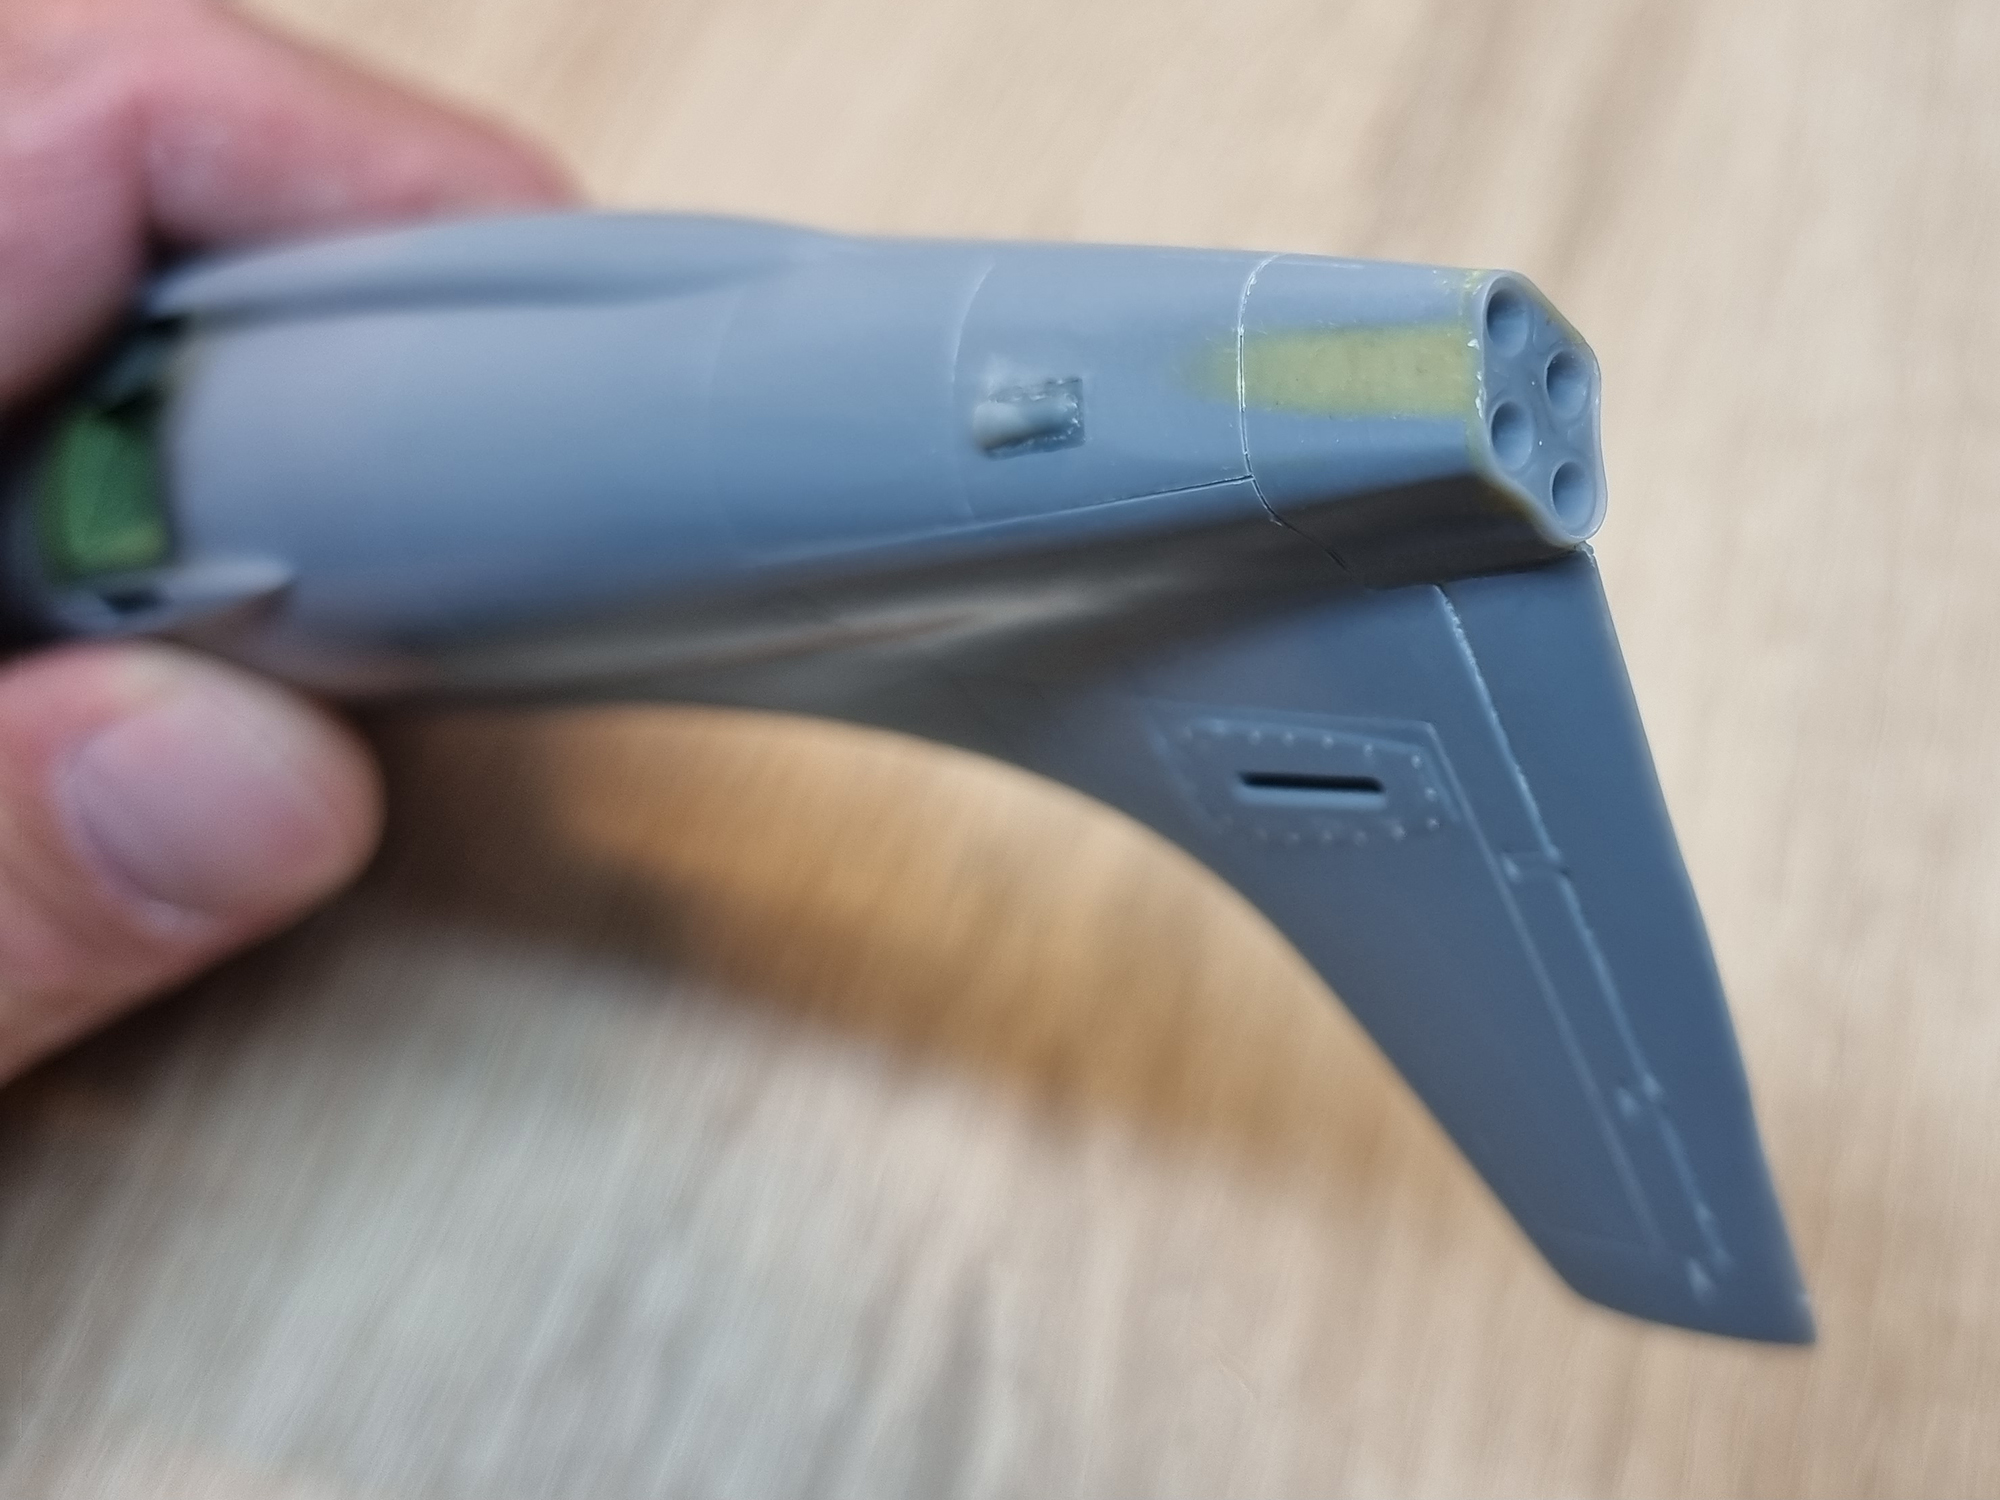
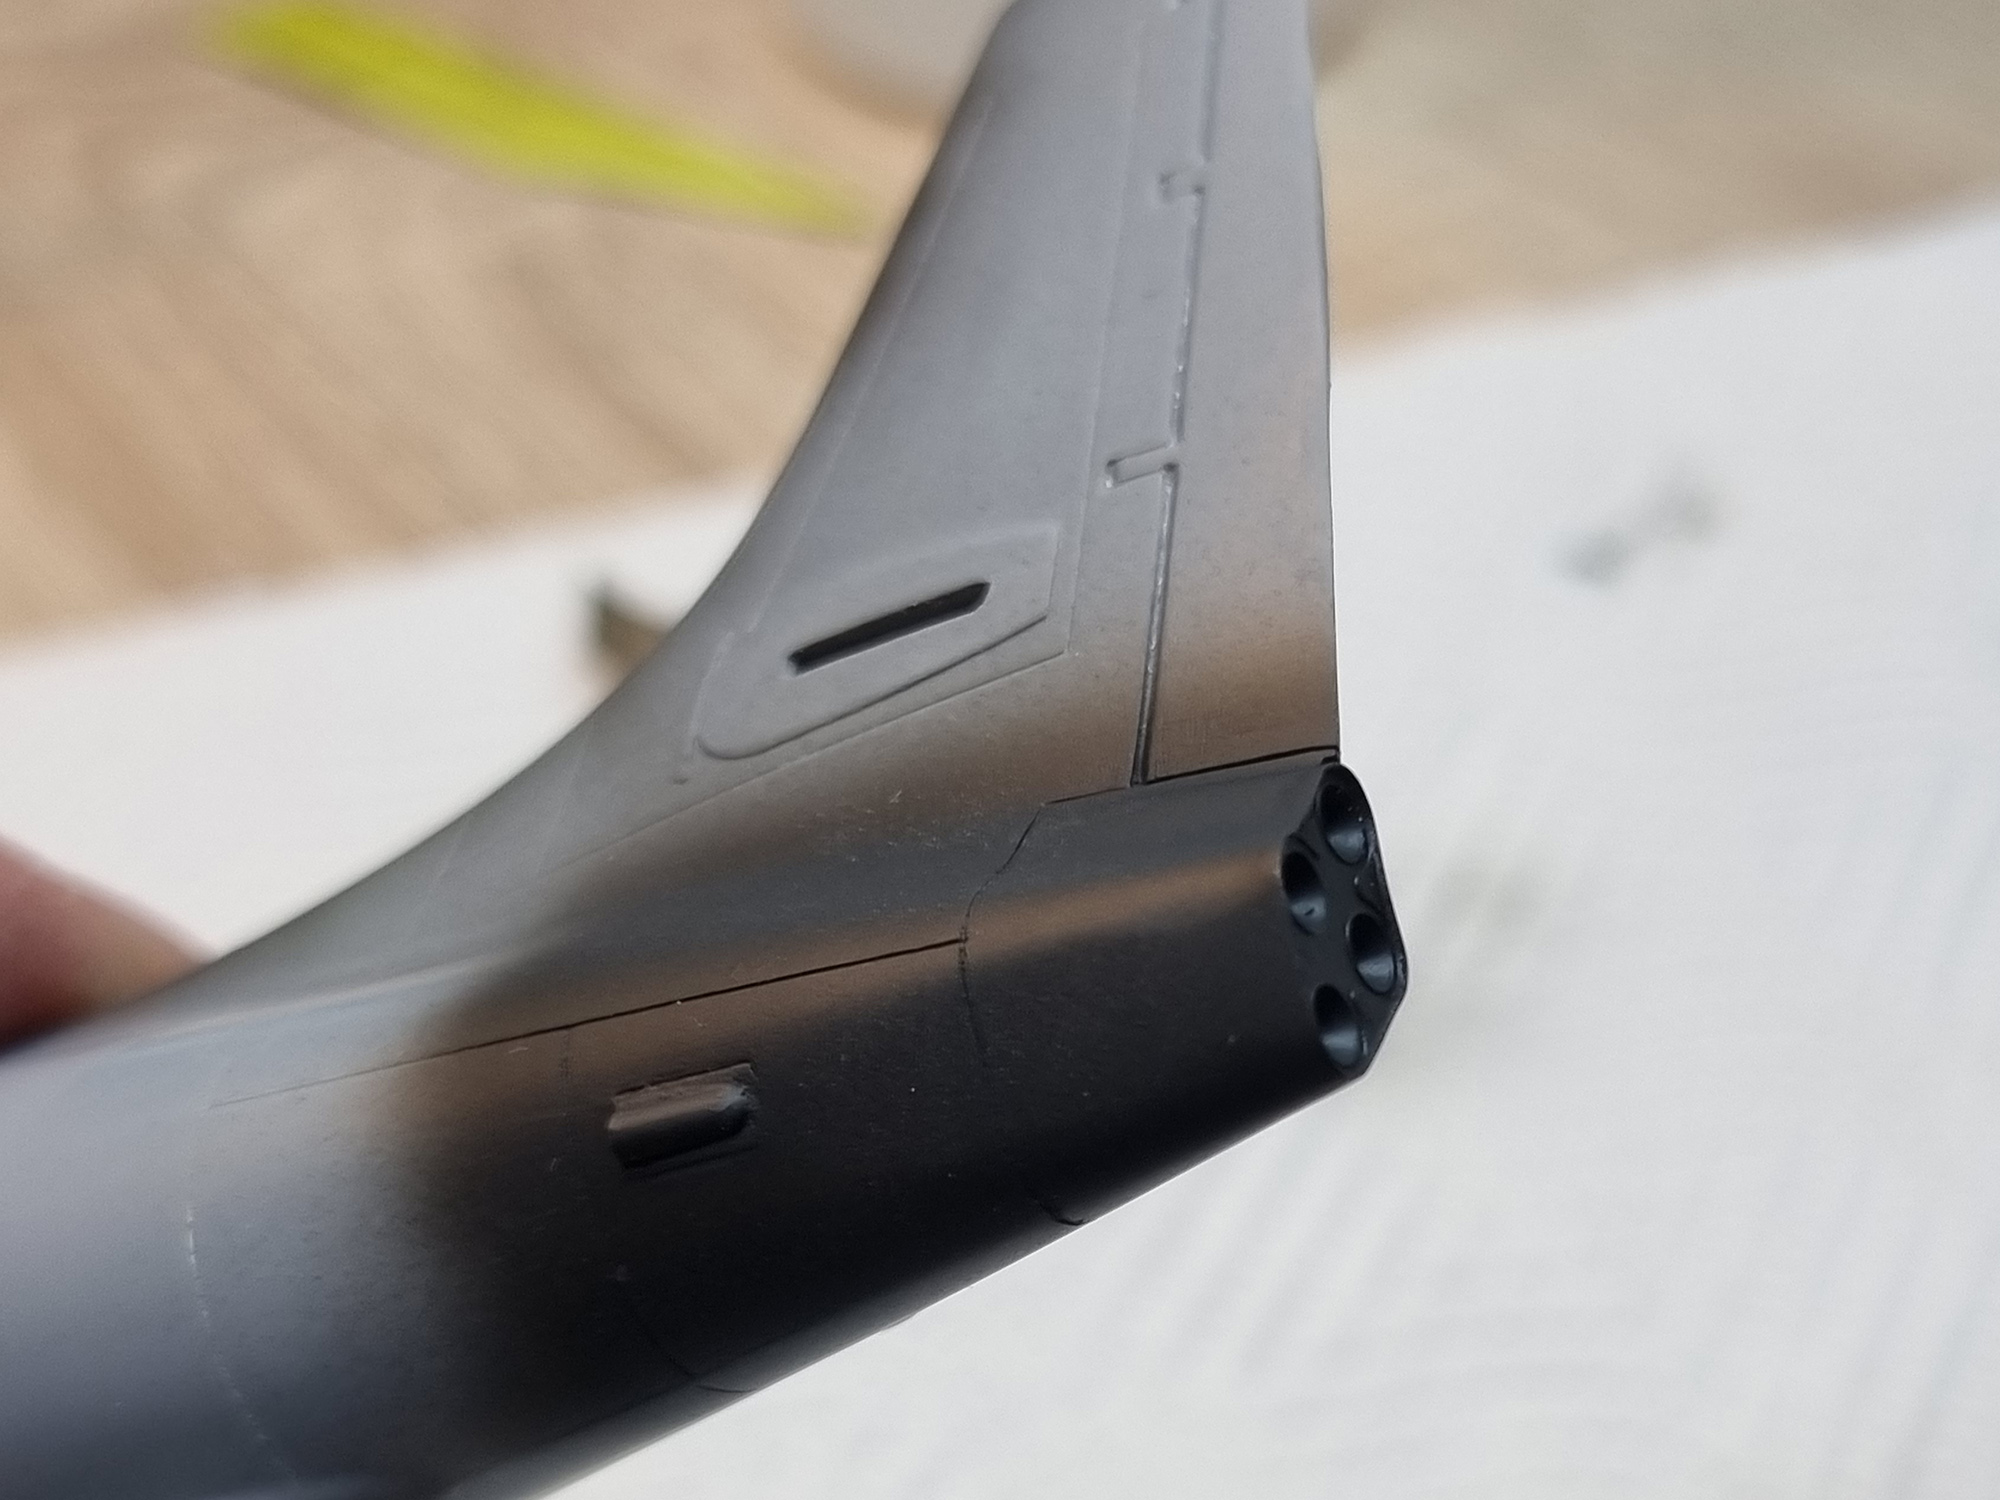
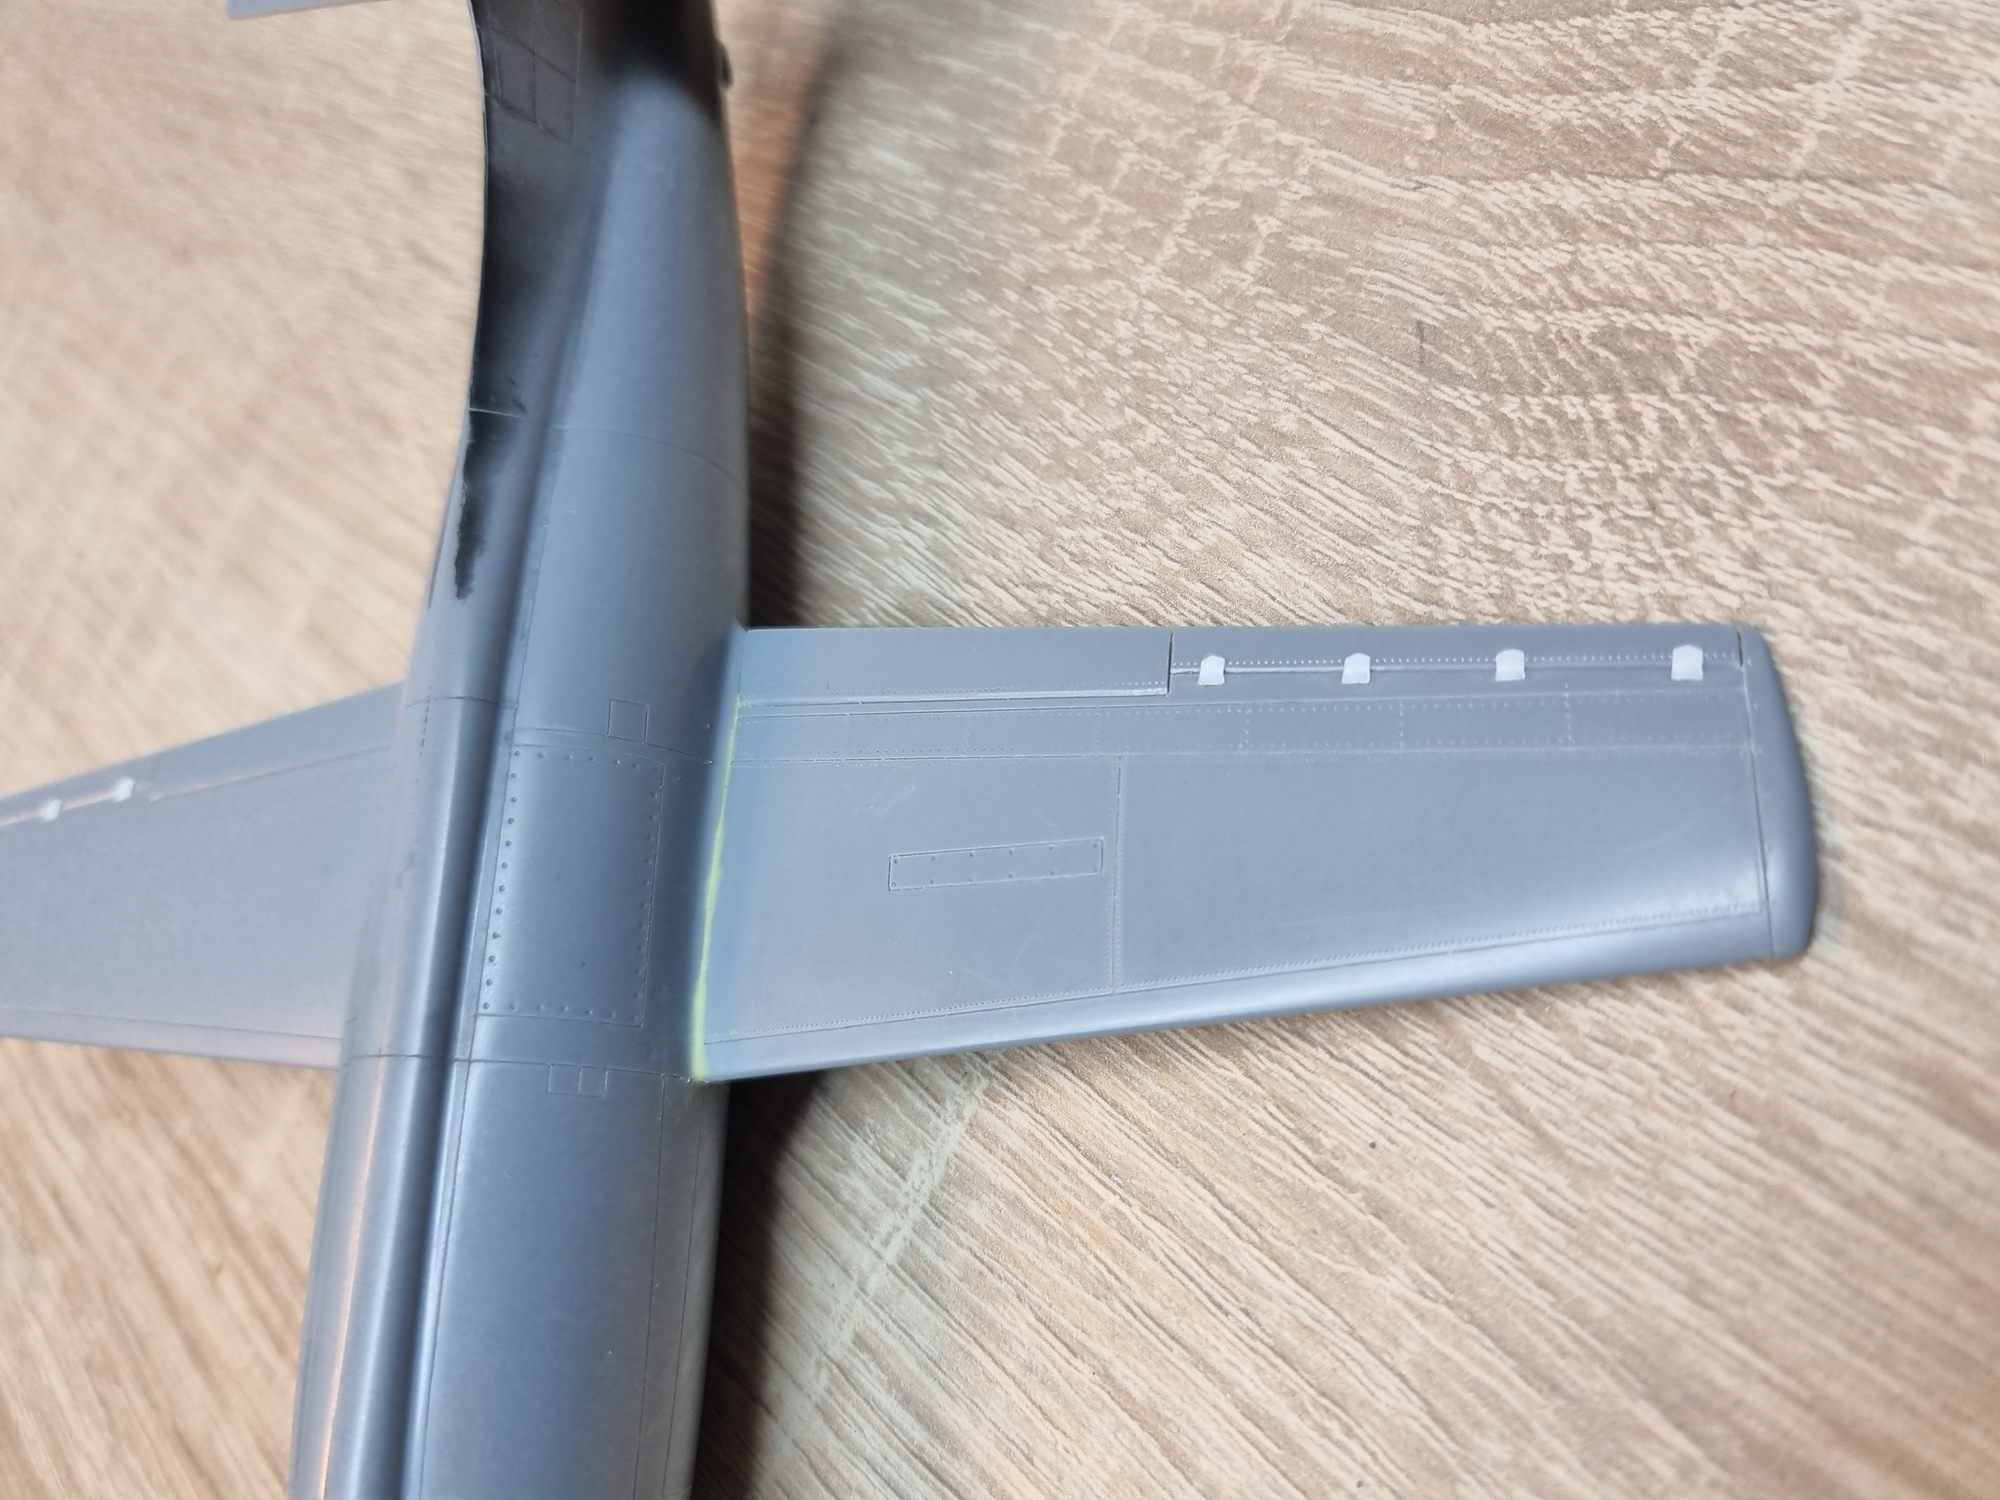
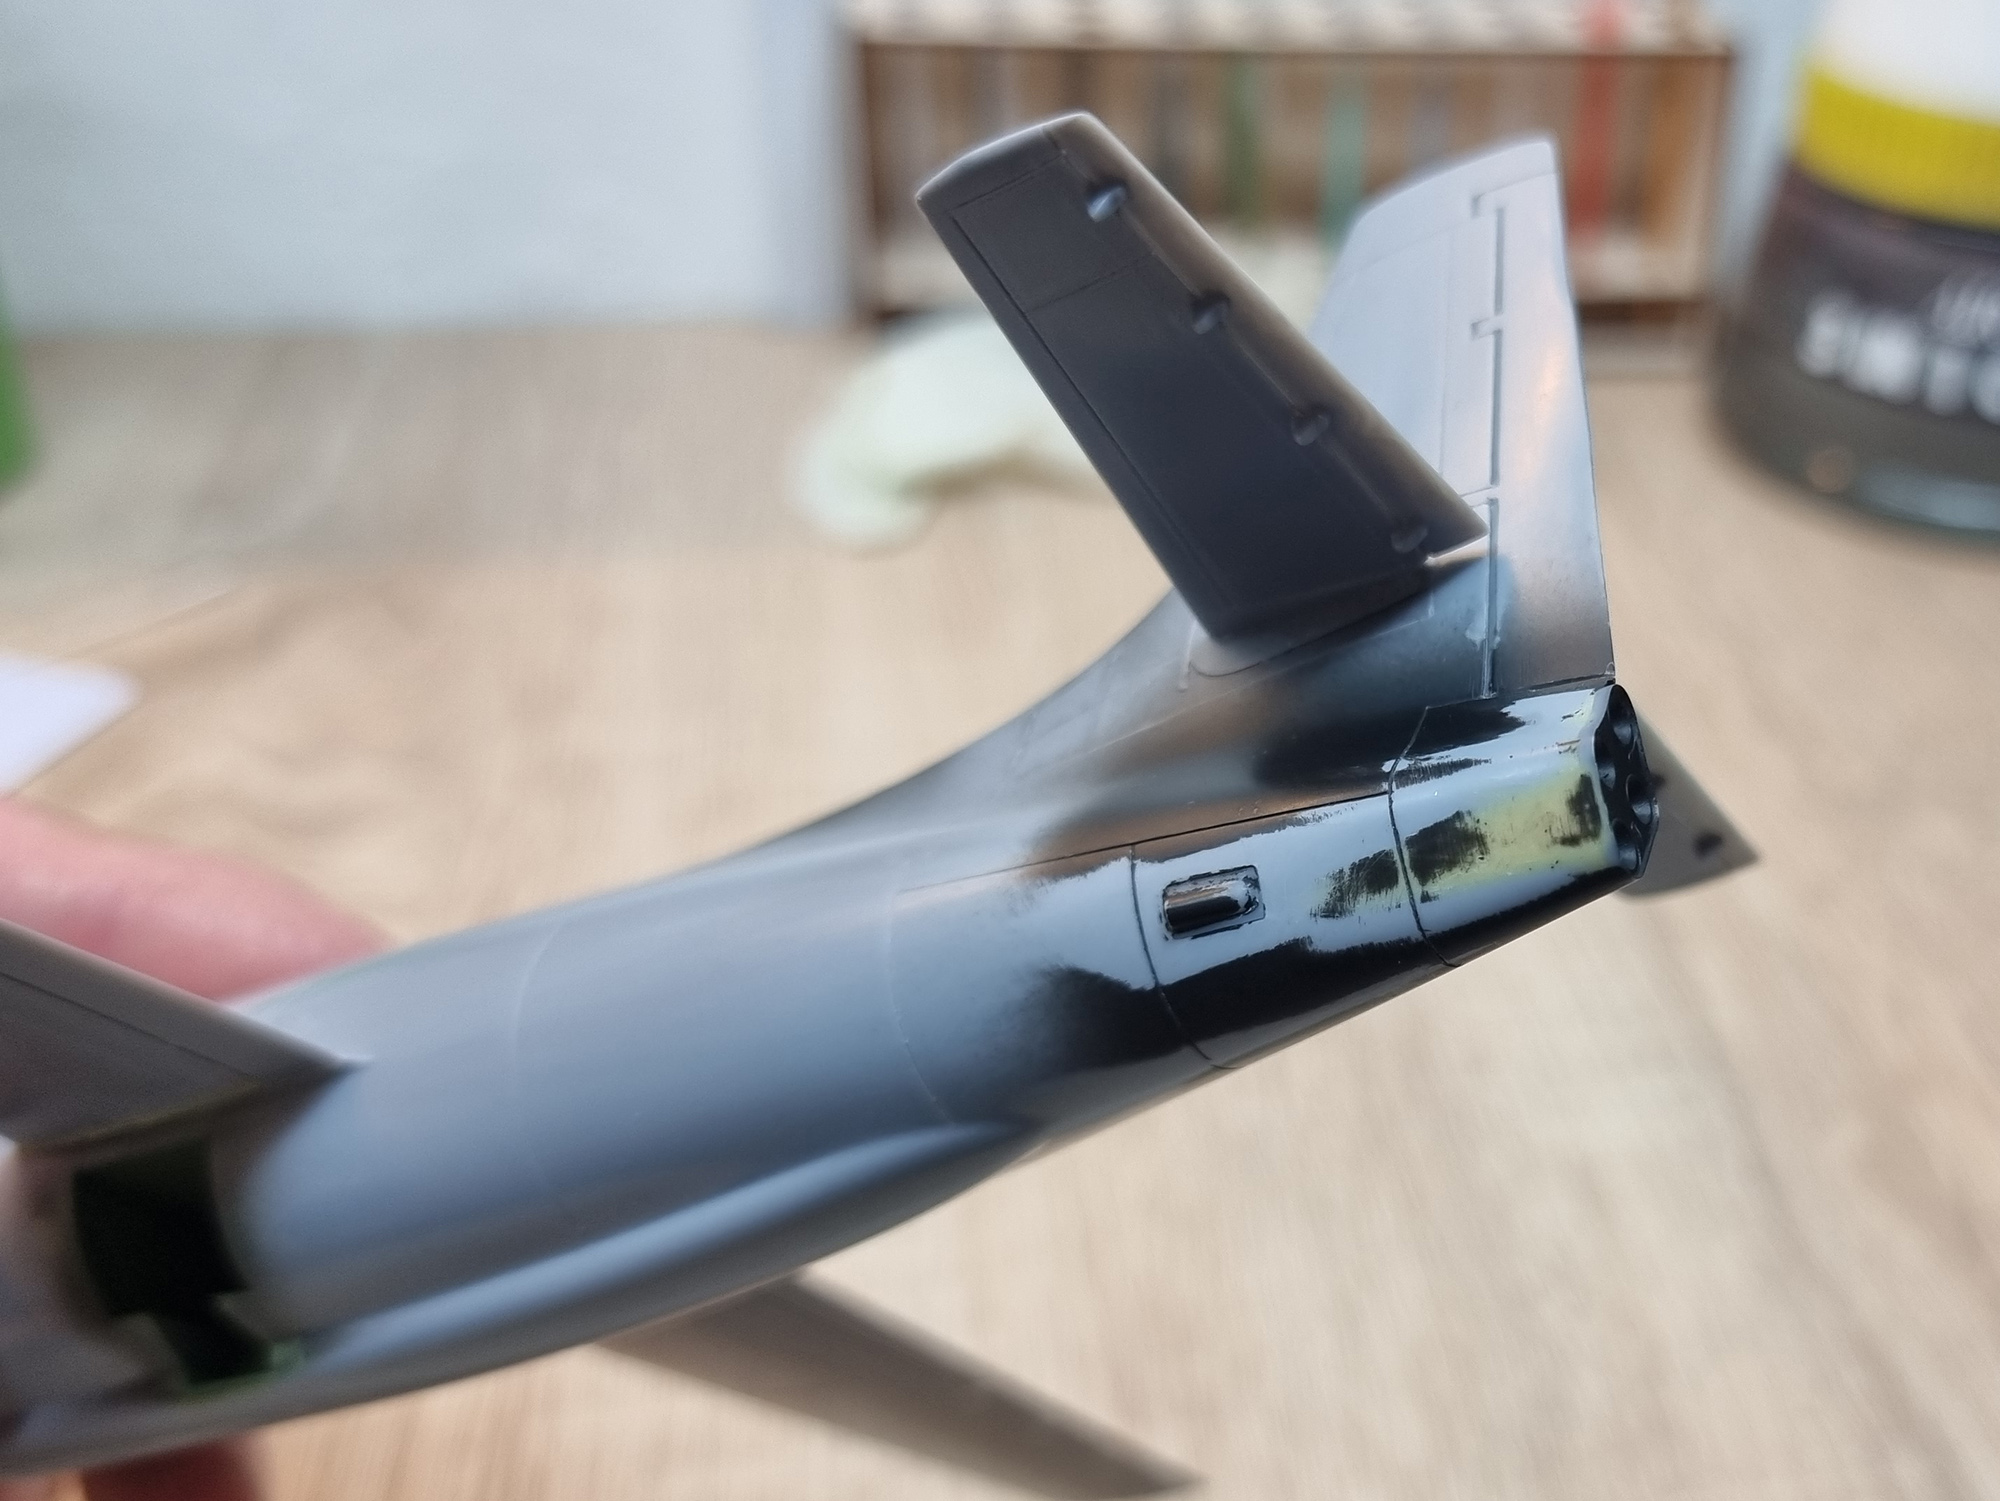
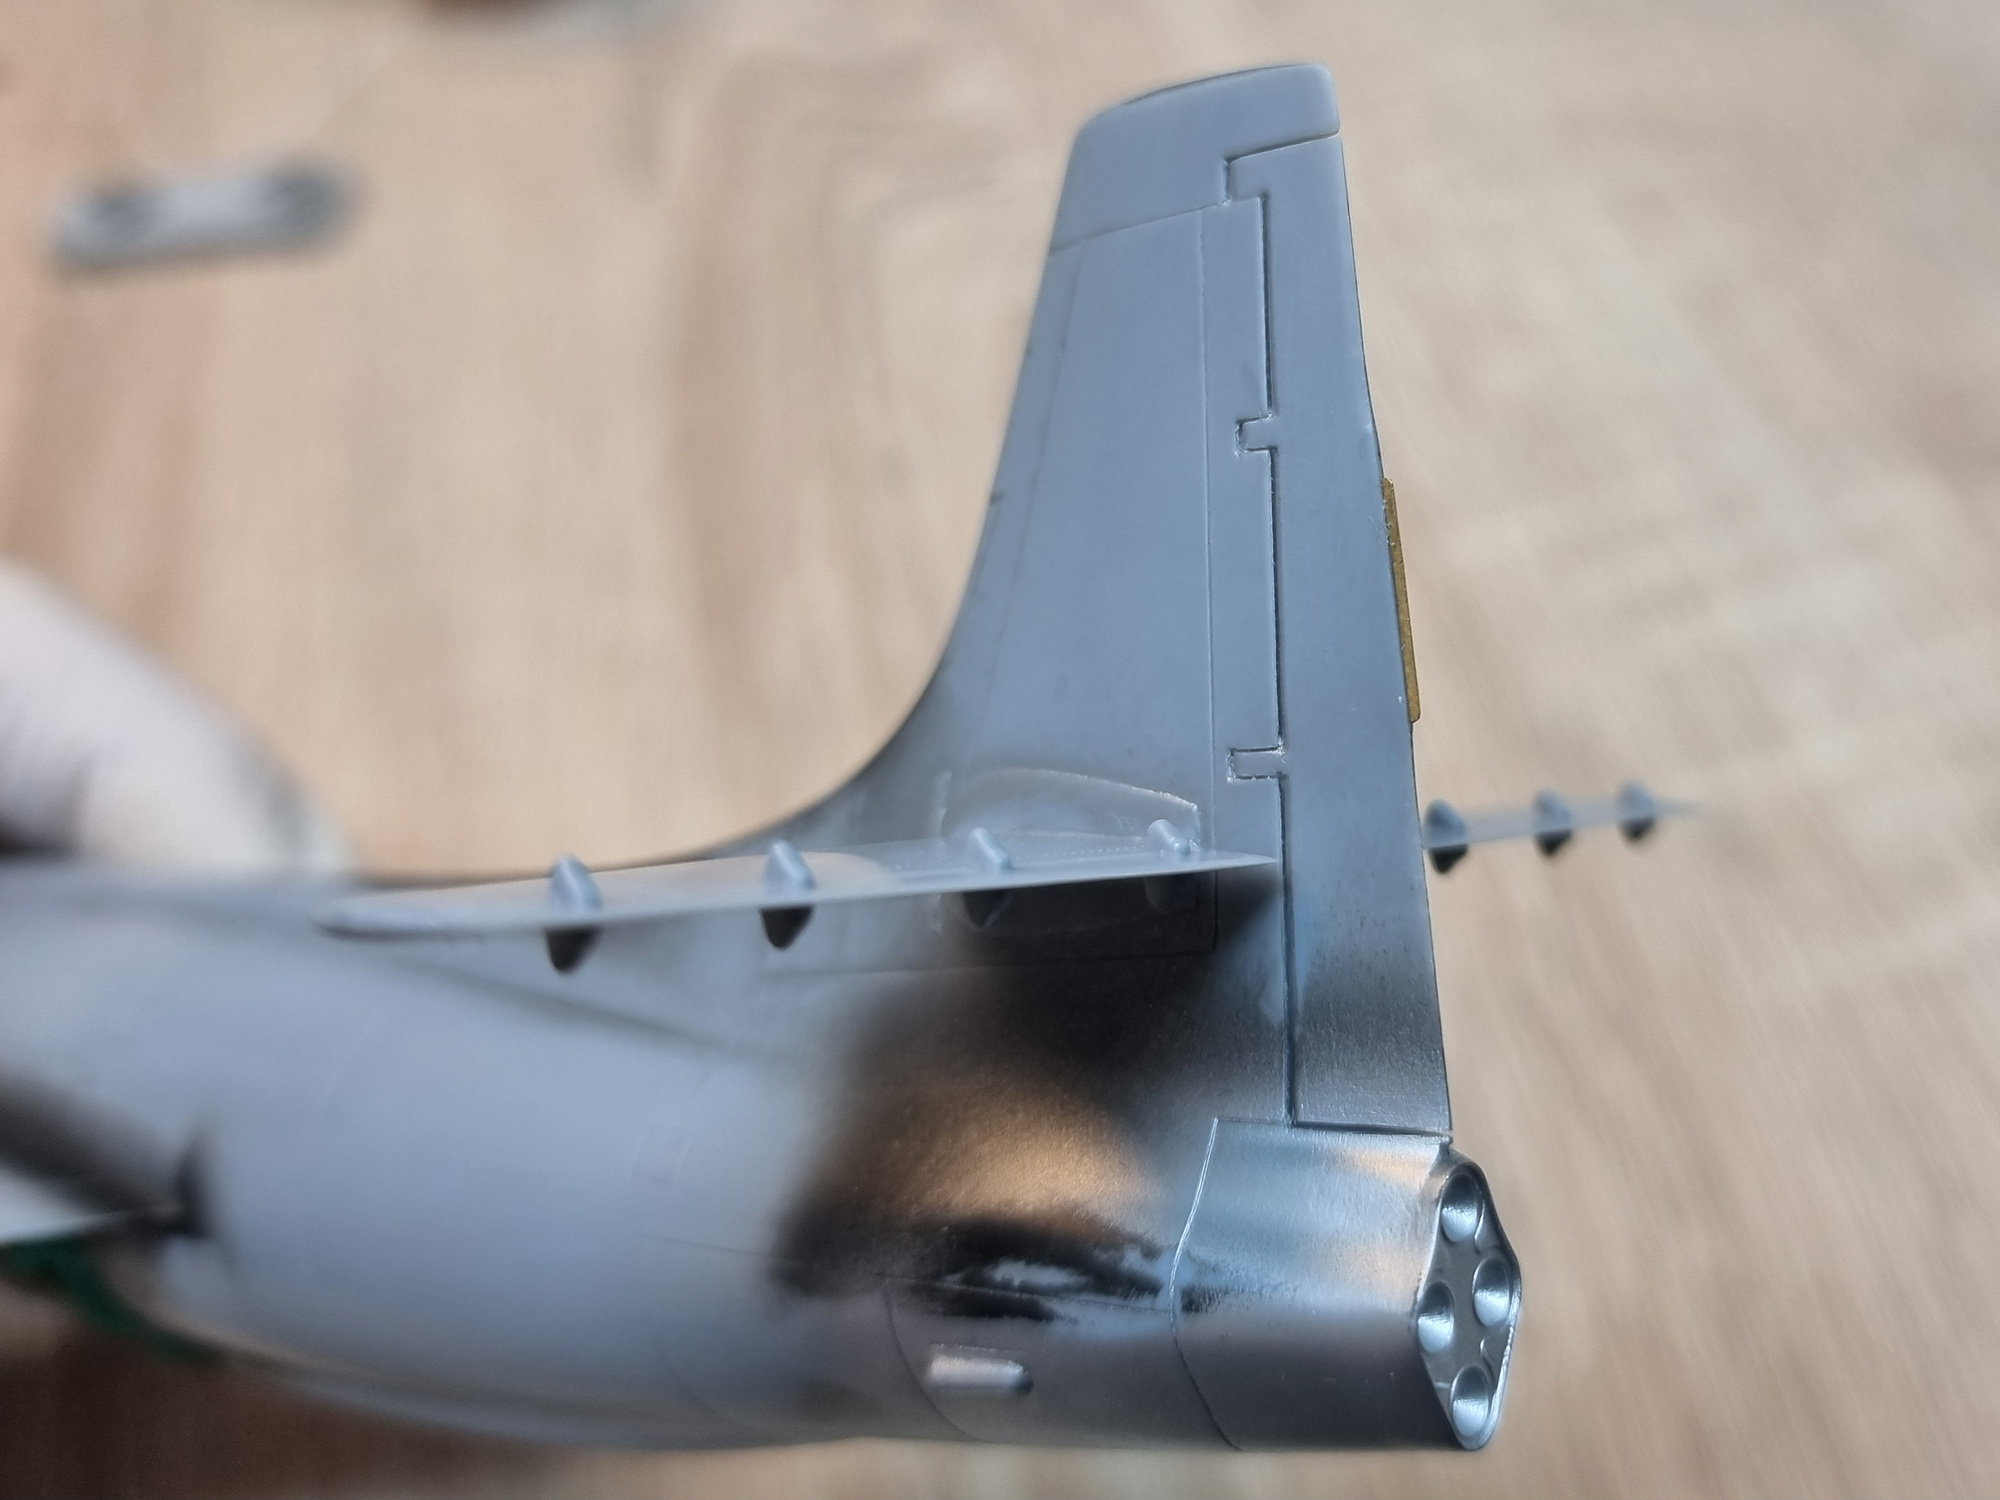
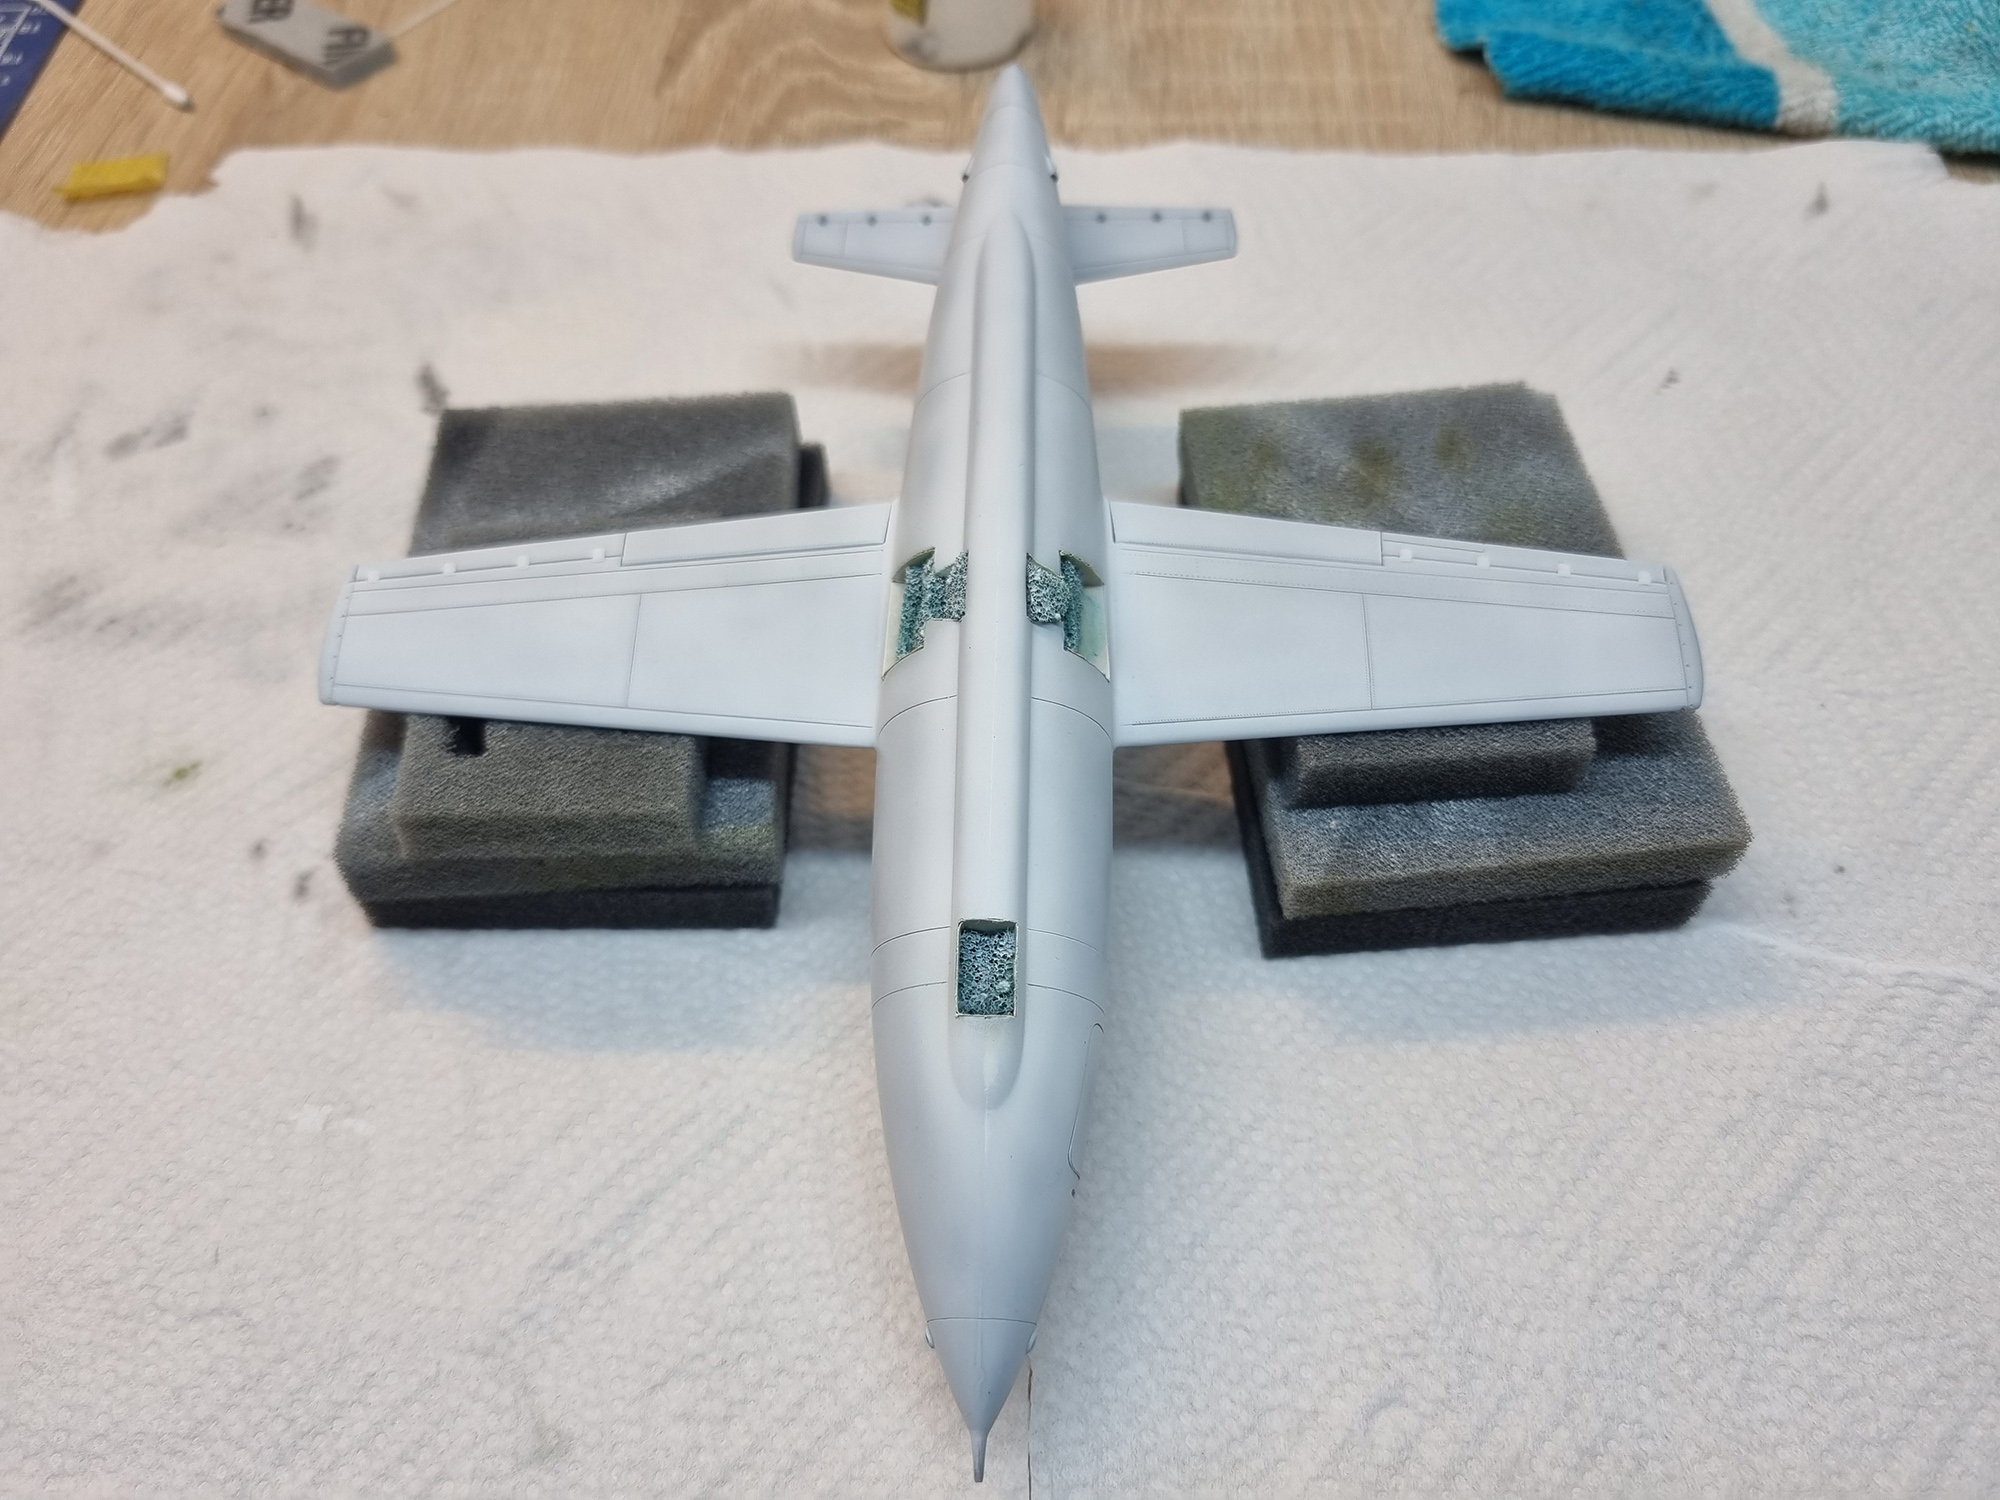
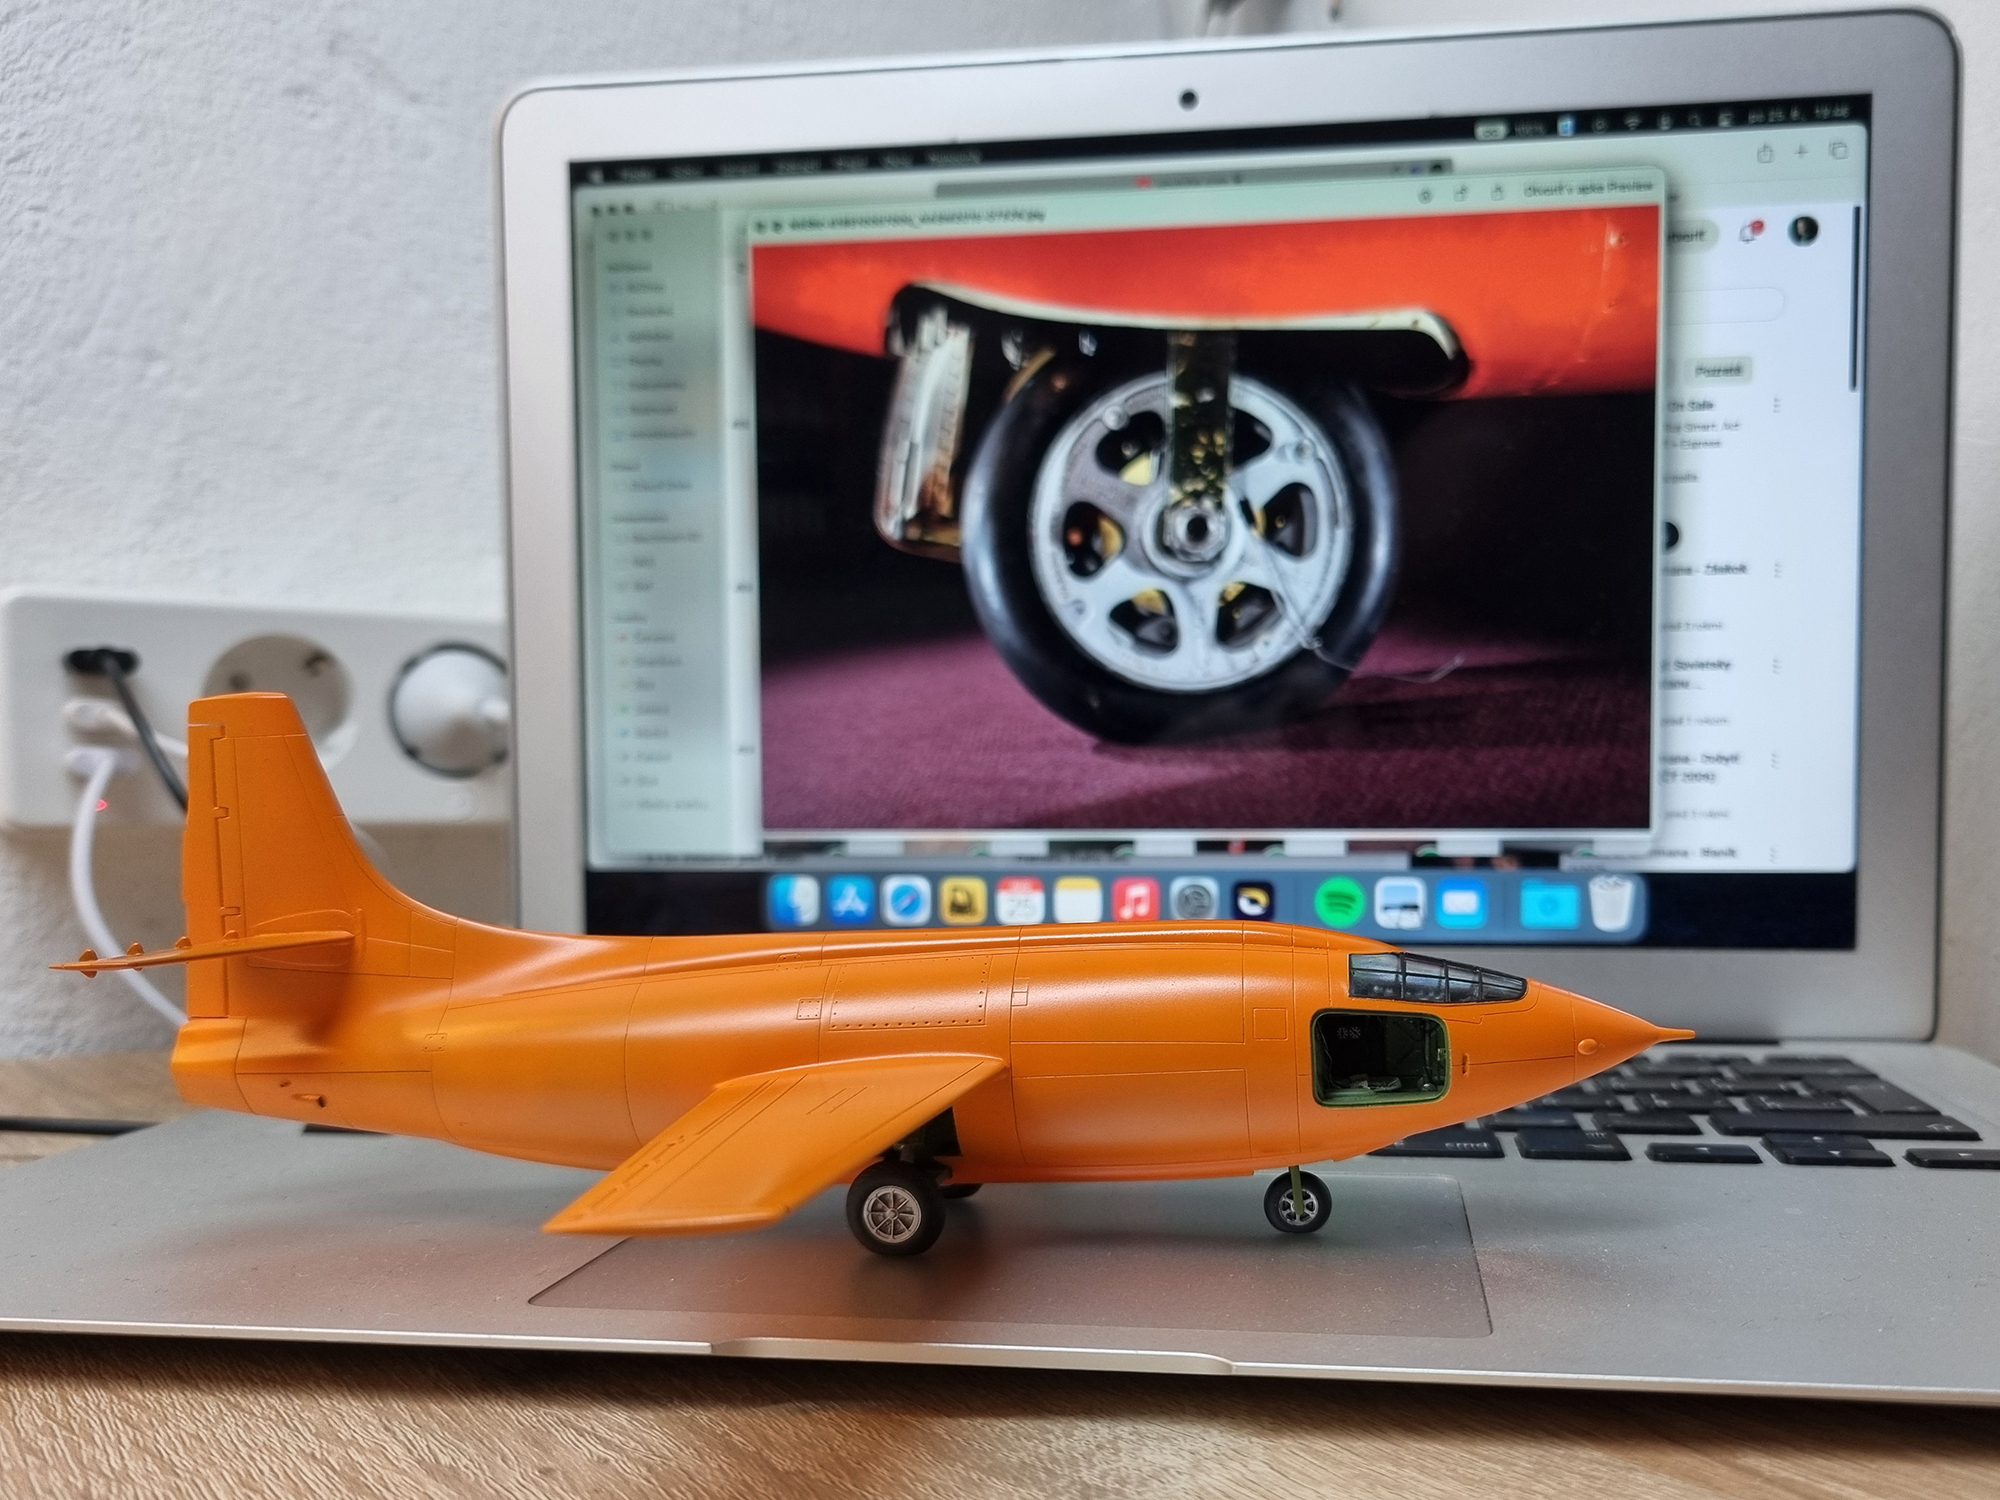
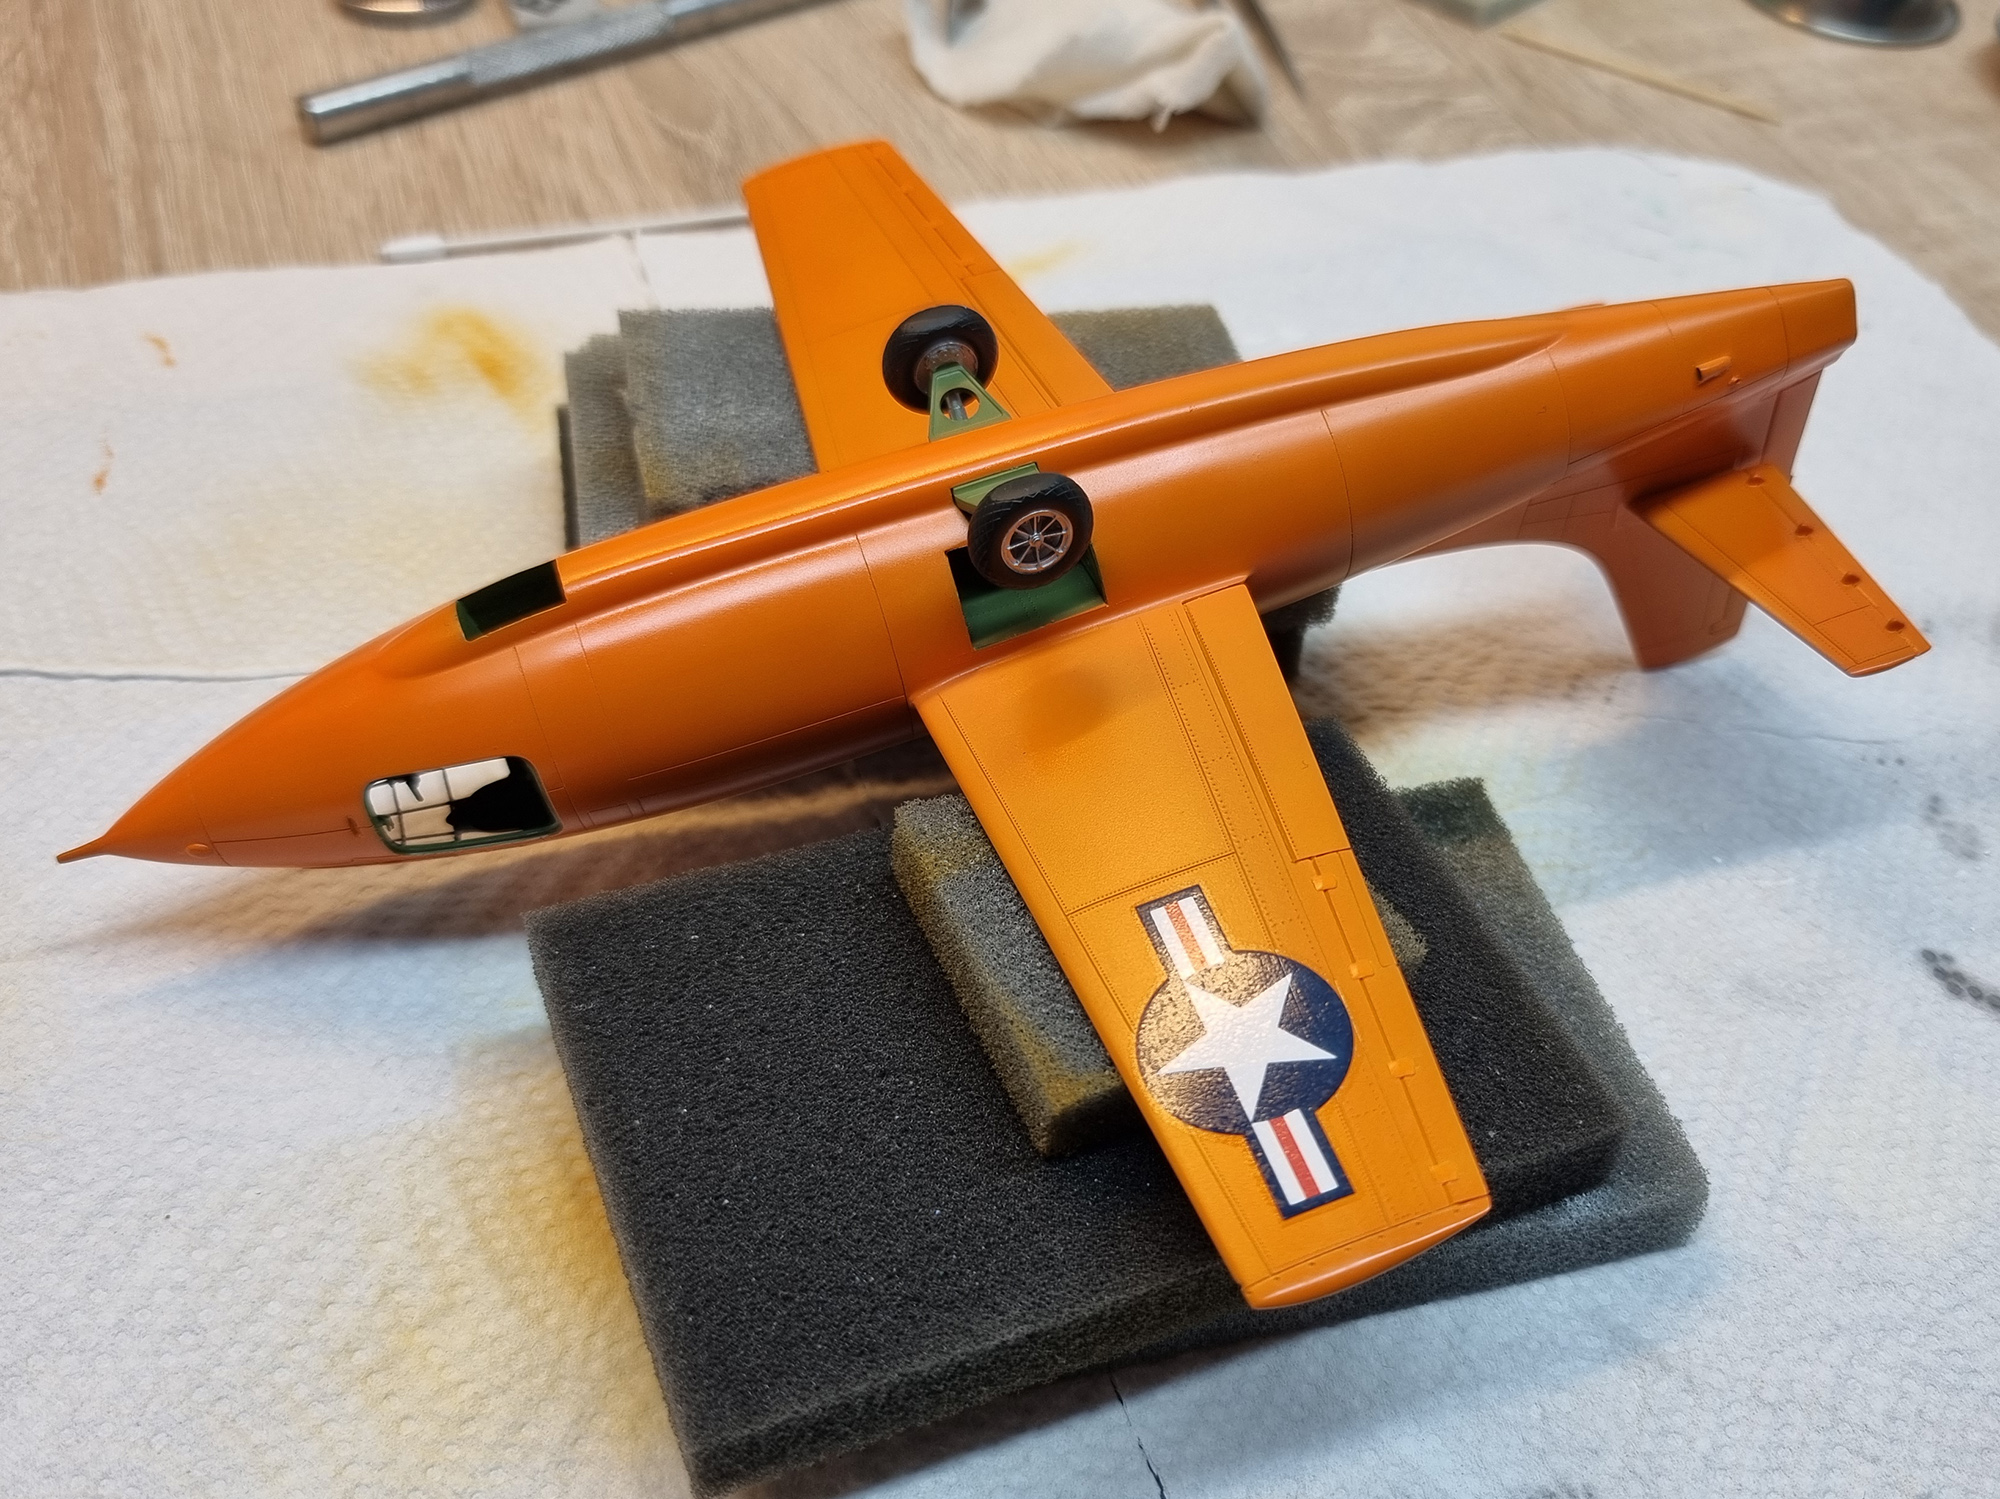
Práce sme odštartovali kokpitom a dopĺňaním jeho detailov. Ja som mal k dispozícii aj leptané doplnky, navyše som na 3D tlačiarni vytlačil peknú palubnú dosku, drobnosti do kokpitu a tiež verné nasávače na motorovú časť. Na krídlo som doplnil nové závesy a jemne ho onitoval. Samotnú motorovú časť som kompletne prestaval, pretože stavebnica ju má stvárnenú nesprávne. Navrhol som nové motorové trysky, ktoré som vytlačil na 3D tlačiarni, a zvyšok som dotmelil dvojzložkovým Miliputom a vybrúsil do správneho tvaru. Doplnil som tiež pár detailov a upravil prednú podvozkovú nohu, aby mal model ten správny „posed“ na podložke.
V stavebnici som mal už nové digitálne dekály, z ktorých som po nanesení zlúpol krycí lak. Ako základ som použil oranžovú akrylovú farbu Tamiya X-6, do ktorej som pridal trochu červenej, aby sa odtieň čo najviac priblížil historickým fotografiám. Pitotove trubice som na záver vyrobil z hliníkových trubičiek.
The Bell X-1 experimental aircraft probably needs no introduction to any aviation fan. The 1:48 scale kit from Eduard has also been around for a couple of decades, and I happened to get my hands on the latest reissue of this model.

The build started during our modeling cottage trip, where three of us agreed to build this exact kit. I have to tell you, it was quite fun because everyone came up with something new—how to fix, add, or improve things. We complemented each other beautifully in both ideas and execution.

We kicked off the build with the cockpit and detailing. I had photo-etched parts at my disposal, and I also 3D-printed a nice instrument panel, small details for the cockpit, and realistic air intakes for the engine section. I added new hinges to the wing and lightly riveted it. I completely rebuilt the engine section itself because the kit’s shape is incorrect. I designed new engine nozzles, 3D-printed them, and filled the rest with two-part Milliput before sanding it into the correct shape. I also added a few details and modified the nose landing gear to give the model the right stance on the base.

My kit already included the new digital decals (wet-transfers), from which I peeled off the carrier film after application. For the paint, I used Tamiya X-6 Orange acrylic, adding a bit of red to match the historical photographs as closely as possible. Finally, the pitot tubes were made from aluminum tubing.